
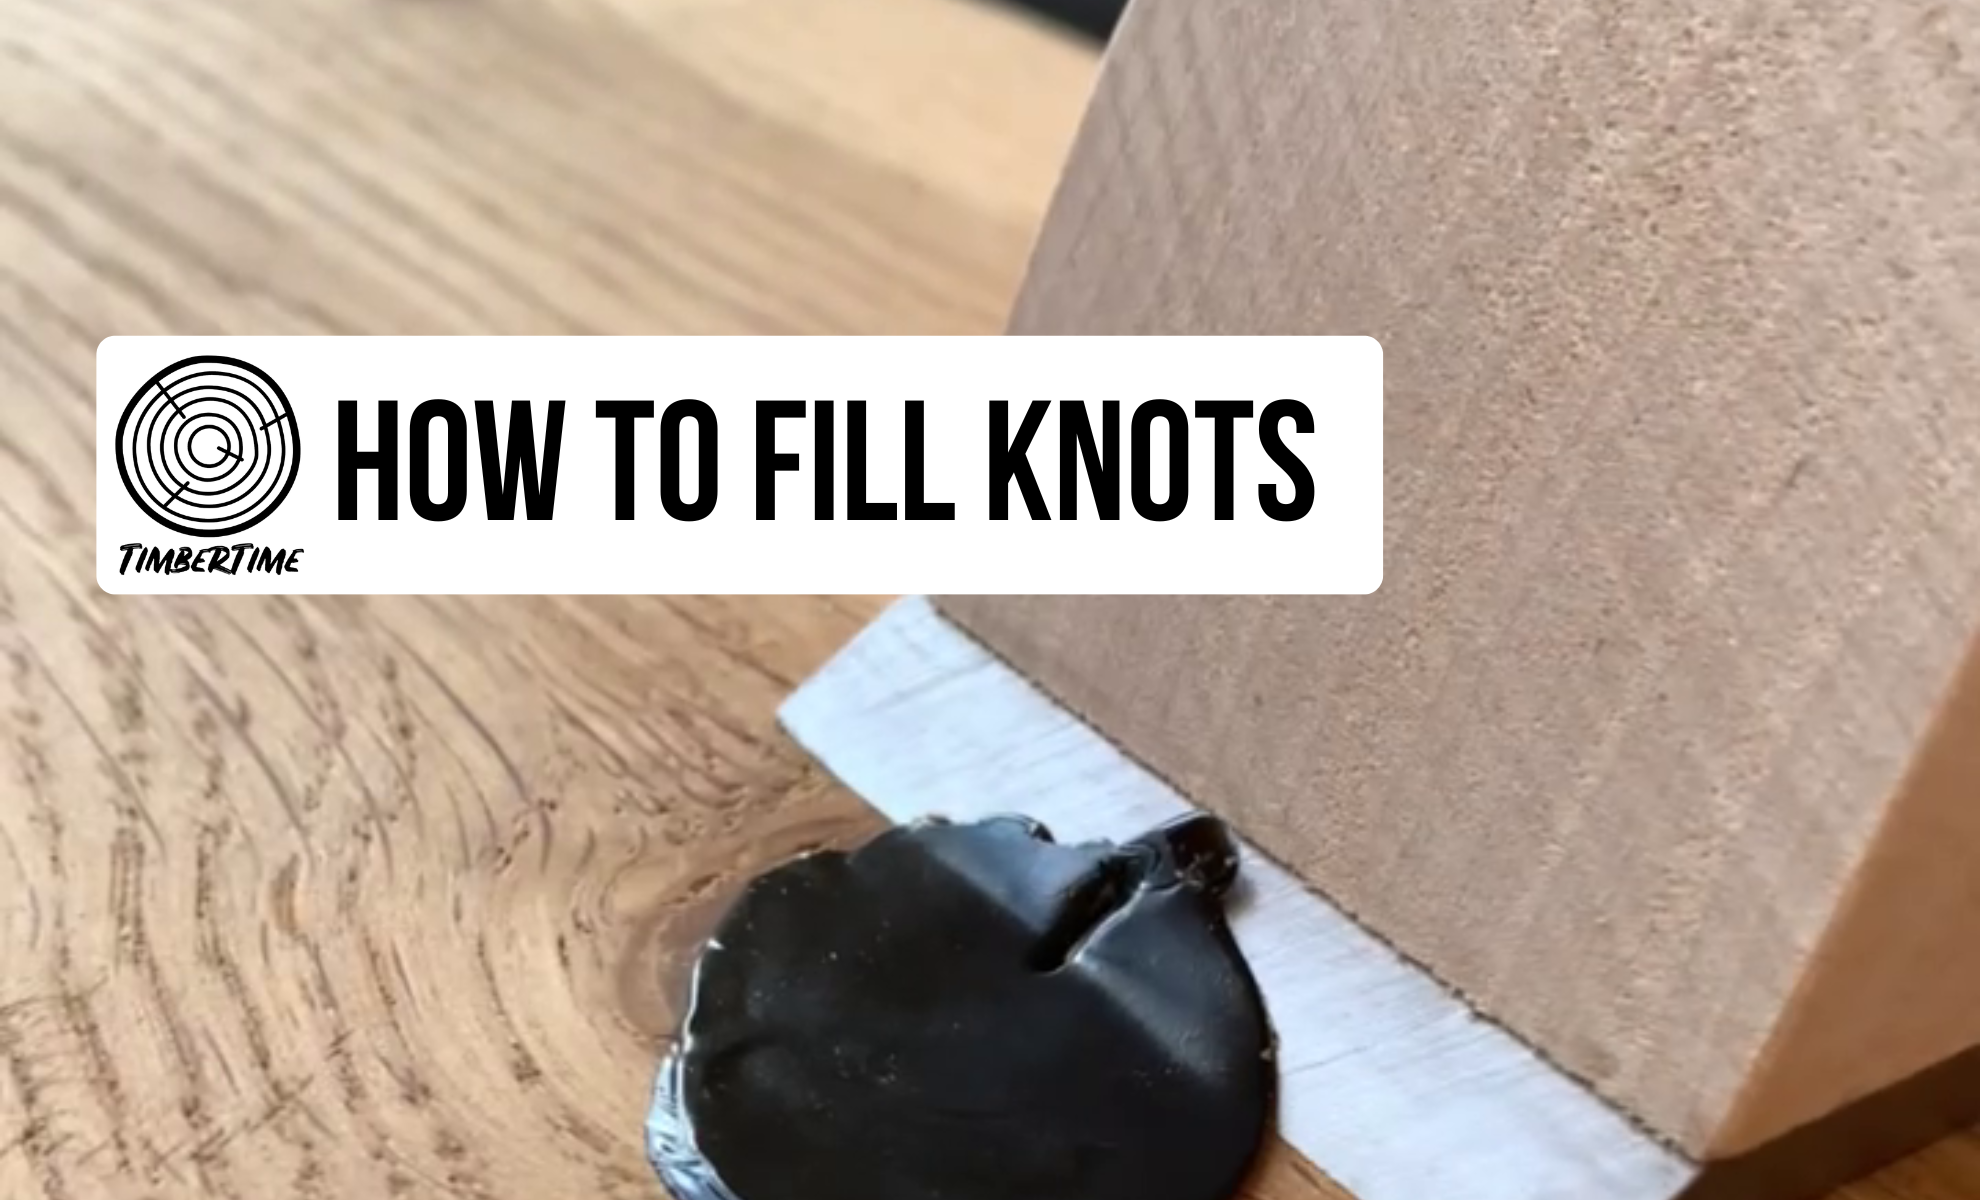
This is how to fill knots in wood – repairing cracks, knotholes and other imperfections in wood hasn’t to be tough! In the following you will learn about two quick and easy solutions at a glance! In this article you will learn what you can use to fix wood cracks and how to fill knots in wood. It is particularly popular to fill wood cracks and knots with black coloured filler to create a nice looking contrast.
* = Affiliate Links /Advertising
As an amazon associate i earn from qualifying purchases.
Advertising

Necessary Tools
How to fill knotholes and cracks in wood
Wood cracks and holes in wood can occur naturally as well as be caused by small mishaps. However, all this can be repaired – provided you have the right material and tools at hand and know how to proceed.
Knotholes and cracks in the wood have long since ceased to be a criterion for excluding furniture from use. Often, wooden boards with knotholes and cracks are deliberately used to create a rustic character. In this case, the crack or knothole is usually even emphasised by professionally repairing the holes and gaps with a dark filler material.
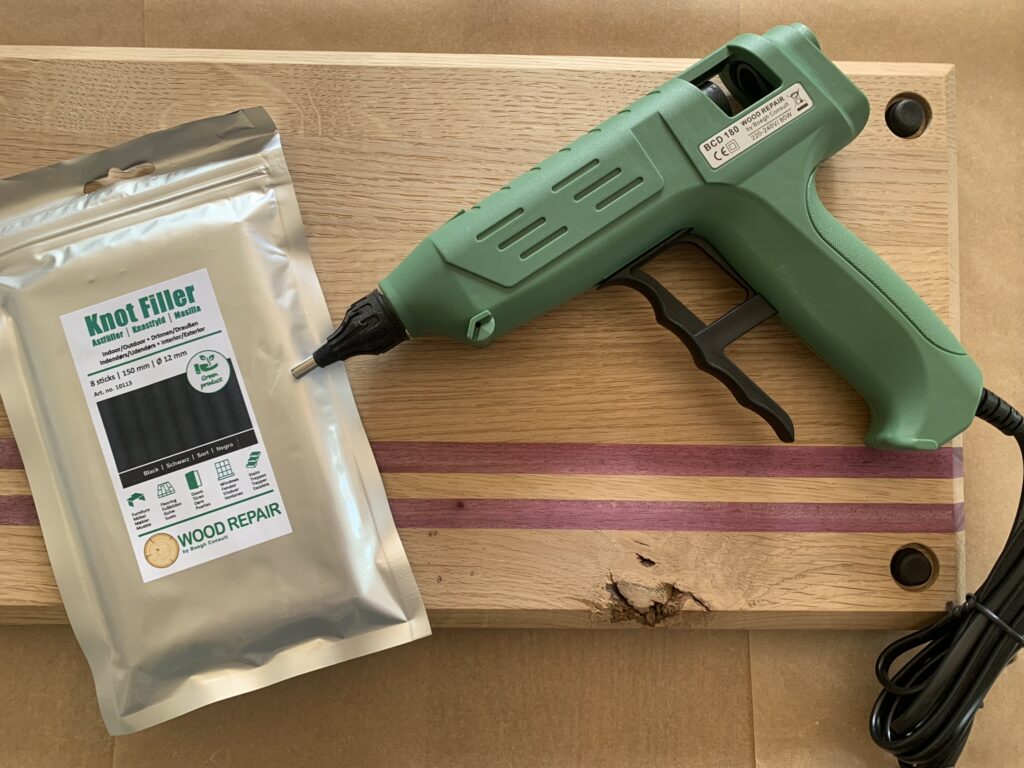
The Wood Repair Gun* is particularly popular for this. Simply put, this is basically a hot glue gun that works in a different temperature range than conventional hot glue guns. In addition, special sticks* are used. The material is not glue but a filler*, which is available in many colours. This is injected into the desired area, cooled briefly and then scraped off. The material hardens and can even be painted. This is not possible with wood putty, for example. But you can also find a short instruction for the use of wood paste in this article!
I have not yet tested to what extent the Wood Repair Sticks can also be used in conventional hot glue guns. As far as I know, the Woodrepair Gun works at a different temperature. This will probably have an effect on the quality of the repaired area.

- Ready to use: It is conveniently prepared for immediate application
Instructions for filling wood cracks with black coloured wood filler by using the Wood Repair Kit
- Roughly clean knothole or crack or remove loose material.
- Allow the Wood Repair Gun* to heat up.
- Fill the crack/knothole with filling material* in the desired colour.
- Cool down the filling material with Cooling Block.
- Scrape off excess material with a spatula.
- Sand off excess material with sandpaper*.
- Finish the workpiece with the desired surface treatment.
Detailed description with pictures see below!
Instructions for filling wood cracks with wood putty or wood paste
- Roughly clean knothole or crack or remove loose material.
- Moisten the knothole or crack.
- Moisten the wood paste* with a little water and make it smooth.
- Pour the wood filler* into the knothole or crack.
- For deeper areas, fill in several layers and allow each layer to harden.
- Scrape away excess material with a chisel or spatula.
- Sand off excess material with sandpaper*.
- Finish the workpiece with the desired surface treatment. Caution: Putty may change colour due to surface treatment.
Detailed description with pictures see below!
How to fill knots and imperfections in wood – this is how it’s done with the Wood Repair Gun!
Wood Repair sticks* are the first choice of many carpenters and also of some hobby carpenters, especially when it comes to highlighting knotholes or cracks in the wood in the most beautiful and high-quality way possible. The quality of the repair is unparalleled and the handling is very easy. The repair is also relatively quick and the curing process does not take long.
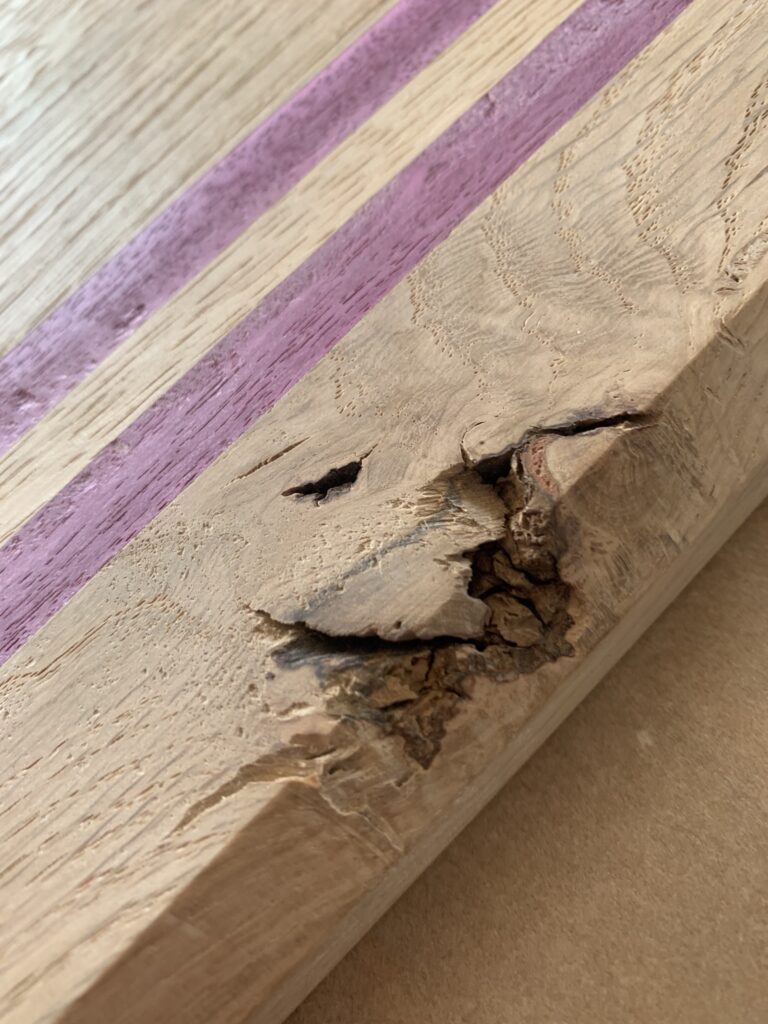
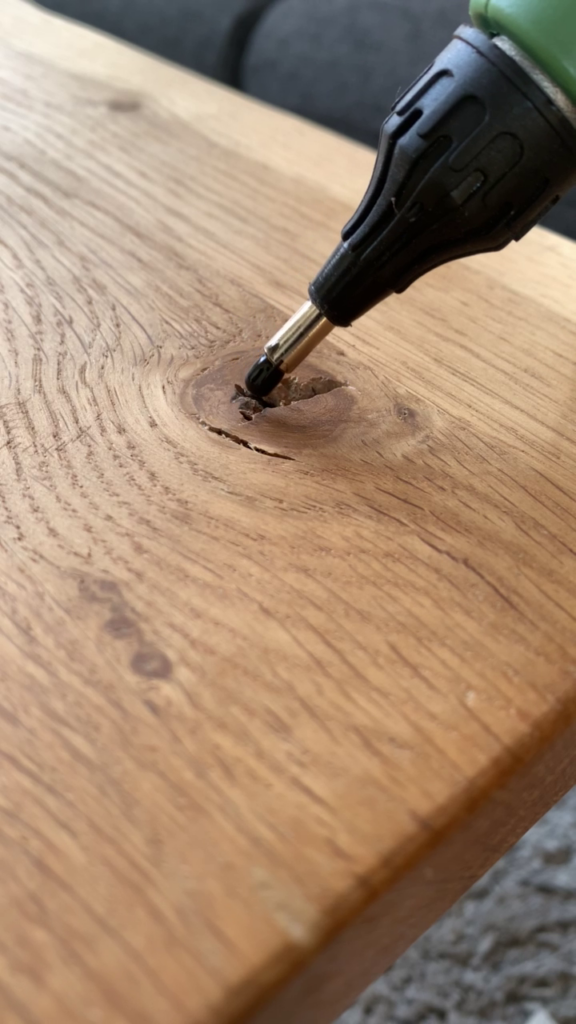
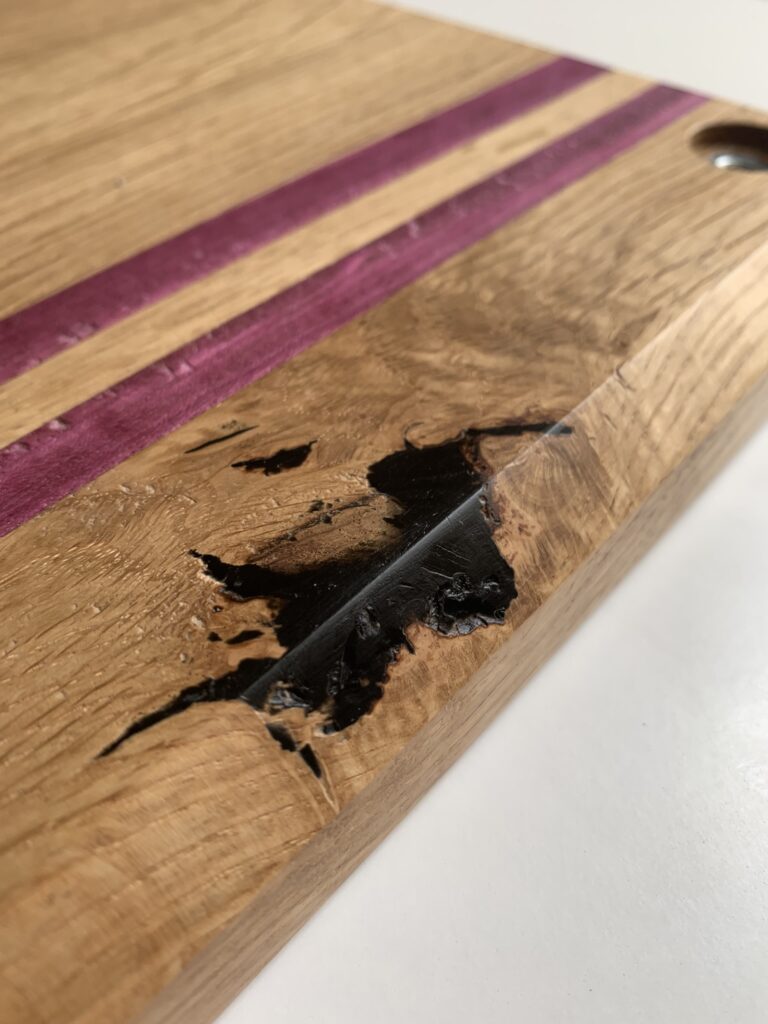
Even difficult cracks on edges, as seen in the picture above, are absolutely no problem. Before starting, loose parts and dust etc. in the crack should be roughly removed.
First, heat up the Woodrepair Gun* and insert a Repair Stick* in the desired colour. The tool works similarly to a conventional hot glue gun.
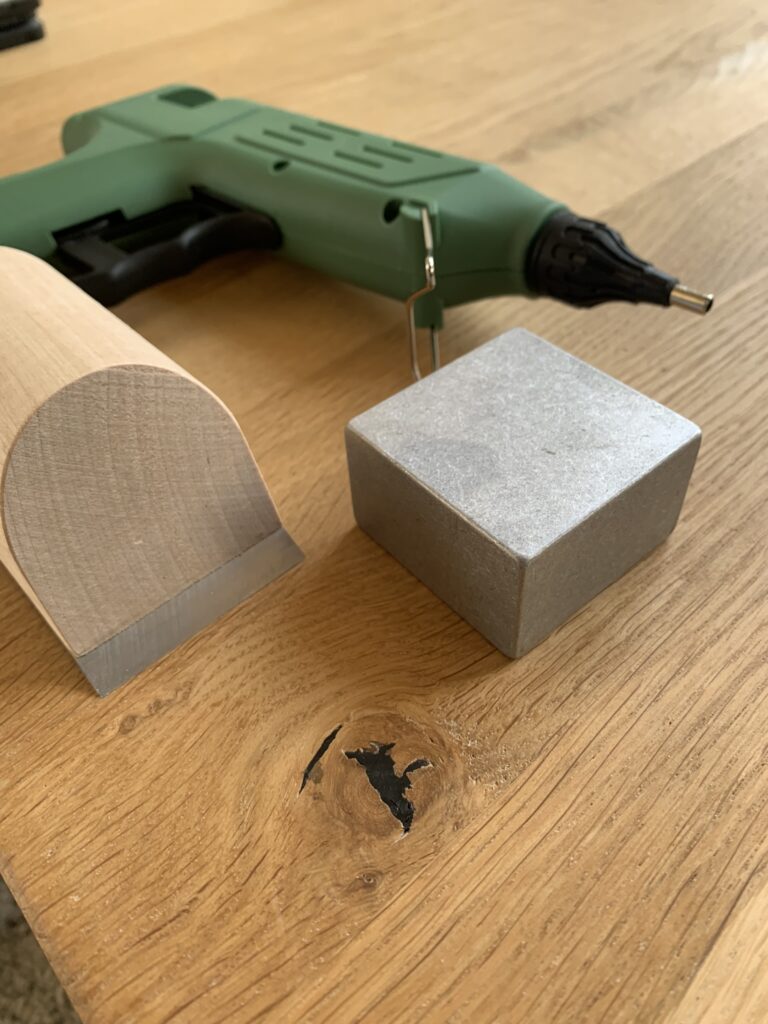
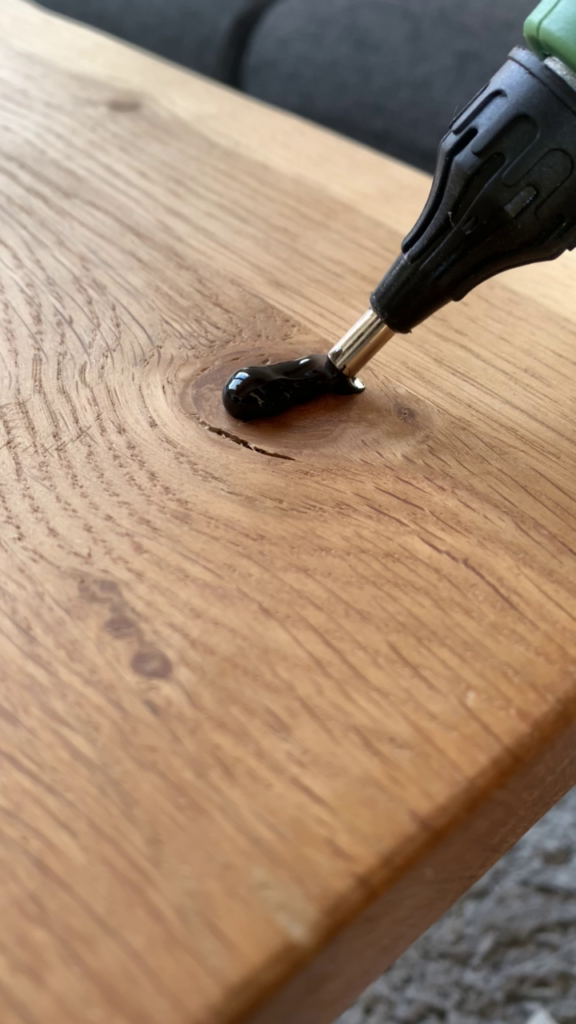
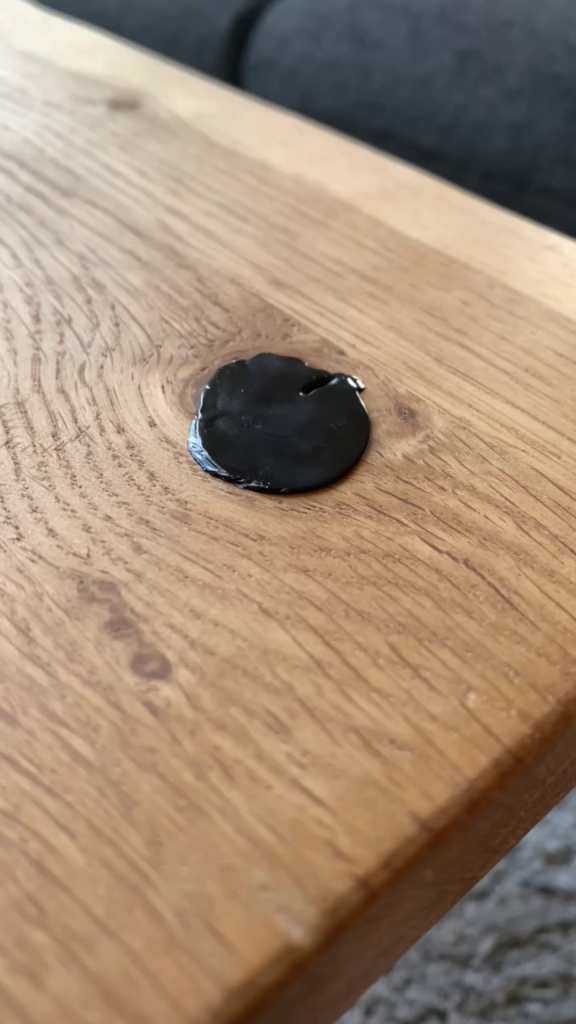
Once the Woodrepair Gun* is hot and the stick inserted, the material can be filled into the crack or knothole. Afterwards, it can be cooled down immediately with an aluminium cooling block. To do this, simply press the block onto the repaired area. This distributes the filling material in the crack and it is then cooled down.

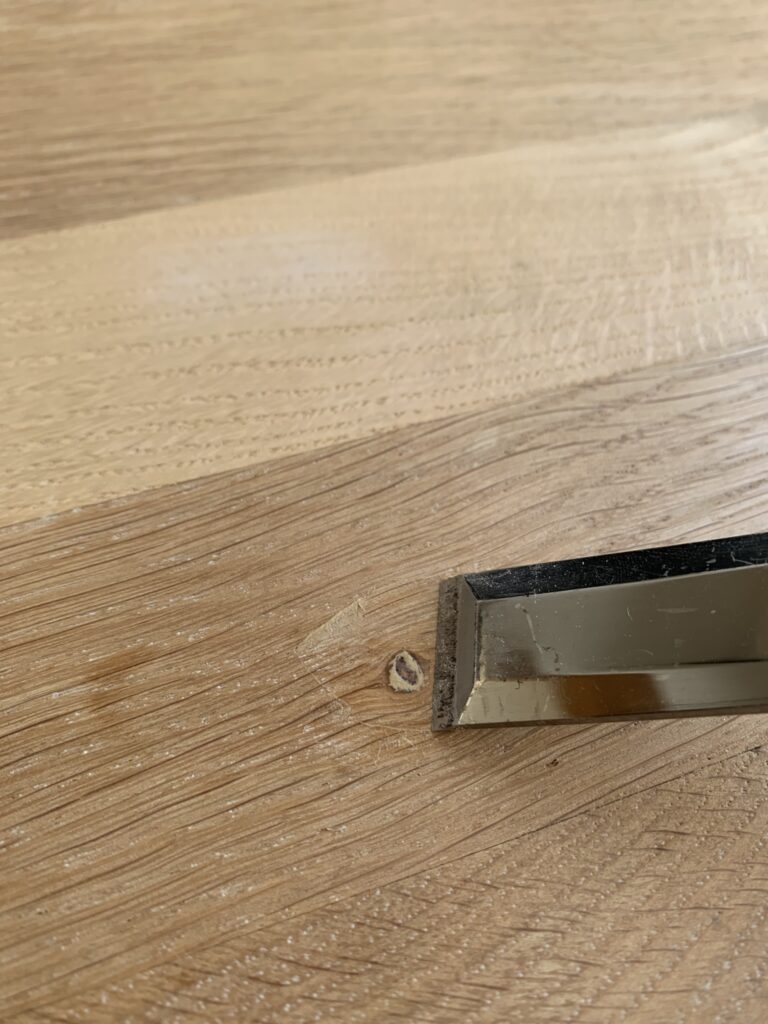
After a few seconds, the cooling block can be lifted off. Then the excess filling material is scraped off with the special plane. What remains is already an almost perfectly repaired knothole in the wood.

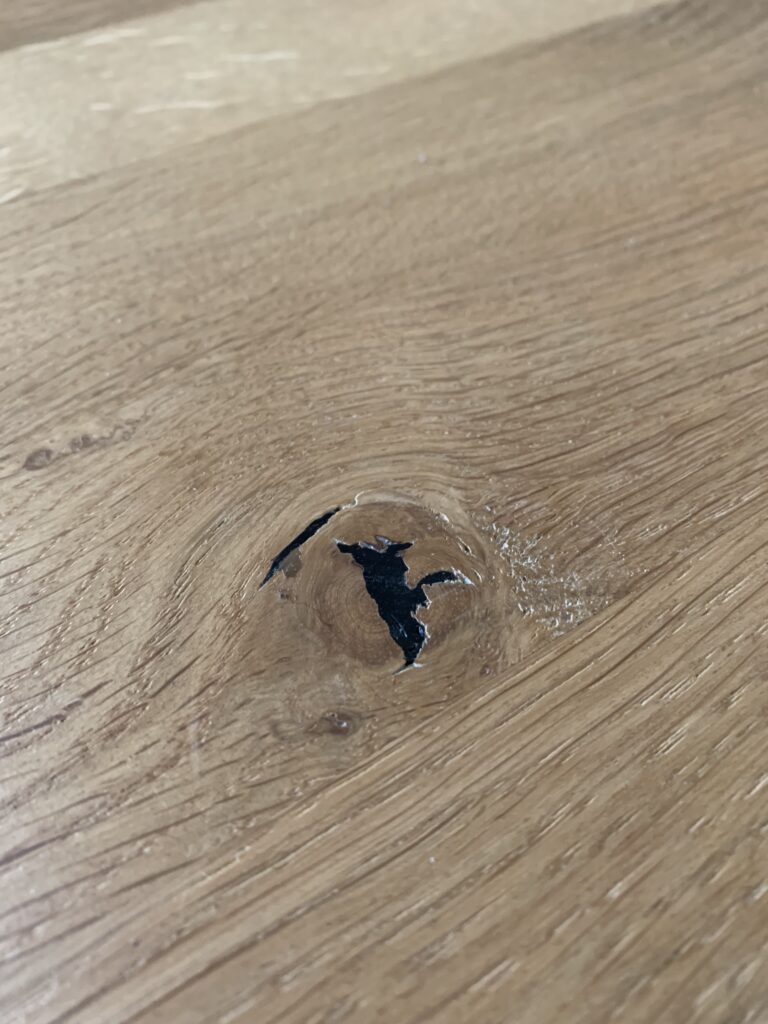
Finally, everything only needs to be sanded a little with sandpaper*. After that, the surface treatment can be carried out. Some of the cracks and knotholes I have already repaired with Woodrepair are shown below.

Repair cracks and knotholes in wood – this is how to do it with wood paste or wood putty!
Another option is to use wood paste* or wood putty* to repair damage to the wood. In my opinion, this is also a solid solution, although I personally like the Woodrepair solution better. Advantage of the wood paste: the repair is much cheaper! Disadvantage: I find the Woodrepair sticks harden better and the repaired area is more resistant. The problem with wood putty, however, is often the surface treatment. No matter whether you mix it yourself (sawdust and white glue) or buy the putty: oils and stains are not well accepted. The solution presented above with Woodrepair Sticks works better with oils, stains, varnishes and glazes.
Otherwise, before you start, the crack or knothole should first be roughly cleaned and freed from loose wood parts.
Depending on the wood filler* used, it may be necessary to moisten the area to be treated first.
Then the wood paste* is worked into the area to be sealed with a spatula or chisel.


The excess material is simply removed with a chisel or spatula. If the area is deeper, work in several layers and passes. Sufficient time must be allowed to cure between each layer of wood paste. Depending on the wood paste or putty* used, exactly how much time this is can be found in the enclosed processing instructions.

Here, too, everything can be sanded down with sandpaper*. The area treated here is very small. For larger cracks and holes, I am clearly a friend of the Woodrepair Gun. Especially when it comes to the suitability for surface treatment.
For more woodworking techniques and DIY woodworking projects go visit timbertime.uk!
Conclusion – how to fill knots, cracks and other defects in wooden surfaces
Two solutions for the same problem in different price ranges but also with different advantages and disadvantages! The Woodrepair Kit is an ingenious method when it has to be absolutely high-quality in the furniture area. Wood putty, on the other hand, I like to use for minor mishaps and damage.
What is your favourite? And what do you think of the Woodrepair solution, which admittedly is not exactly cheap?
Transparency:
This article was published in cooperation with Wood Repair By Boegh Consult A/S. I always describe my free and honest opinion.