
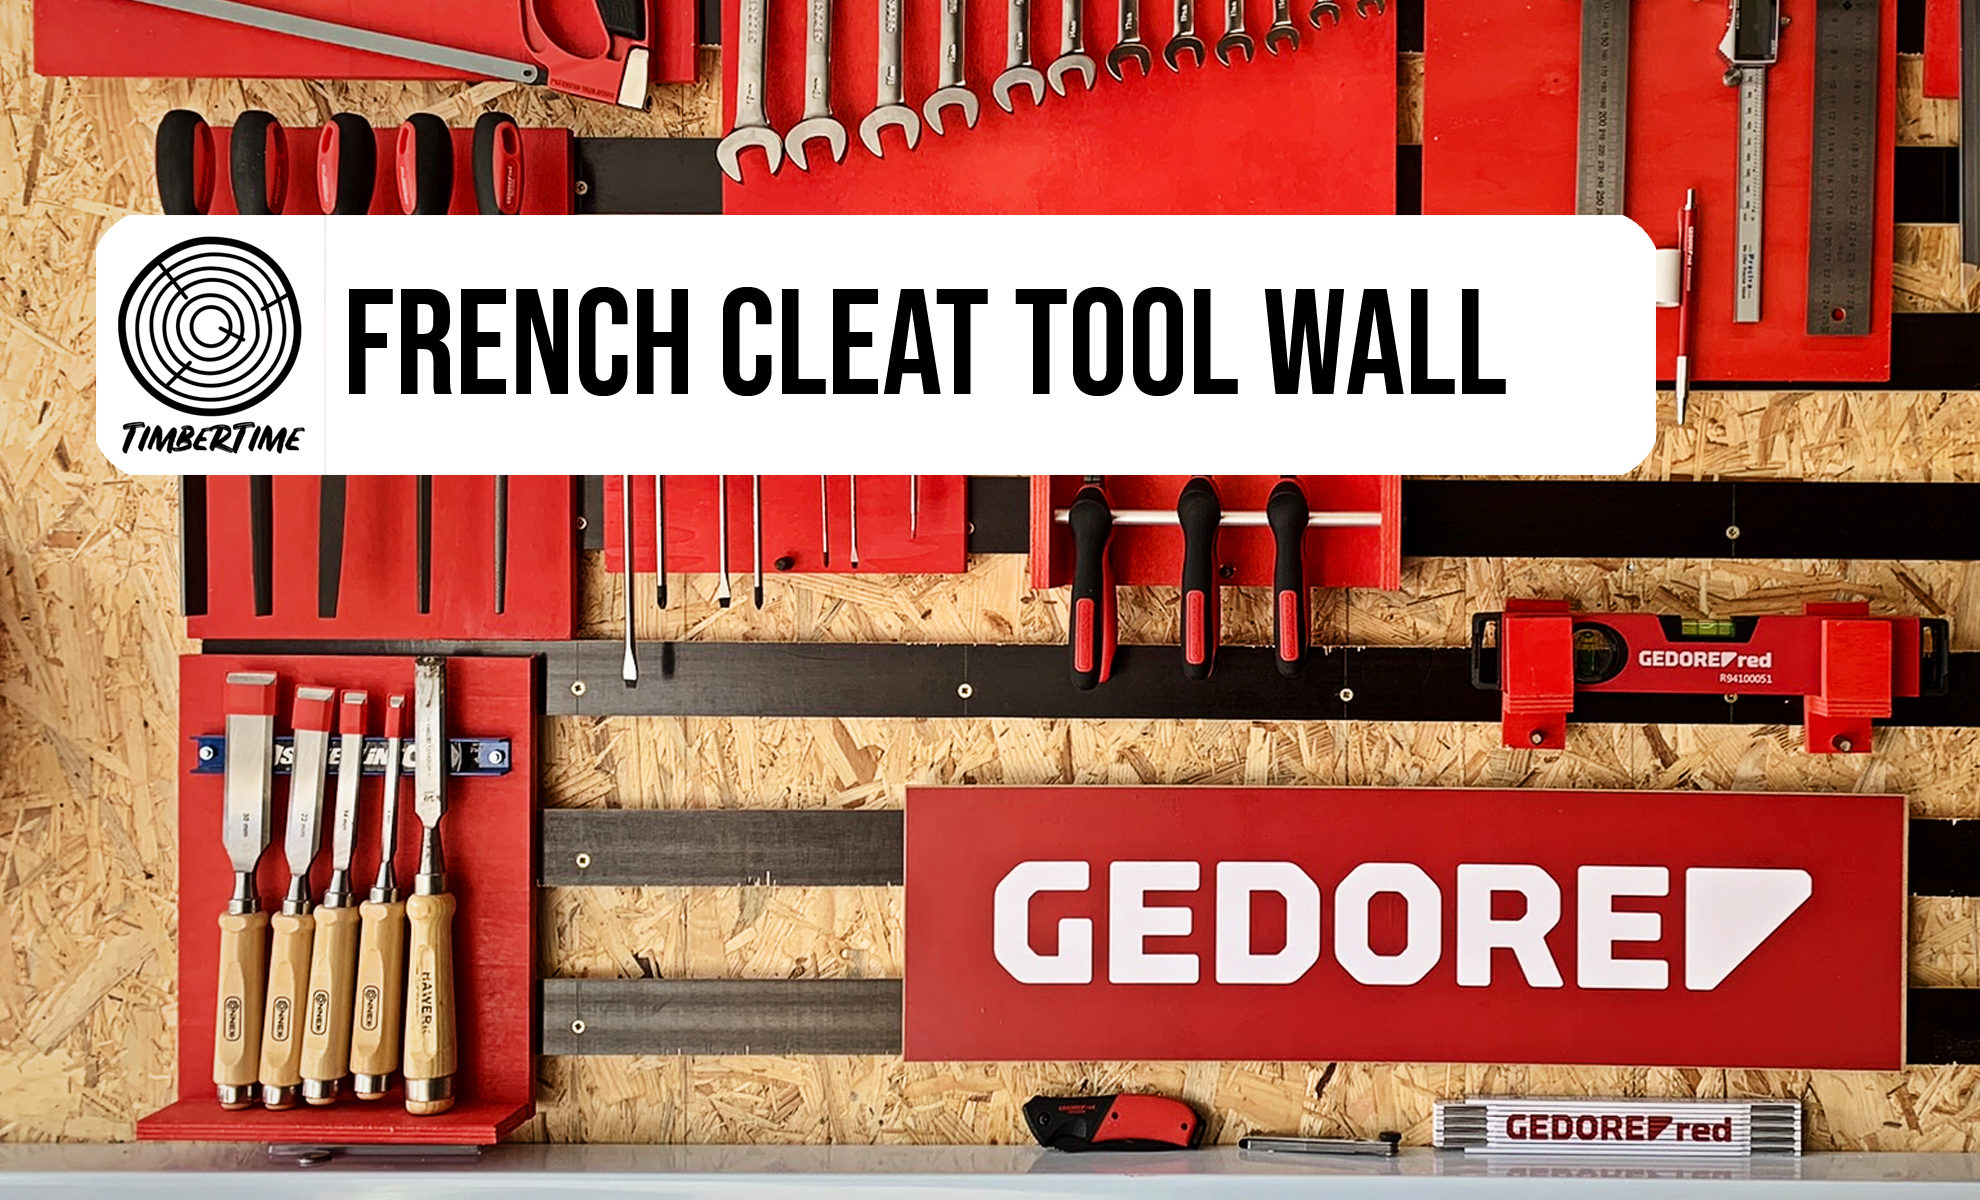
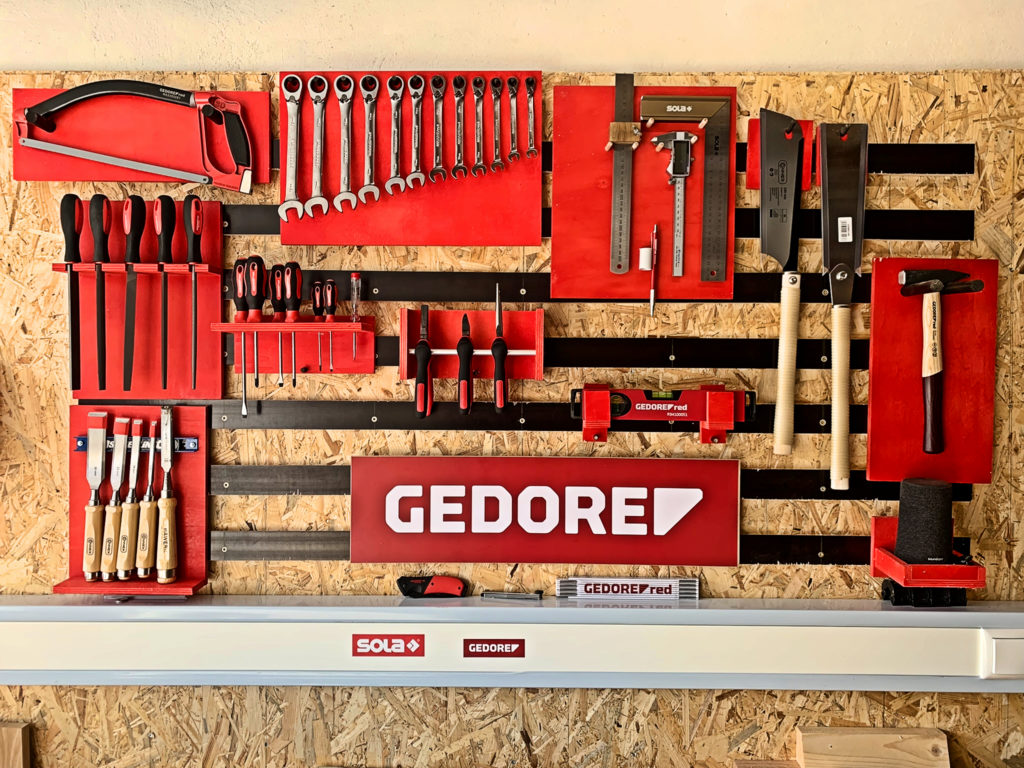
Building a French Cleat wall yourself is part of every workshop! The functional and flexible DIY tool wall offers unlimited possibilities and storage space for tools and materials of all kinds. In this article, I show you how you can easily build a French Cleat wall yourself and what you should pay attention to!
* = Affiliate Links /Advertising
As an amazon associate i earn from qualifying purchases.
Advertising
Necessary Tools
- Drill*
- Table Saw*
- Countersink Drill Bit*
- 3mm Wood Drill Bit*
- Level*
- Plane*
- Woodworking Ruler*
- Construction Pencil* und Lead Refills*
Necessary Material
Material Costs: ca. 30£
How to Build a Tool Wall – DIY French Cleat Wall – What Do I Need To Know?
When building a French Cleat wall, there are a few points that you should definitely think about.
Frequently asked questions are:
- How wide should the battens be?
- Which material thickness to choose?
- What distance between the battens is best?
- How do you attach the battens?
- What else do I need to know?
For me, I answered these questions as follows. I chose 5cm wide cleats so that the French cleat holders have a solid contact surface. Moreover I decided on a thickness of 15mm. Lastly I chose phenolic plywood as the material because I like the look but also because the coating is so smooth and the holders slide very easily over the surface.
With 5cm wide mouldings, I decided on 6cm space between the mouldings. Considering that the counterparts that come on the brackets are also 5cm wide, you still have 1cm of space so that you can easily insert and lift out the brackets. The distance should not be too narrow!
I fastened the skirting boards with countersunk screws* to a back wall made of OSB boards. It is important that the holes are countersunk so that the screw heads do not protrude.
The edges of the screen printing board are very sharp after sawing the strips – you can easily injure yourself here. It is therefore essential to break the edges with a smoothing planer*.
Sawing French Cleat Tool Wall strips to size
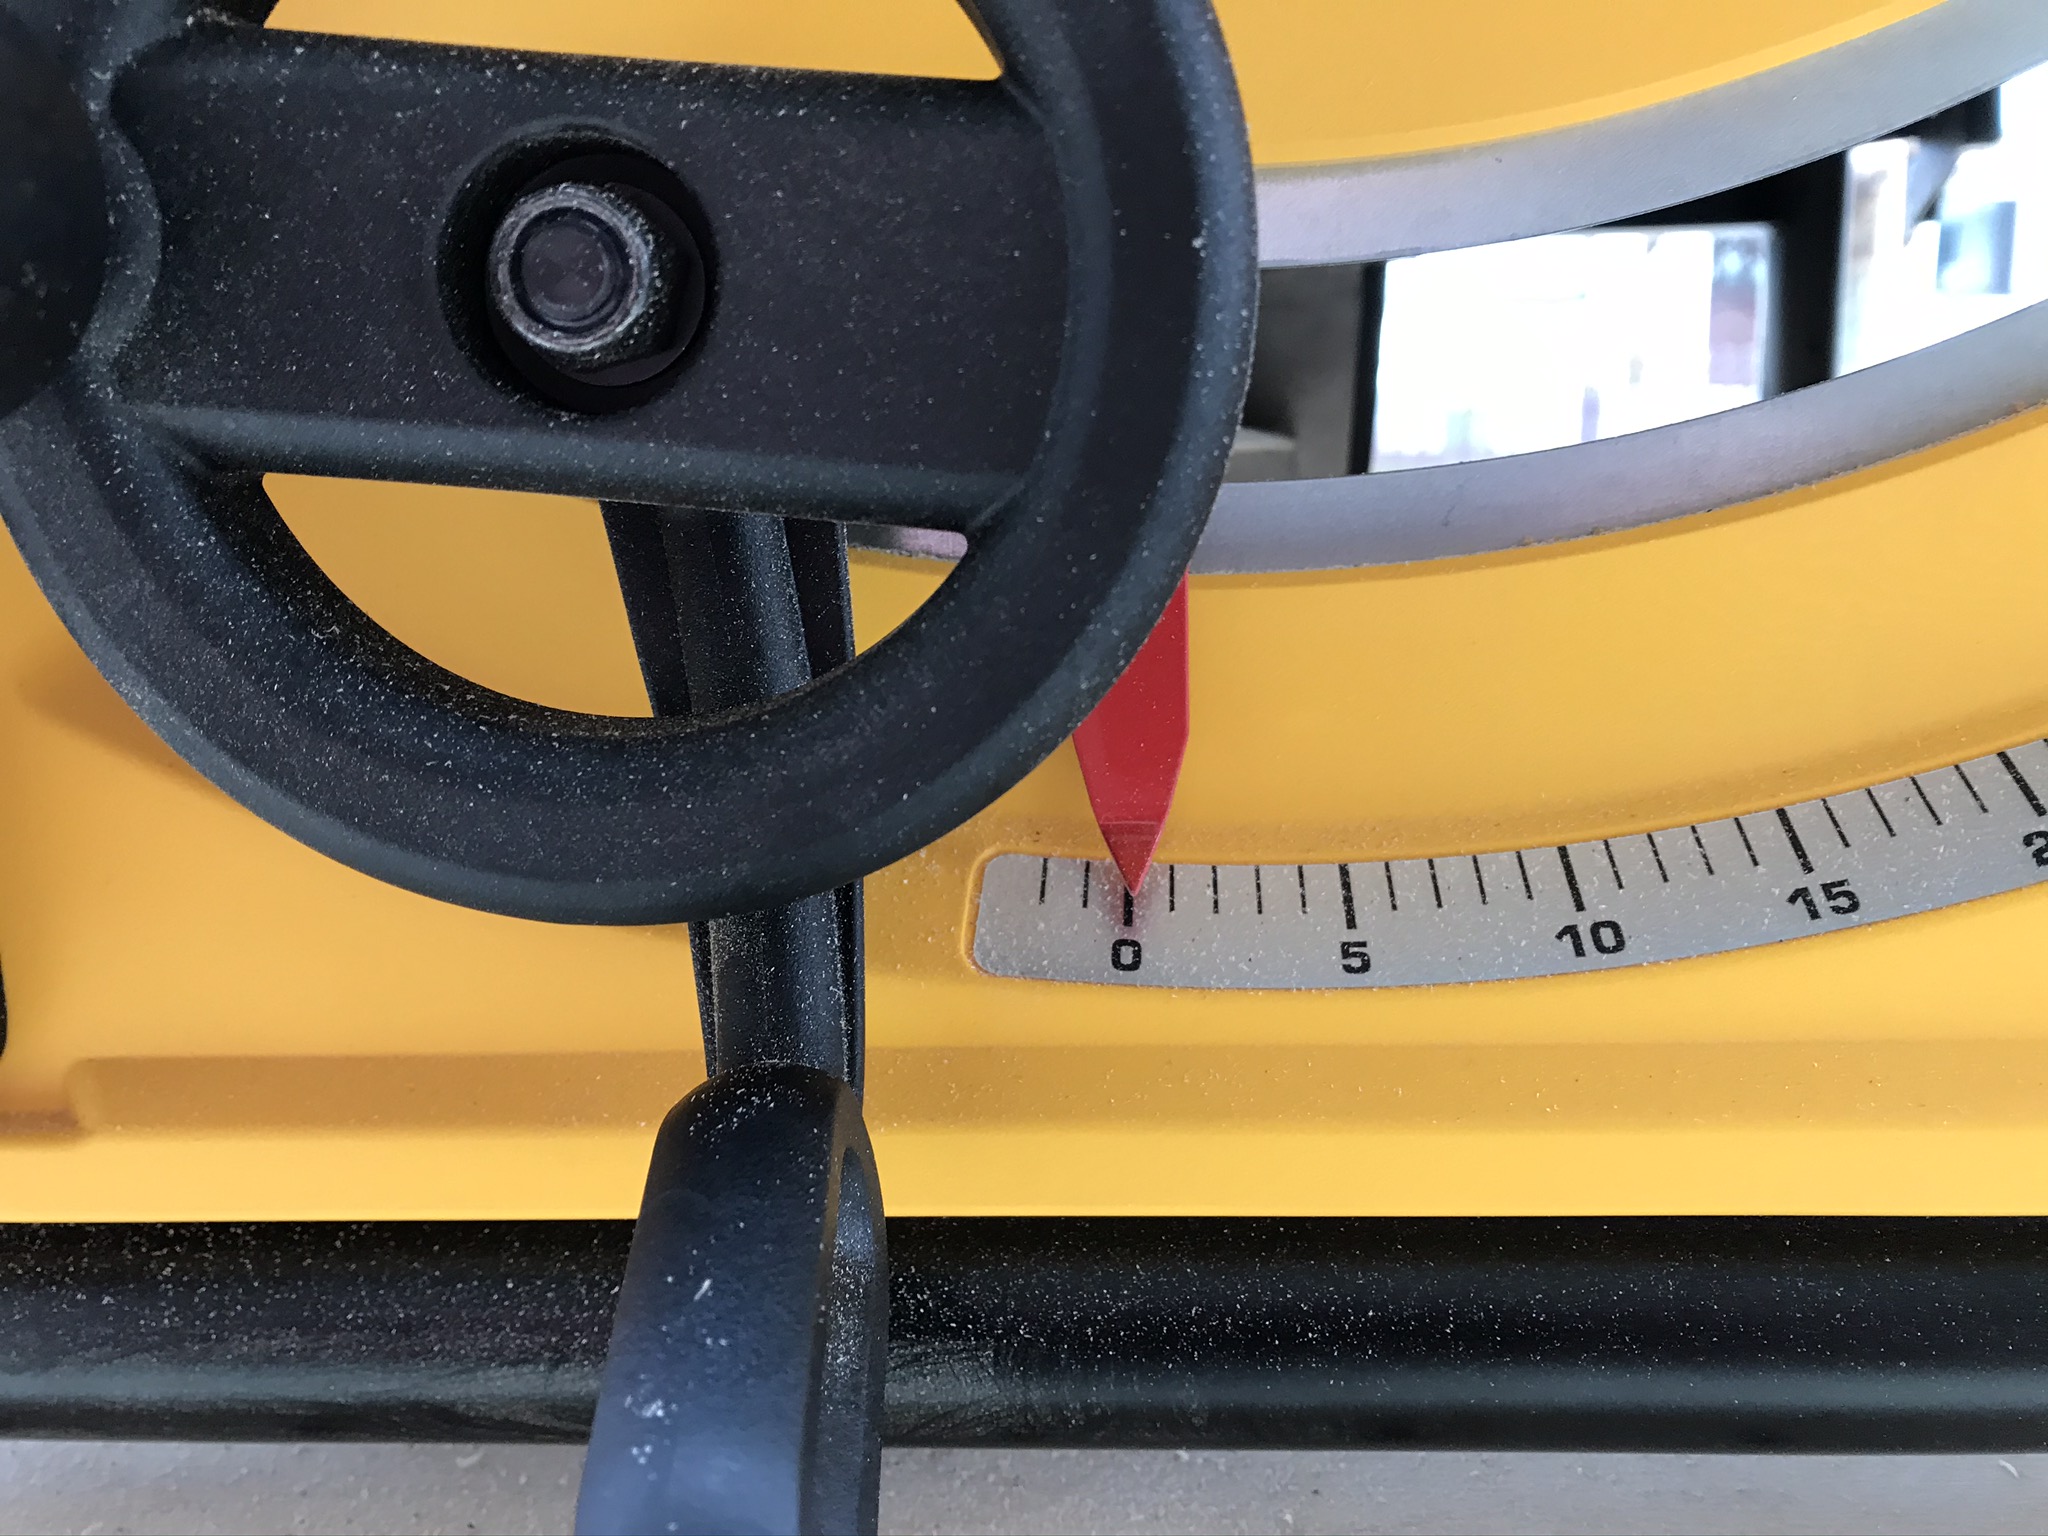
All battens need a bevel on one side. To achieve this, you can first cut 5 cm wide strips and then cut the bevel on each strip by setting the saw blade to 45 degrees.
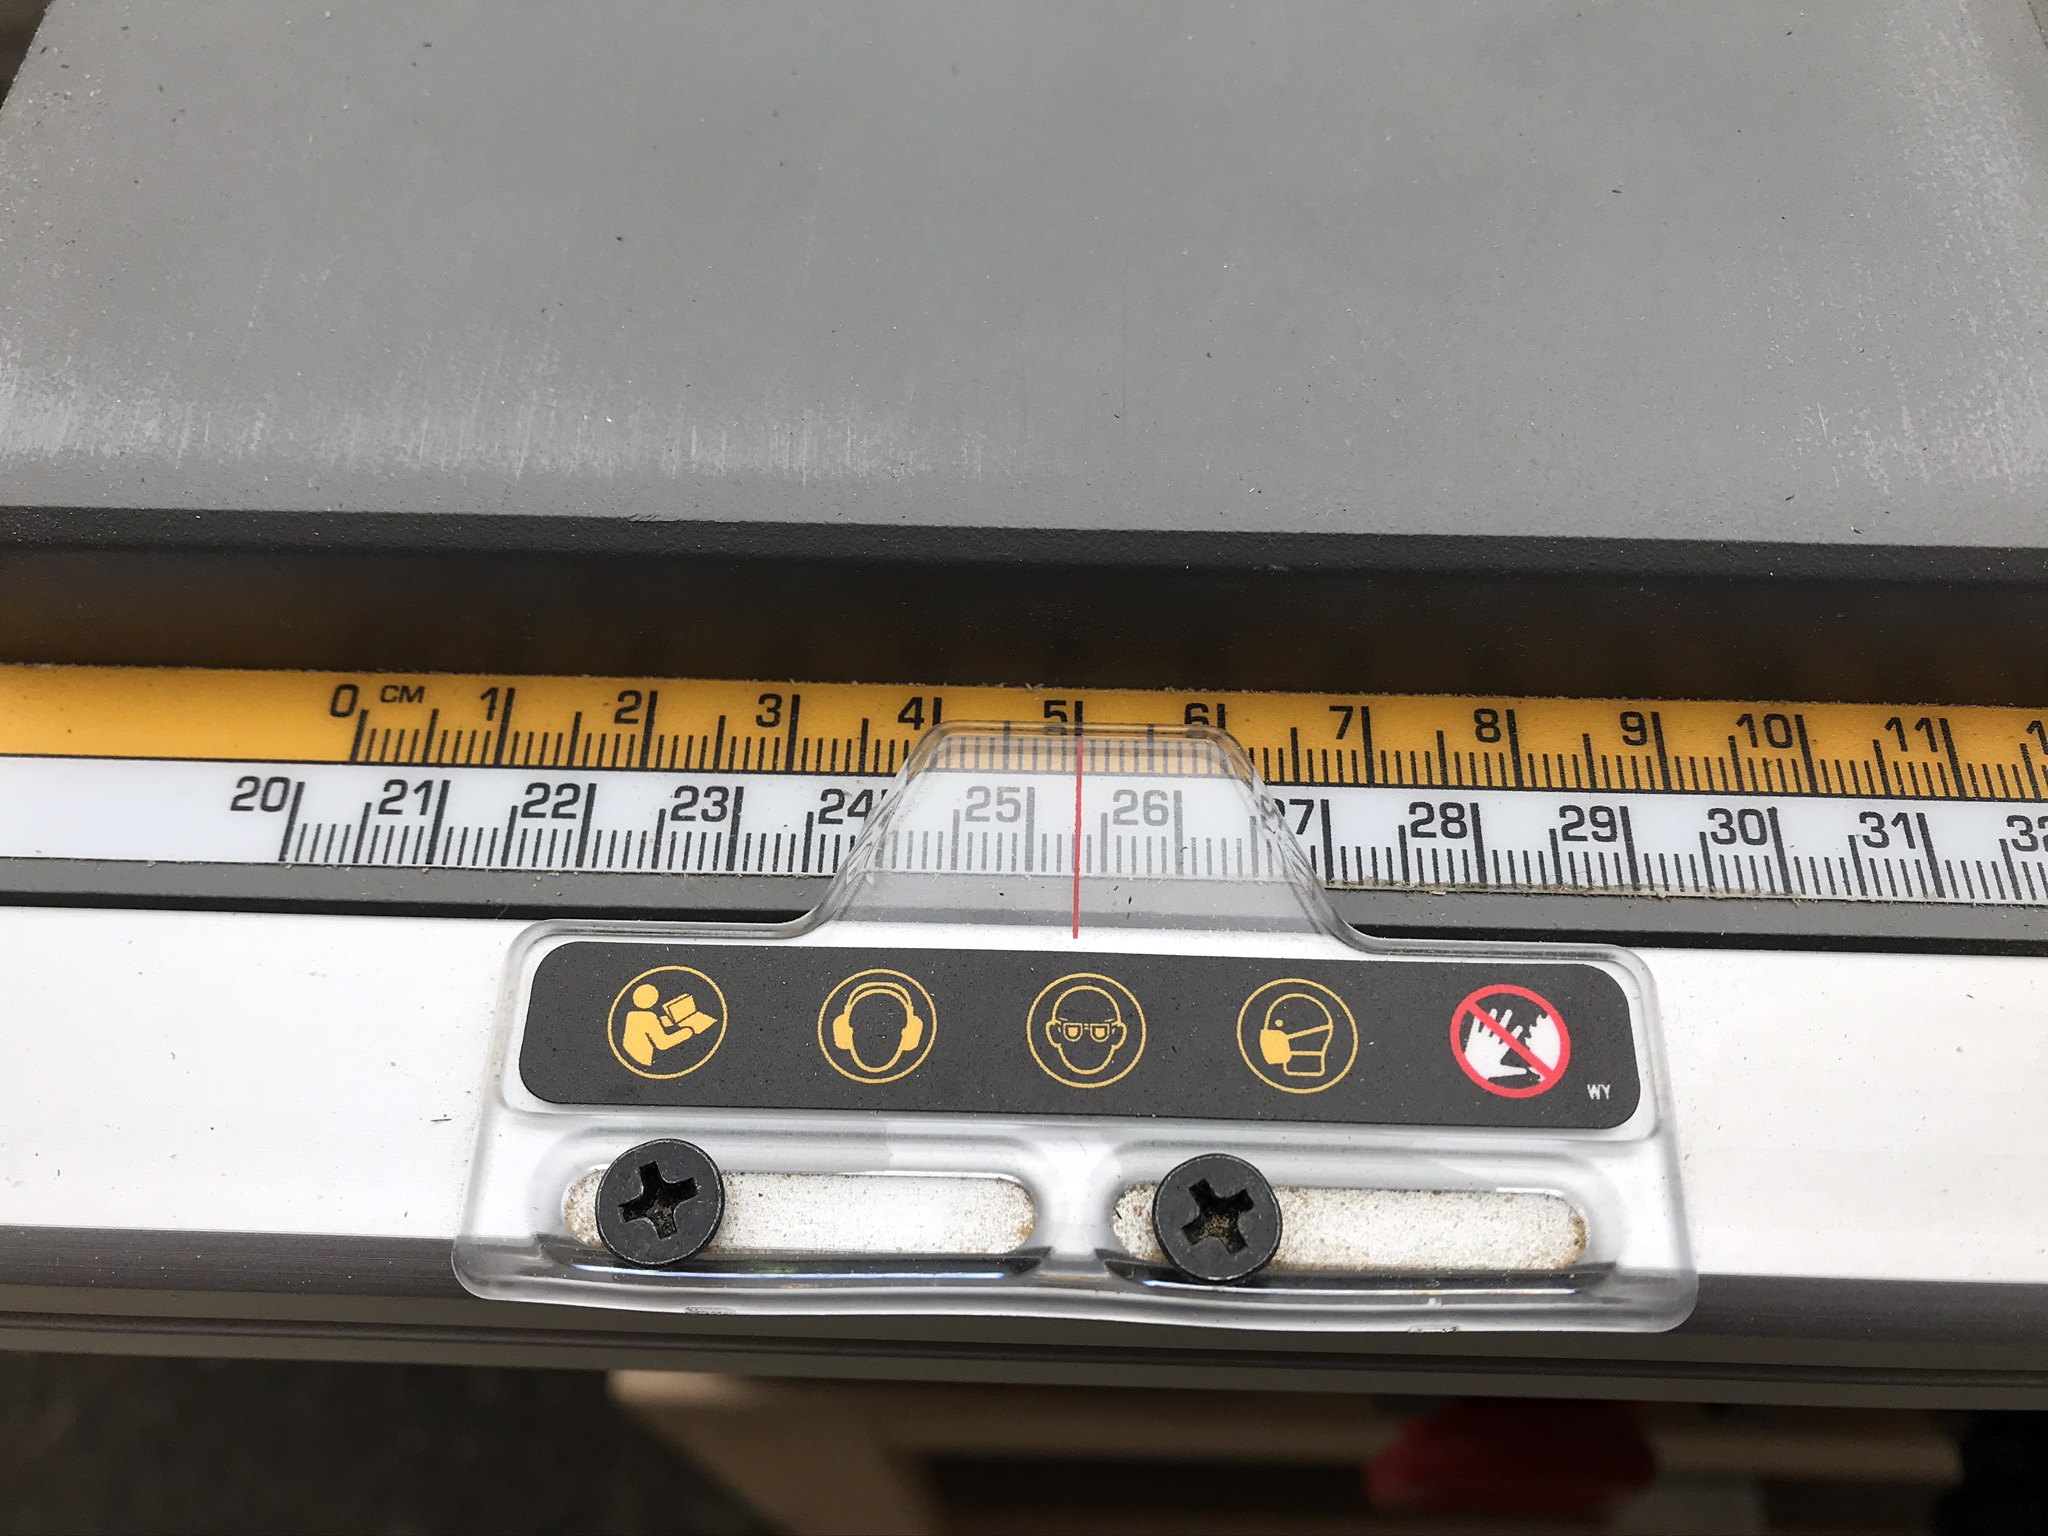
I proceeded differently and sawed off the strips directly from the board with a 45 degree bevel. I sawed alternately at 45 degrees and 90 degrees. With my table saw* and a 15mm board thickness, I get a 5cm wide moulding when I set the rip fence to 3.7cm and the saw blade to 45 degrees.


The subsequent cut in 90 degree position for the next cleat strips can then logically be carried out with 5cm adjustment on the rip fence.
This way you can cut the cleat strips directly, cut by cut. I recommend that you break the edges of the mouldings with a block plane* so that you don’t cut yourself on the sharp edges.


Mark and pre-drill the cleat strips
Once you have cut all the battens to size, you can mark the drill holes and then pre-drill everything. The yellow leads of the SOLA TLM2* are really visible on the screen printing plate.
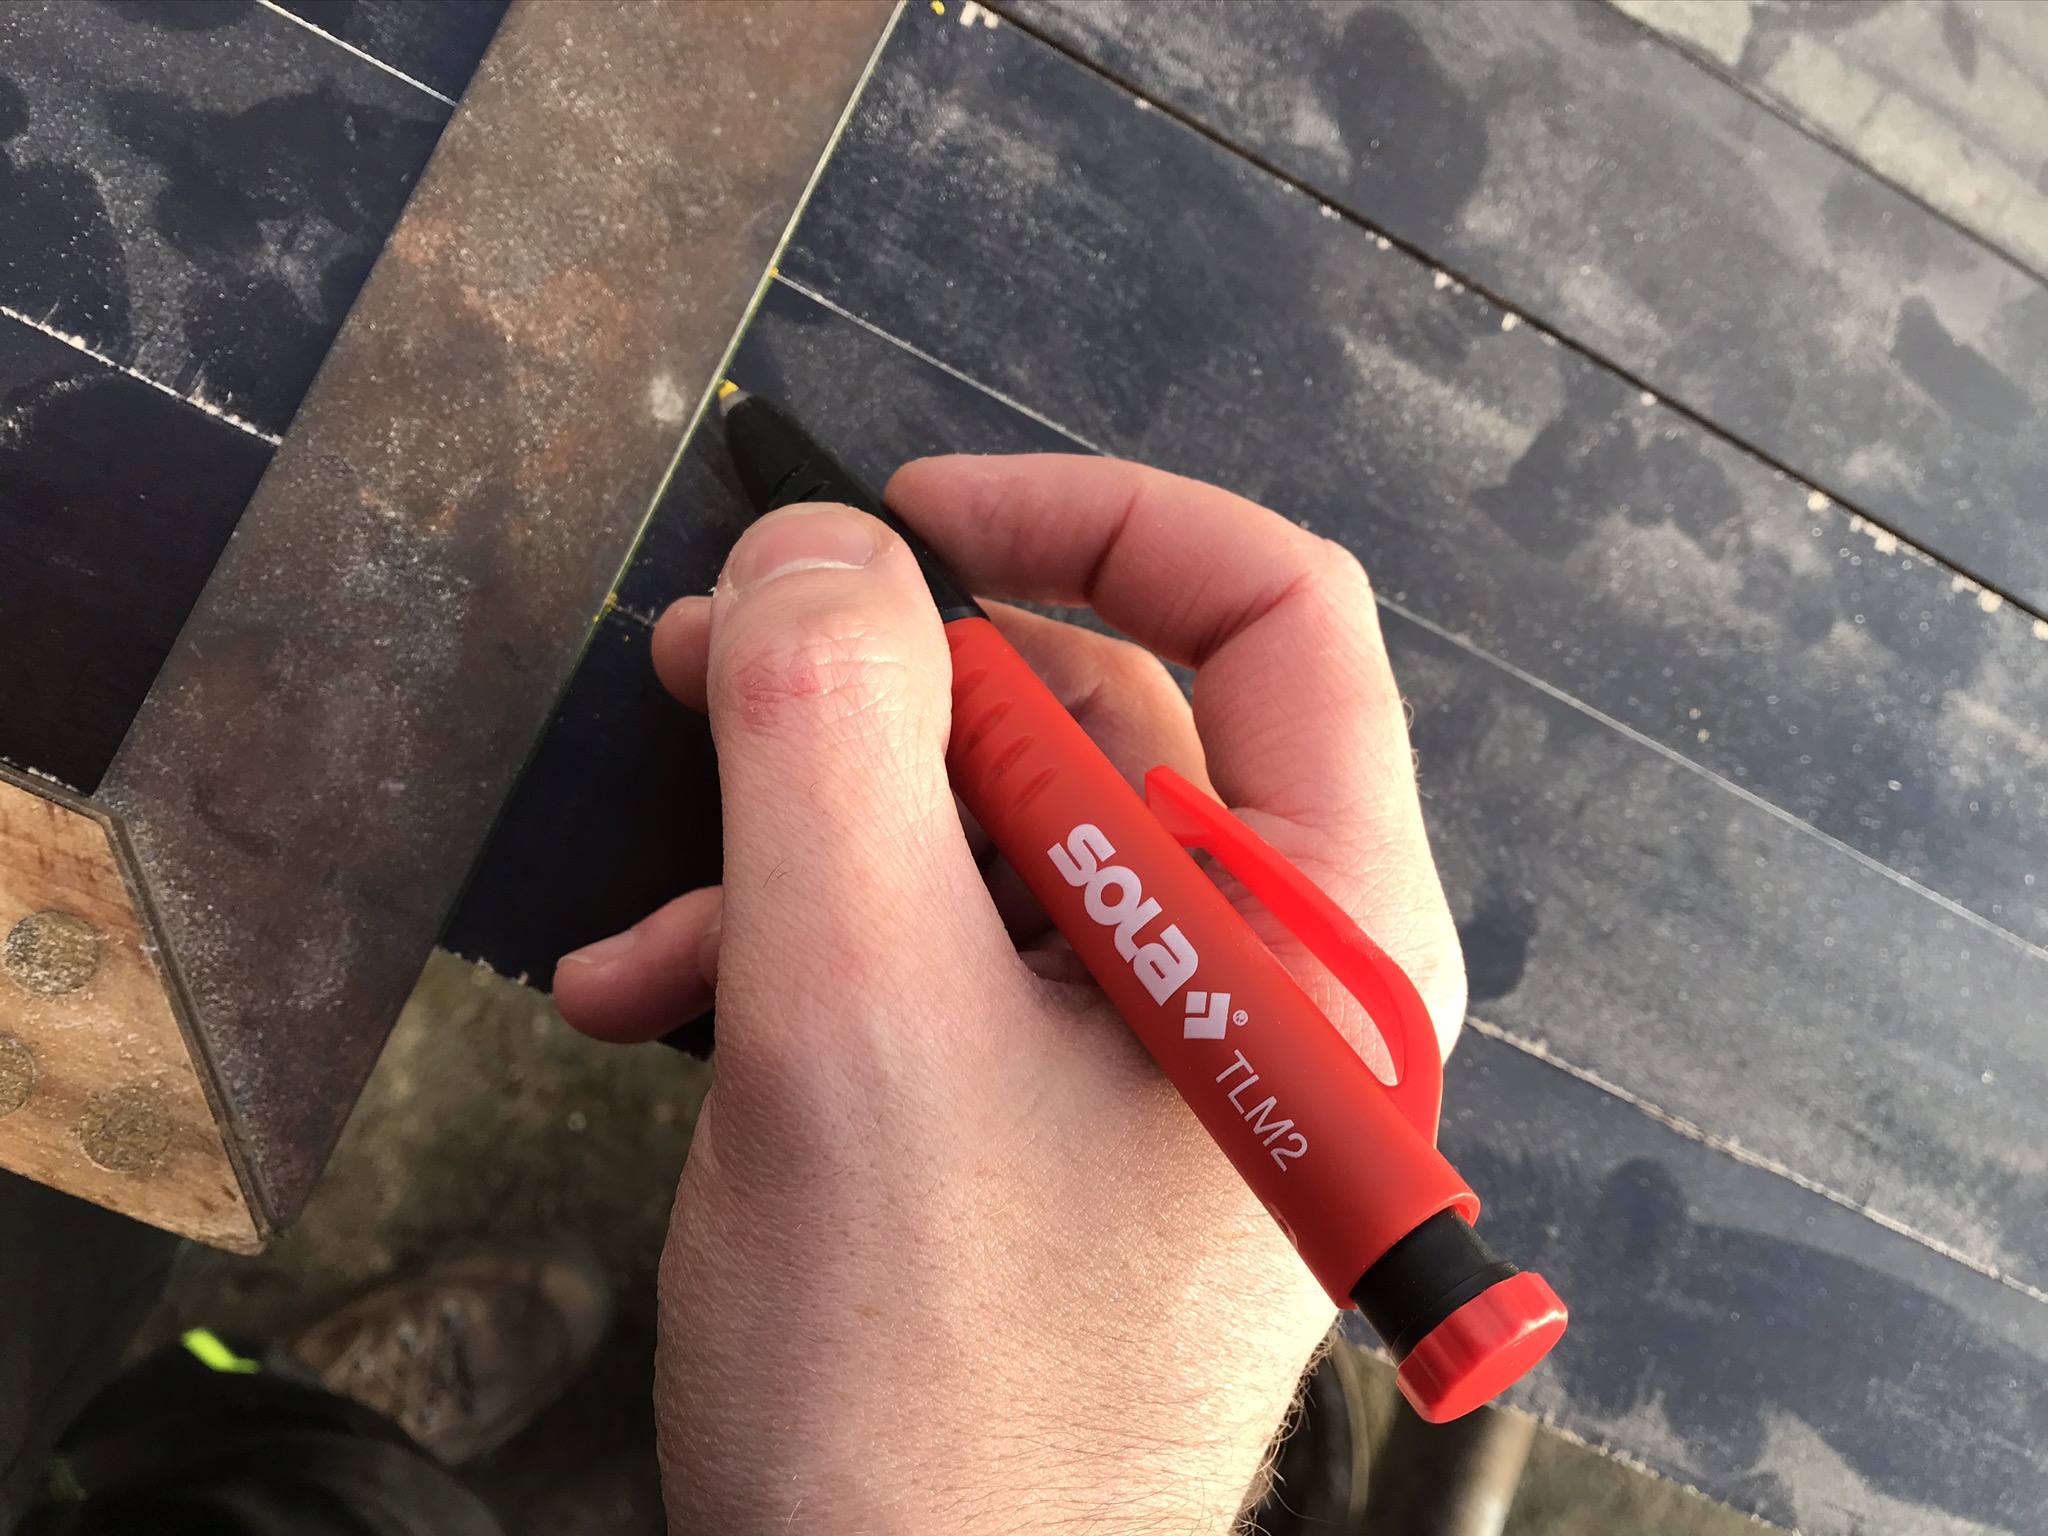


You should not mark the fixing hole in the middle of the 5 cm wide skirting board, but in the middle of the less wide back. In this case, it is at a height of approx. 17mm (measured from the underside of the cleat strip).


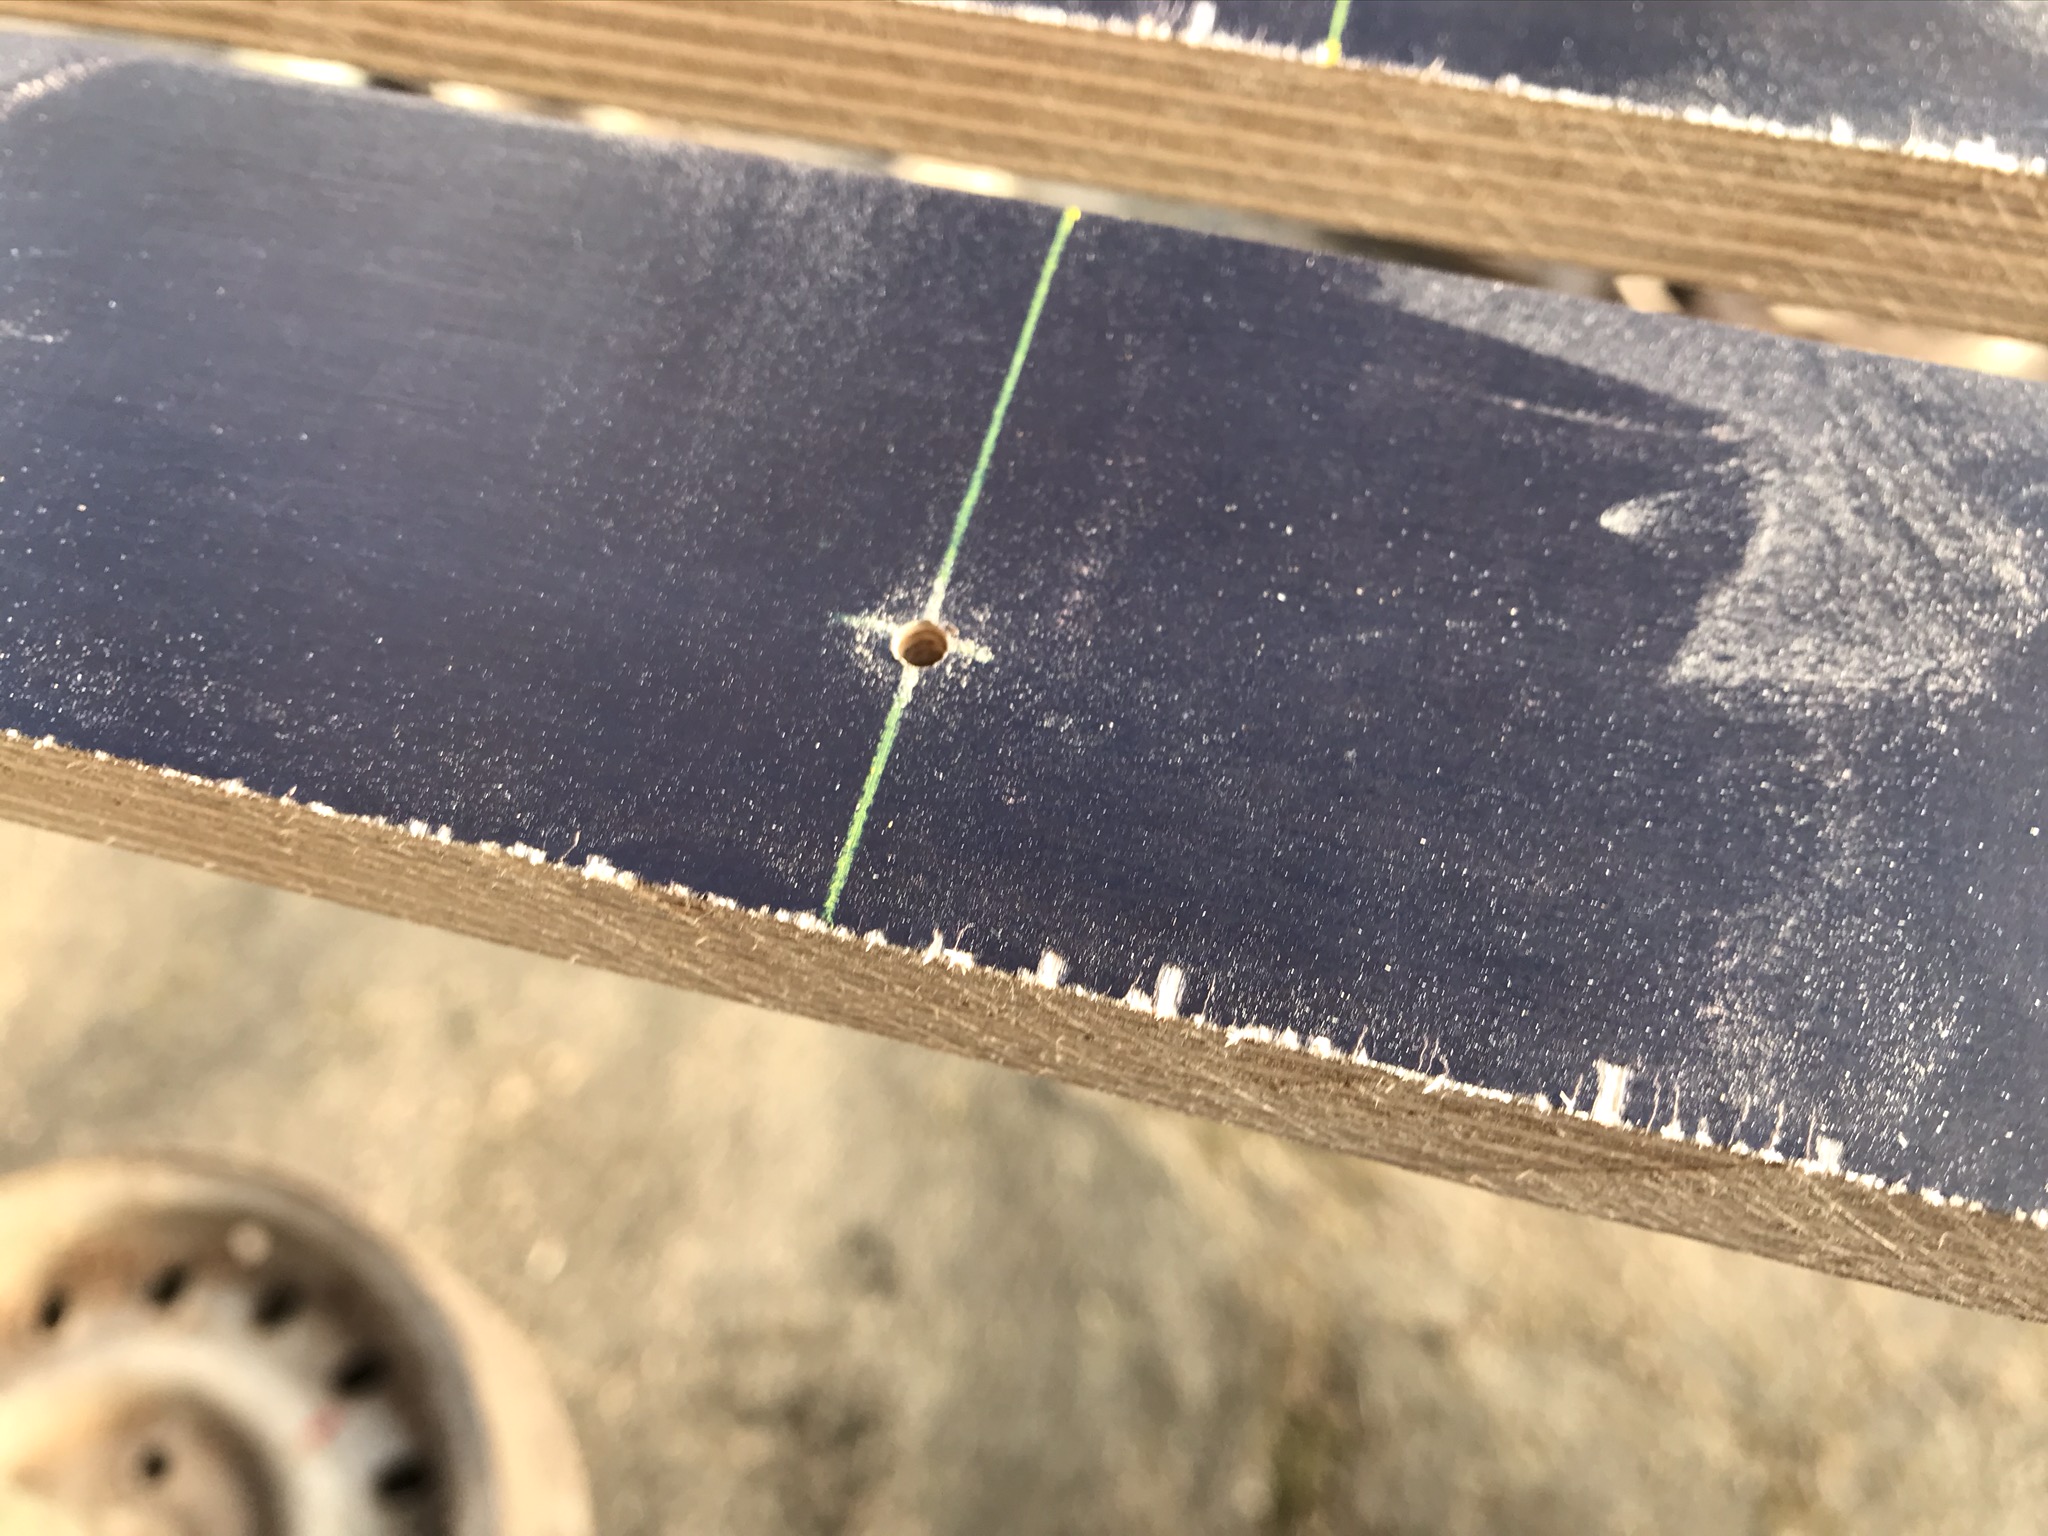
Once you have marked everything, you can pre-drill the French Cleat strips with a 3mm wood drill. To ensure that the screw heads do not protrude from the cleats later on, you should make sure to countersink the holes deep enough with a countersink so that the screw heads disappear into them.


Mounting the French Cleat strips
Once everything is pre-drilled and countersunk, you can mount the cleat strips individually on the wall. In my case, the French cleat strips are mounted on an 18mm thick OSB board – the cladding of my workshop is made of this. I used 4.5x30mm countersunk screws*. The 30mm length fits perfectly with the thickness of the cleats and the OSB back panel.


To ensure that all French Cleat strips have the same distance to each other, I used two 6cm wide pieces of scrap wood as spacers for the assembly.


First, fix the cleat to the middle screw only. By the way, I used 5 screws for 150cm long French Cleat bars – i.e. one screw every 25cm. Before you finally fix the cleat to another hole, check again with a level* that everything fits. Proceed strip by strip until the DIY French Cleat wall is complete.


How To Build A Tool Wall – Conclusion
That’s it! I will publish more projects on French Cleat holders in the future.


If you liked the project “How to build a Tool Wall – the French Cleat Wall” or if you have any questions, just let me know in the comments! What do you think of the DIY French Cleat Tool Wall?