
You want to know how to build a workbench yourself? With lots of clamping options? You don’t have a professional workshop and no professional machines at home? No problem! In the following series of posts you will find step-by-step instructions on how to build your own DIY workbench with simple tools! This DIY workbench tutorial refers to the metric system, not the imperial.
Below I have linked all the tools and materials you need to build the DIY workbench yourself.
You can find metric workbench plans below.
Construction drawings with detailed dimensions can be found below.
* = Affiliate Links /Advertising
As an amazon associate i earn from qualifying purchases.
How to build a workbench – easy, strong, multifunctional (metric)
Necessary Tools
- handheld circular saw* or table saw* or miter saw*
- router*
- cordless drill*
- chisel*
- sander*
- japanese saw*
- clamps*
Necessary Material
- [11 pcs.] [Worktop] 60x100x2000mm square timber
- [4 pcs.] [Workbench Base] 100x100x900mm inch square timber
- [2 pcs.] [Workbench Base] 100x100x620mm square timber
- [2 pcs.] [Workbench Base] 100x100x1450mm square timber
- Forstner drill bit 19mm*
- Router bit 19mm*
- Router bit 22mm*
- [8 pcs.] Screws M8x80*
- [8 pcs.] Washers M8*
- [8 pcs.] Nuts M8*
- [4 pcs.] T-Track bar 500mm*
- Wood oil*
- Wood glue*
Material Costs: ca. 200 £
Part 1 and Part 2 of this project can be found here:
How to mount a Workbench Vice:
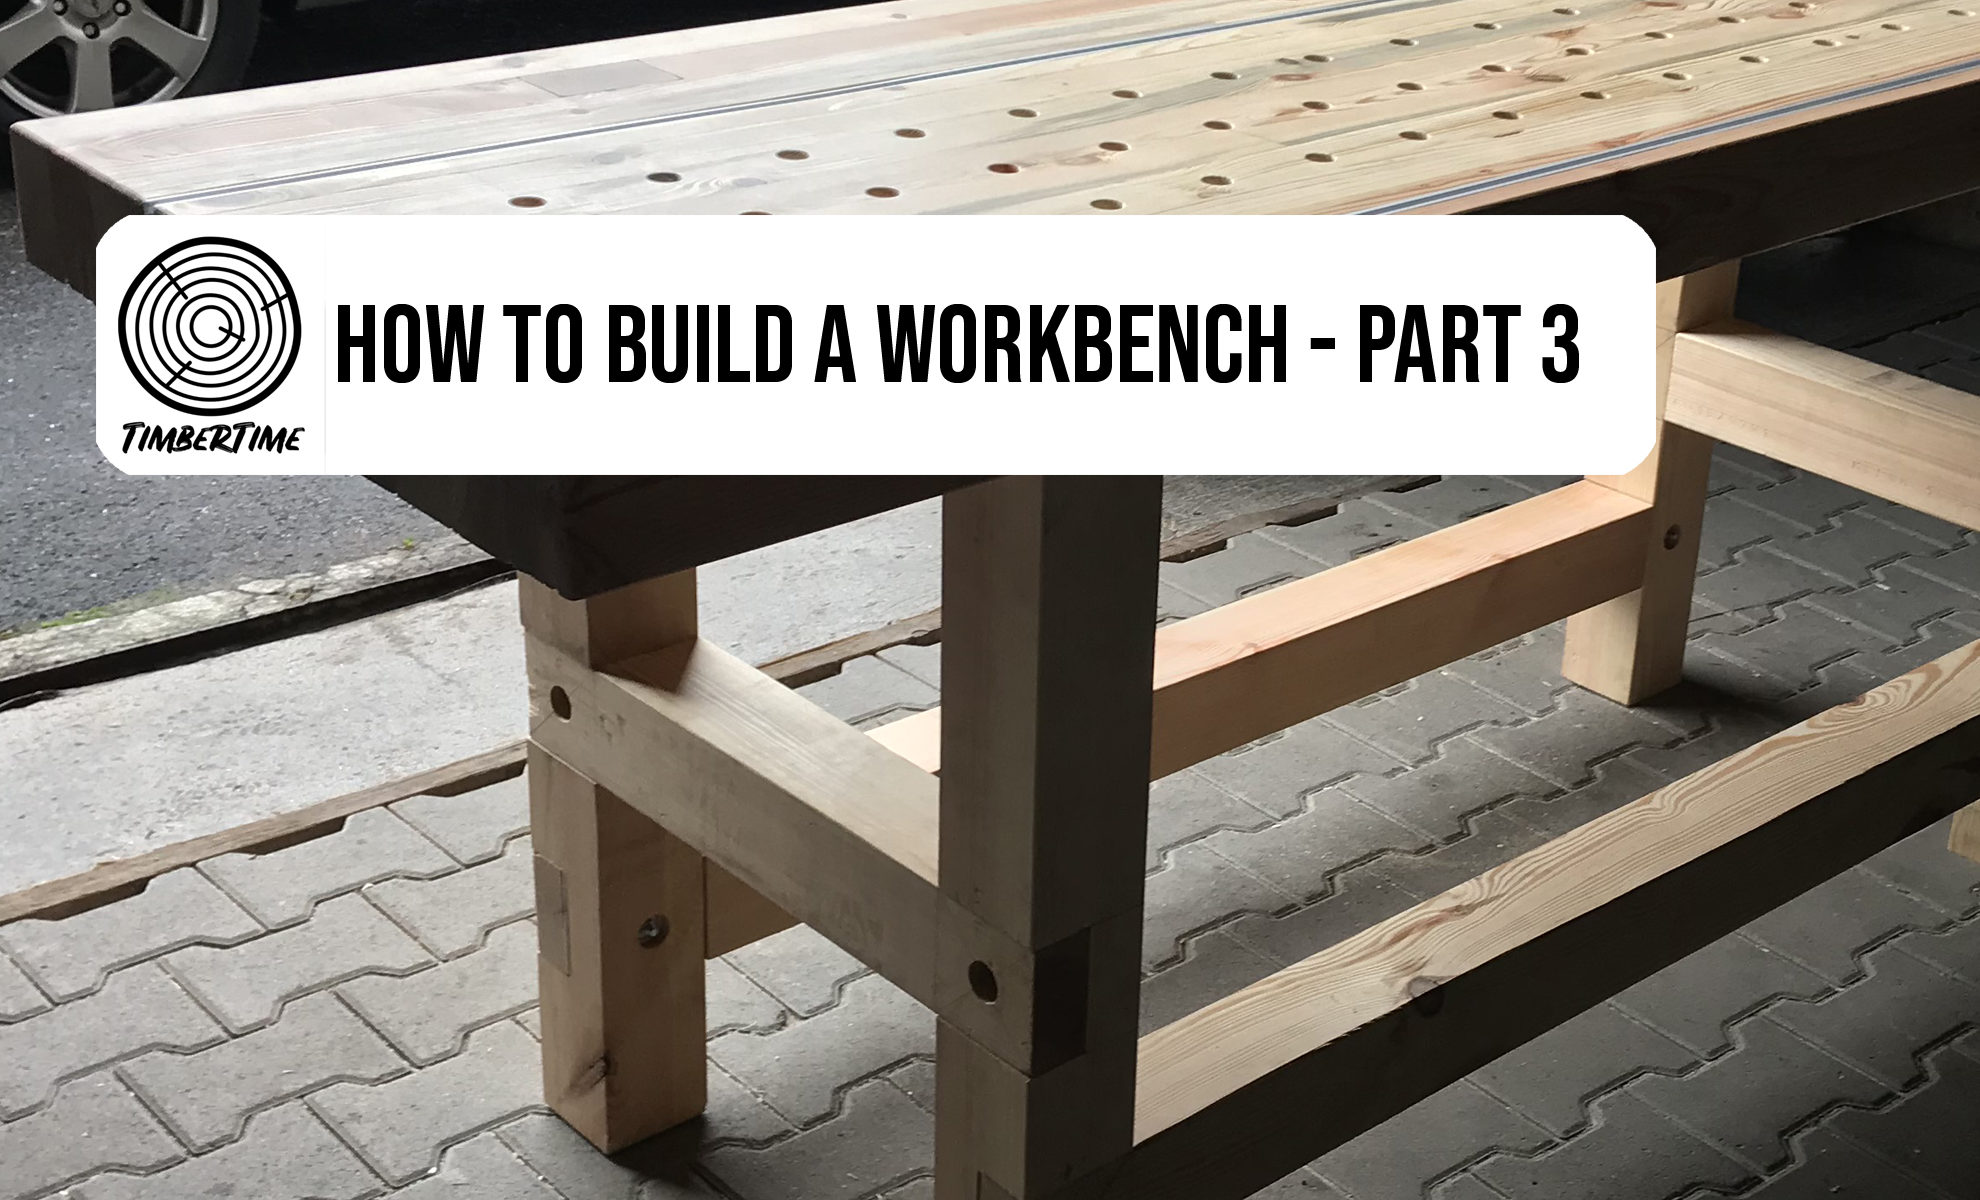
How to build a workbench – attach worktop to base
In PART 3, I show you how to sand the worktop, integrate T-track rails, drill a hole grid and oil the worktop.
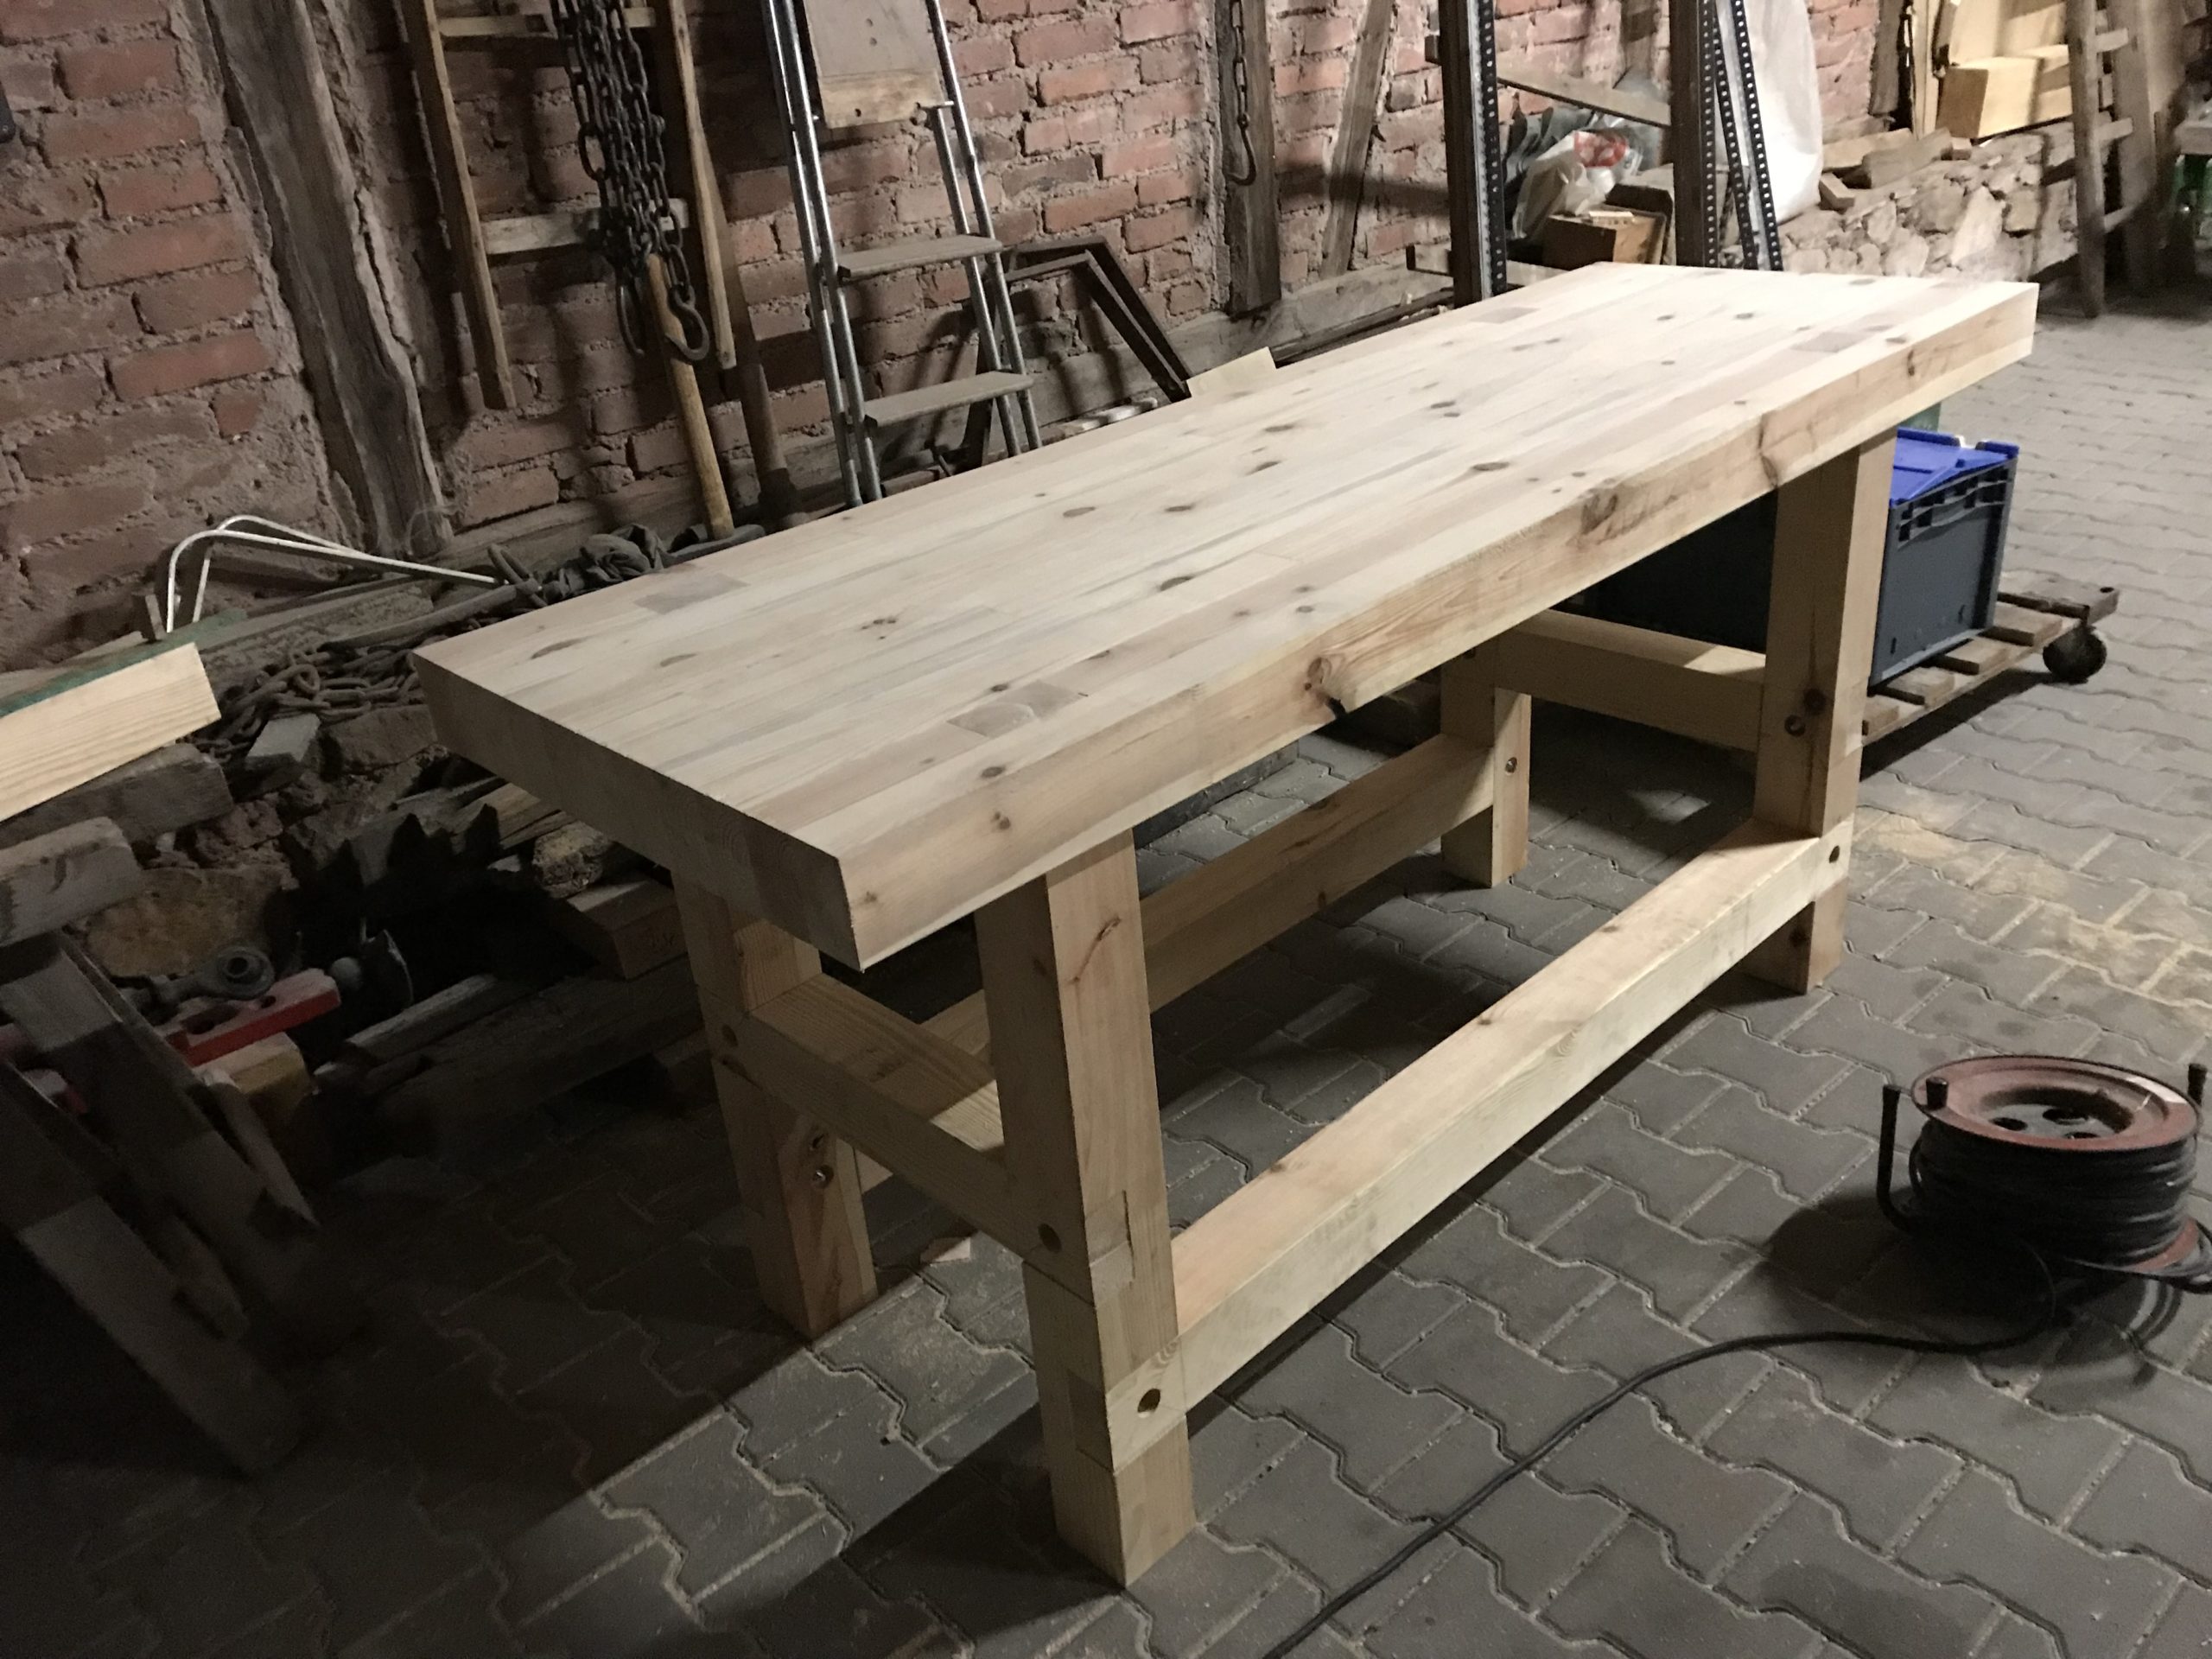
Before you sand the surface, you should attach the worktop to the workbench base. Easiest way to do this: build it up upside down. At the end, flip the entire construction around and the workbench is standing stable.
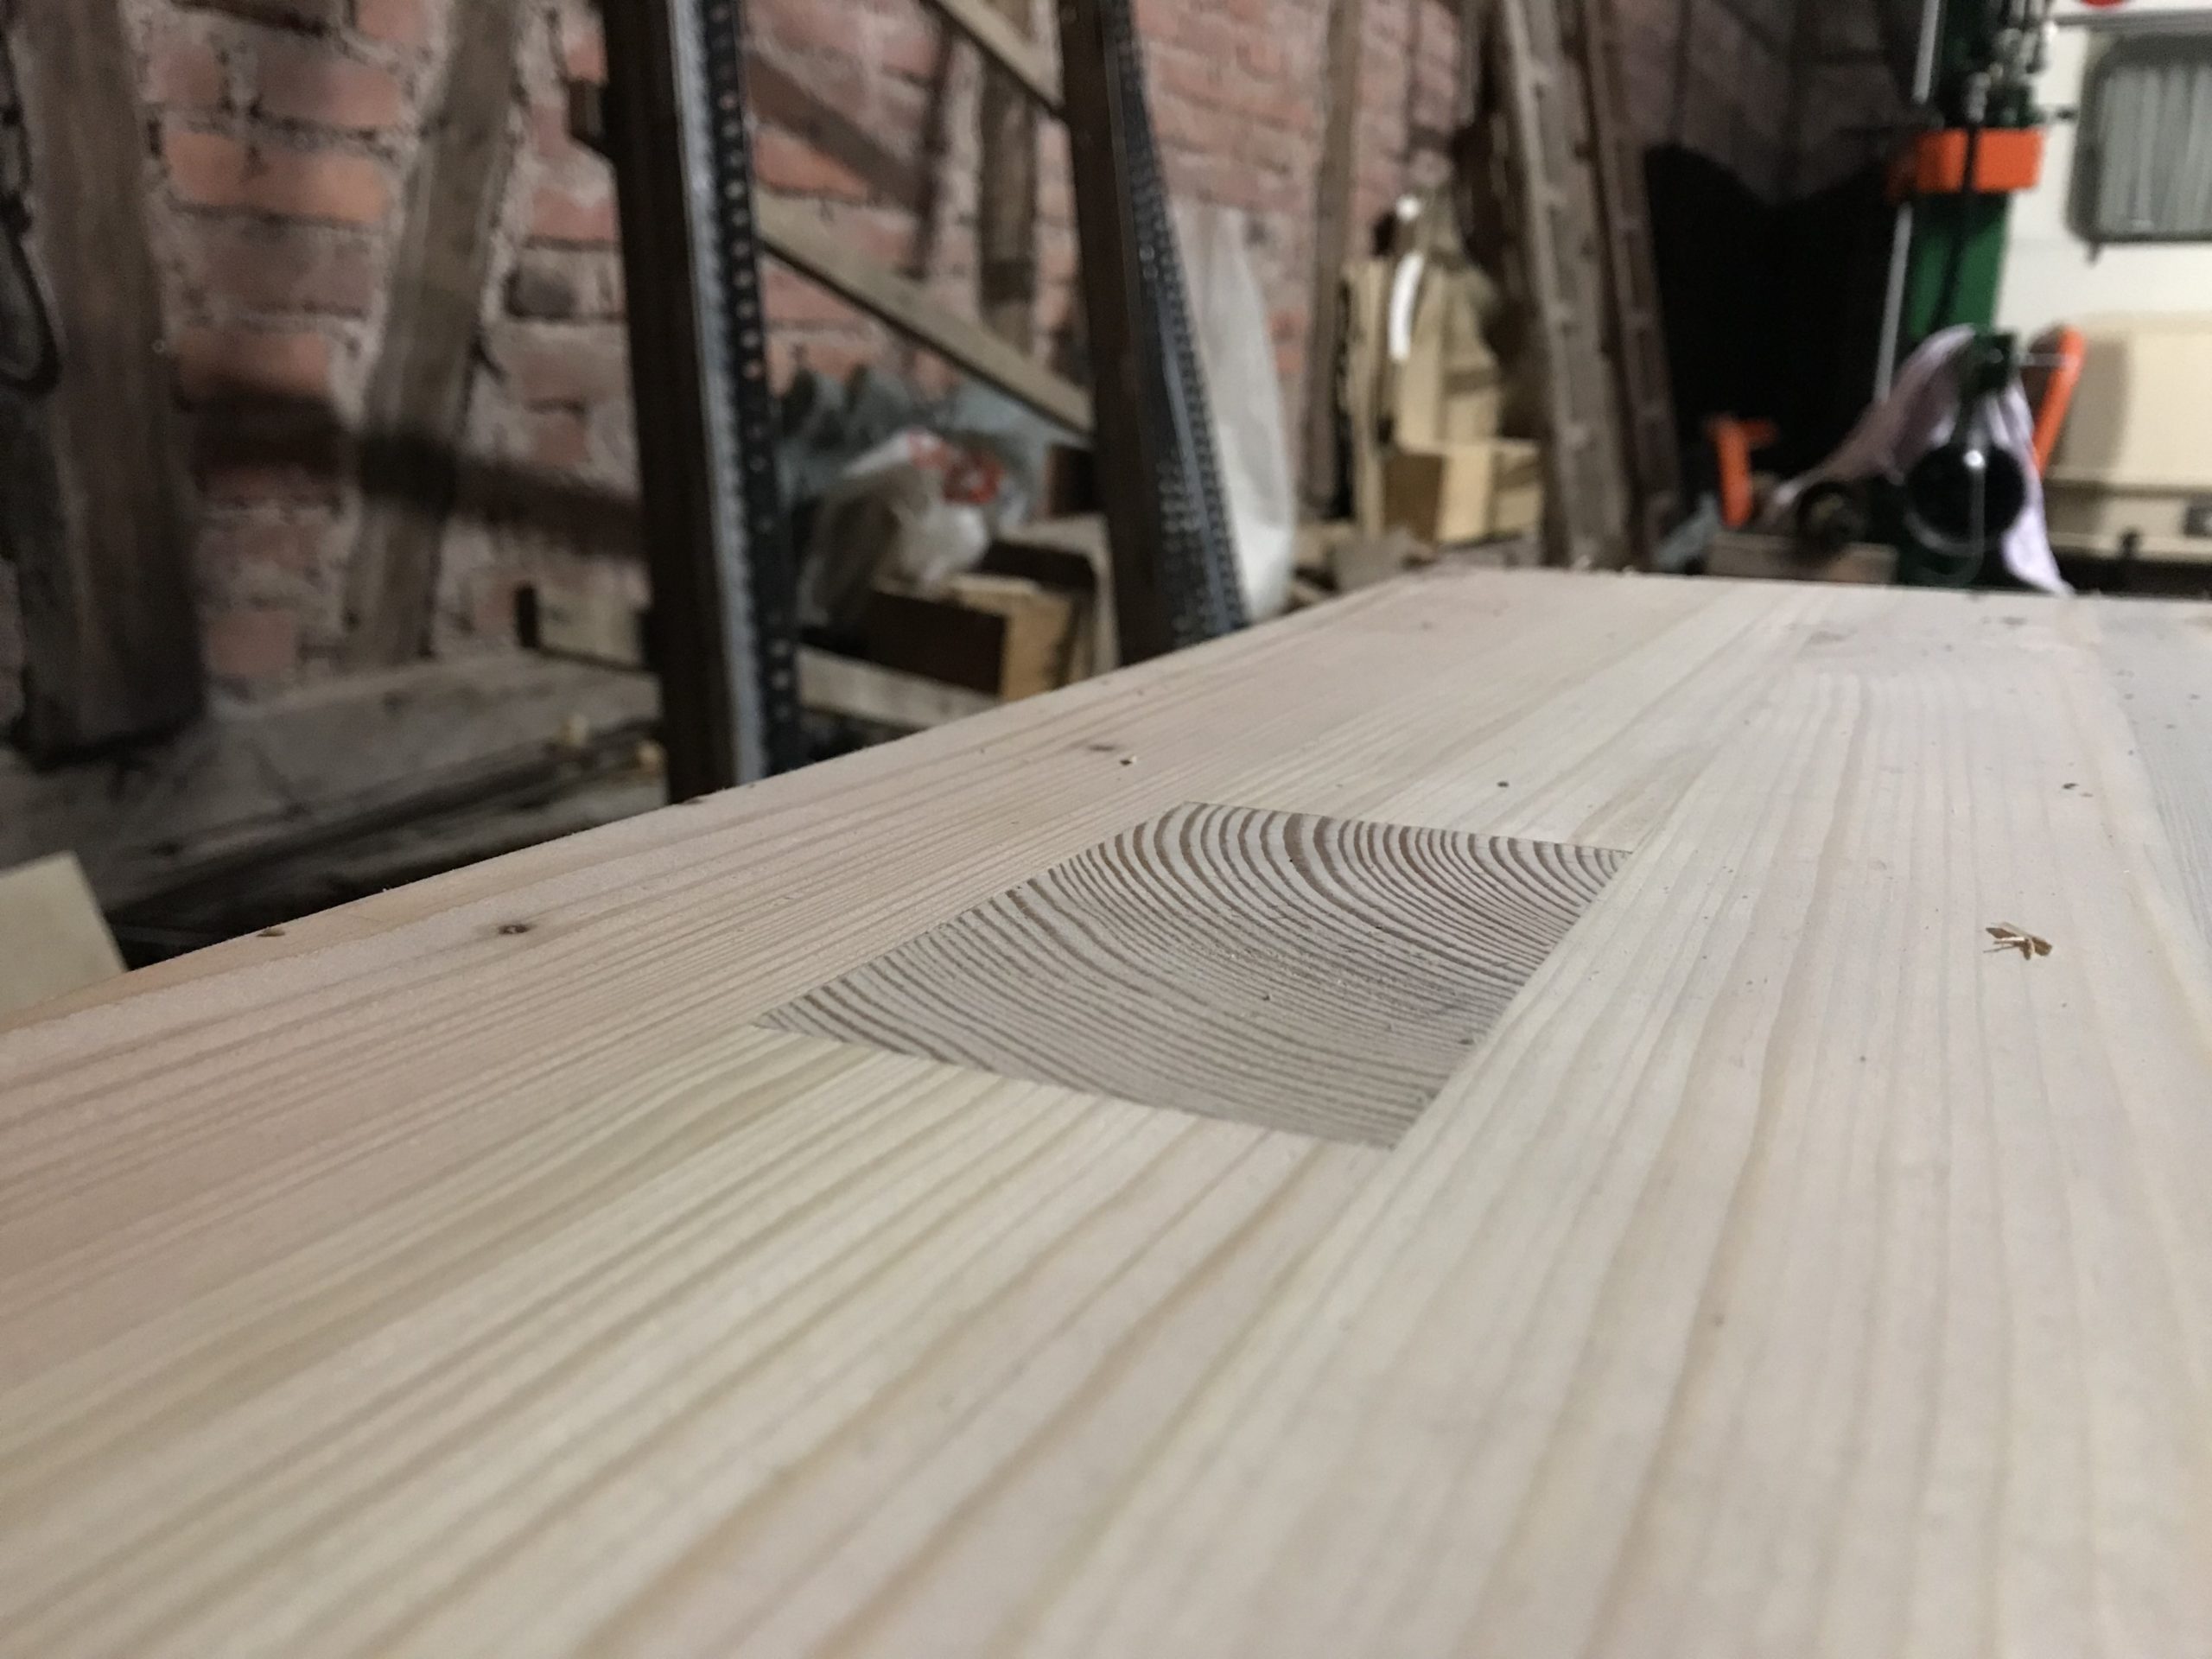
By milling the worktop flat, the table legs now stand out a little higher because material from the worktop has been removed. the protruding piece of table leg can be quickly and flush cut off with a japanese saw*. I myself have used the a Ryoba. The saw blade is very flexible. With light pressure, the saw blade lies completely flat on the tabletop and you can saw off the table legs so that they are at the same height as the worktop. I really recommend that you use a Japanese ryoba saw. You will achieve much better results and save yourself tedious reworking.

The beams of the worktop have minimal offset at the end?!
You will be similar to me if you don’t have a table saw and therefore can’t make repeatable cuts – the ends of the worktop have minimal offset among the single beams.
By the way – in the meanwhile I’m a proud owner of a tablesaw* – I decided to buy the DeWALT DWE7492* and I’m very happy with that decision!
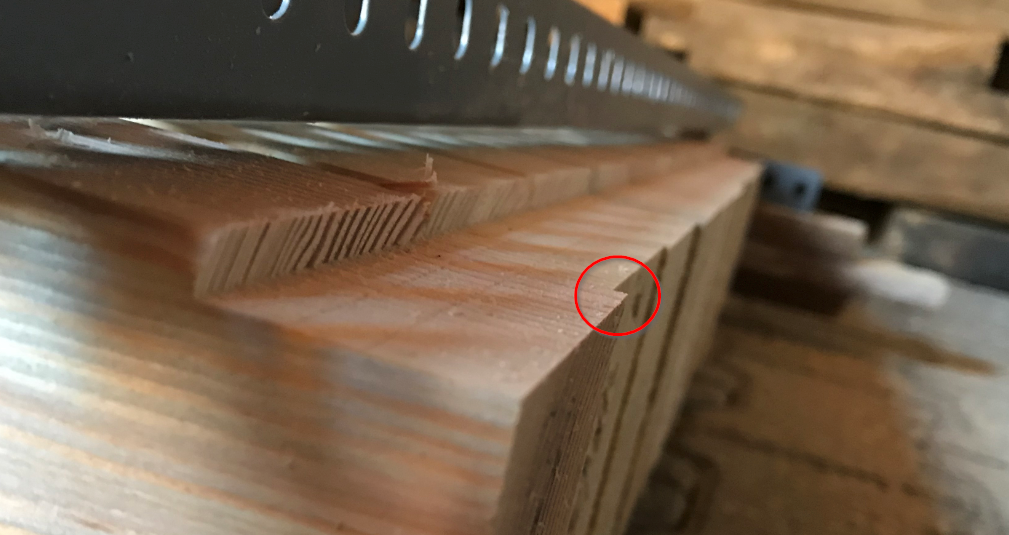
You can easily solve this problem with a hand-held circular saw* or alternatively with a jigsaw. With the circular saw*, you will probably have to cut from both sides. If you measure accurately, you will only have a minimal offset, which you can easily sand flat with your orbital sander*. Your worktop will lose some length in this step. The 4000 mm long square timber, which you probably cut in half in the middle for the worktop, will lose further length. This means that in the end the worktop will be less than 2000mm wide. That’s why I planned the worktop with 1950mm in the construction drawing.
How to build a workbench Sanding the worktop
Finally, you can sand down the worktop*. To make the surface really smooth, you must of course sand the worktop in several passes from coarse grit to fine grit until the worktop is really smooth. I started with grit 40. Be careful with the coarse grade – it’s easy to accidentally sand a bump into the worktop. Then I continued with grit 80, 120, 180 and finally grit 240. I recommend to buy a set of sanding discs which is covering any grits. I can recommend the set by workpro*. It’s affordable and it gets the job done!
The result is impressive! In principle, the do-it-yourself workbench is already perfectly usable in this condition. But to make the whole effort really worthwhile, one or two details are still missing.
Multifunctional Workbench? This is how it’s done!
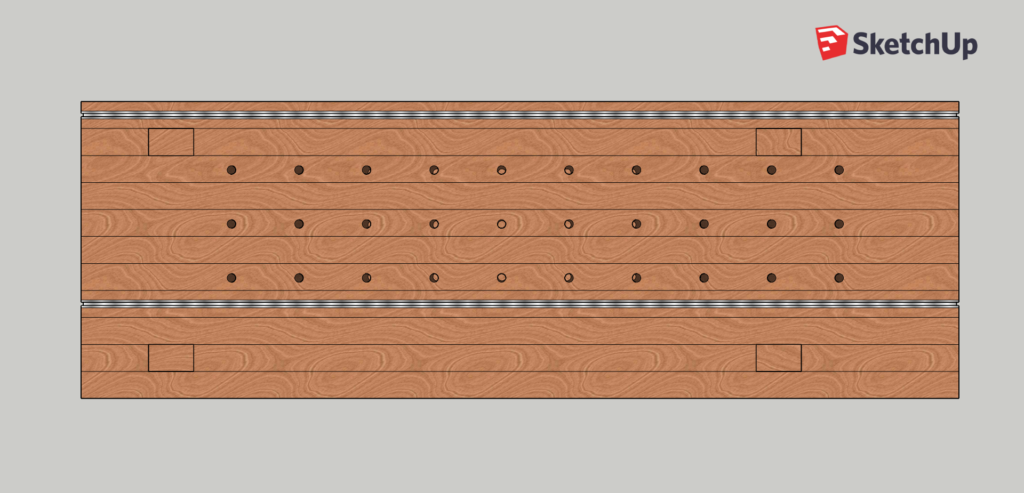
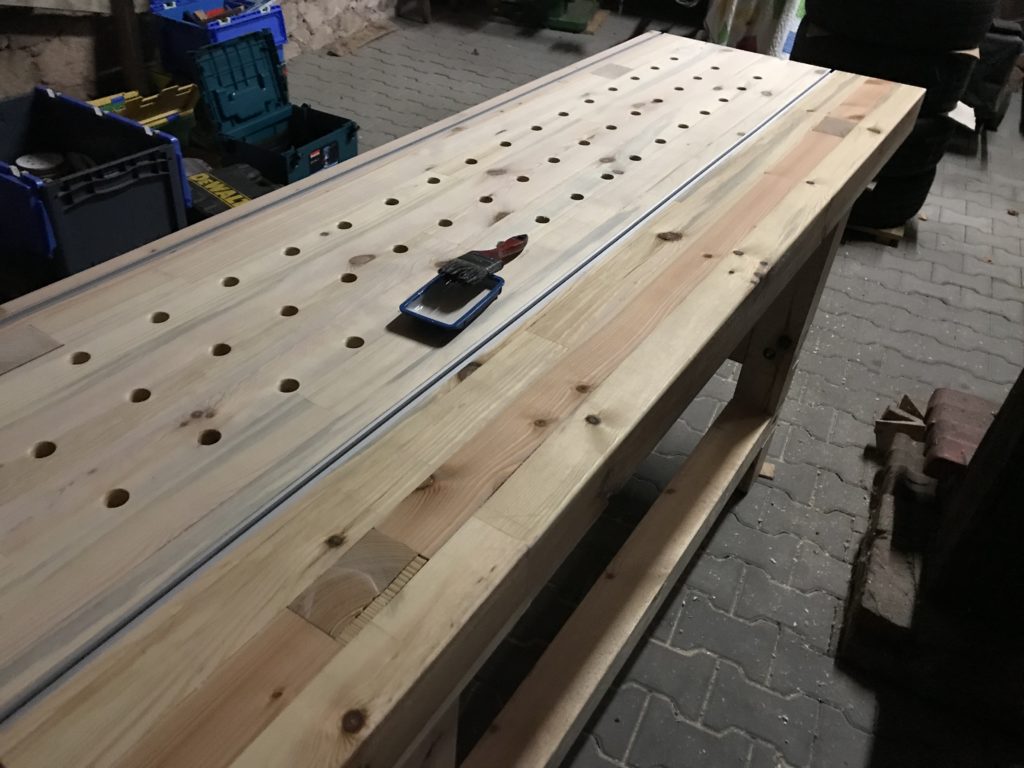
In order to be able to clamp various devices into the workbench later on, you should also insert two T-slot rails* into the worktop, which are designed for M8 screw heads or nuts. Only then will your workbench really become an all-rounder! A jig for planing, for example, I have now modified the jig user for planing the workbench top so that I can simply clamp it into the t-track rails when I want to plane a workpiece on my workbench.
Where exactly you place the t-track rails is up to you. Of course, you get the most space if you place the rails as far apart as possible. I placed one rail a little further away from the end of the workbench. I use the planing jig mostly for wooden beams. This gives me space in front of the first rail to put down tools etc.
When installing the T-track rails, I first milled a 19mm slot using a levelling board* or something similar as a rip fence with 2m length and then inserted the rail. If you are thinking about using a roof batten as a rip fence, please make sure that the roof batten is really straight – otherwise you will run into issues inserting the 19mm wide T-track rail. You can get a 19mm router bit at amazon*, for example. Do yourself a favour and don’t buy a cheap router bit. I screwed the rail into the wood instead of gluing it in. It is best to countersink the holes for the screws in the rail so that the screw head disappears completely. T-track rails are also available pre-drilled – but they are more expensive.
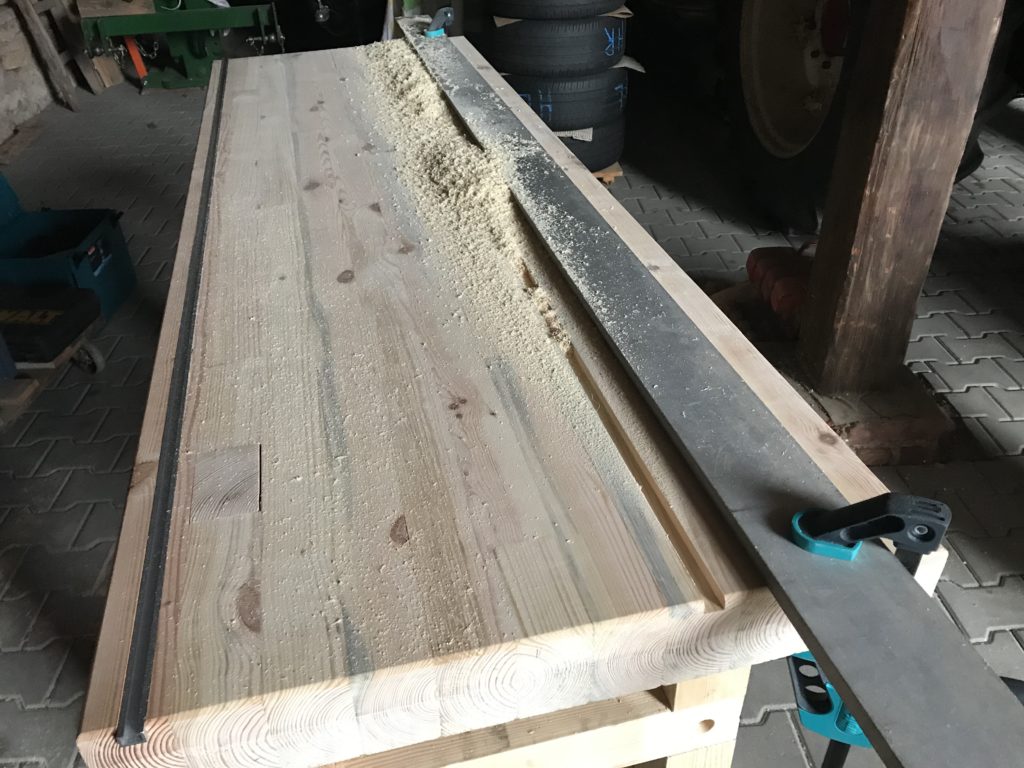
Make sure that you mill the slot slowly. Do not apply too much force! Especially if you only use a small router like I do. The small Makita router* has never let me down so far – I can highly recommend it!
Why not simply mill a T-slot instead of inserting rails into a normal slot?
Of course, you can also simply mill a T-slot with a special T-slot cutter*. However, I would only advise you to do this if you have used hardwood for your worktop. If you bought conventional KVH made of spruce or pine, like I did, then it’s better to use an aluminium rail – it will last longer.
Further advantages of an aluminium t-track rail:
- Cleaning (removing sawdust) much easier than with a wooden slot.
- The screw heads and nuts slide much better over aluminium than over wood.
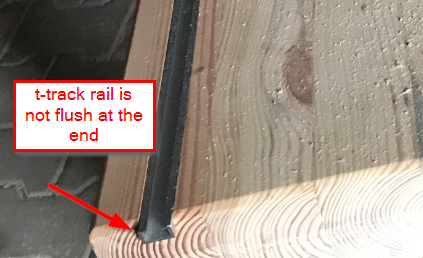
If the rail protrudes slightly, you can simply shorten the rail after installation with a hacksaw* and, if necessary, file the upper edge round with a file*.
Clamping possibilities with no limits!
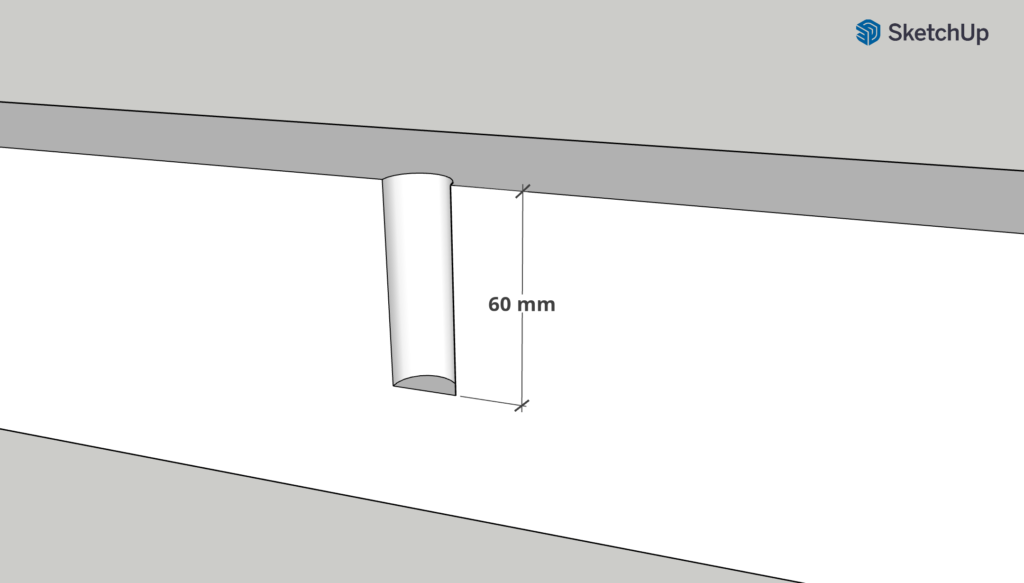
In order to be able to use common bench dogs or clamps in your workbench, I can highly recommend drilling a hole grid into the worktop. I did not drill the holes all the way through, but drilled blind holes. Why? This way I can build drawers under the worktop later without dust falling in from above.
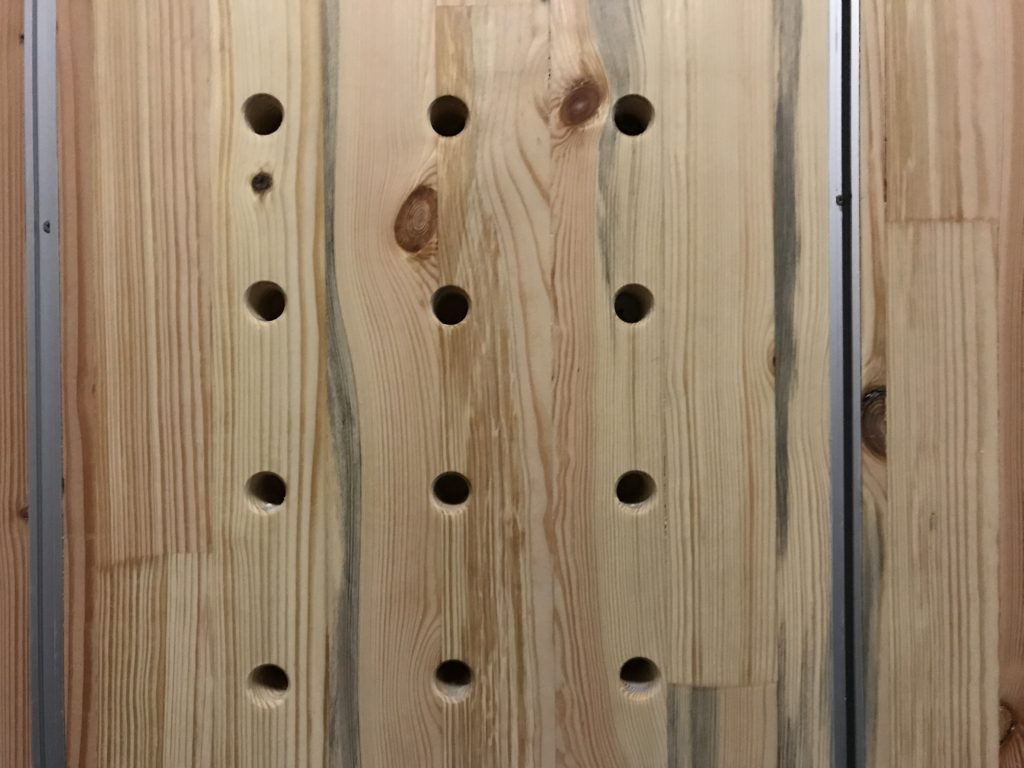
Which hole diameter? Which hole pattern?
First of all, you have to decide which diameter you want for your hole grid. I decided on 19mm holes because there are relatively many accessories (bench dogs, clamps, etc.) to buy. 19mm is now a common standard and the accessories are comparatively cheap. This is because it corresponds to the American 3/4 inch standard. Whether you choose the same diameter is up to you. If you already have some accessories that fit another dimension, it is better to use this one so that you can use your accessories.
Next you should think about how far apart you want to drill the holes. I decided on 100mm spacing between the holes. If necessary, you can always drill more holes in other positions later.
I drilled the holes as so-called blind holes. This means that the holes are not drilled through the entire worktop, but only about 60mm deep. So every now and then you have to vacuum out the holes. In return, no dirt falls into a drawer, which you can install under the worktop if you want.
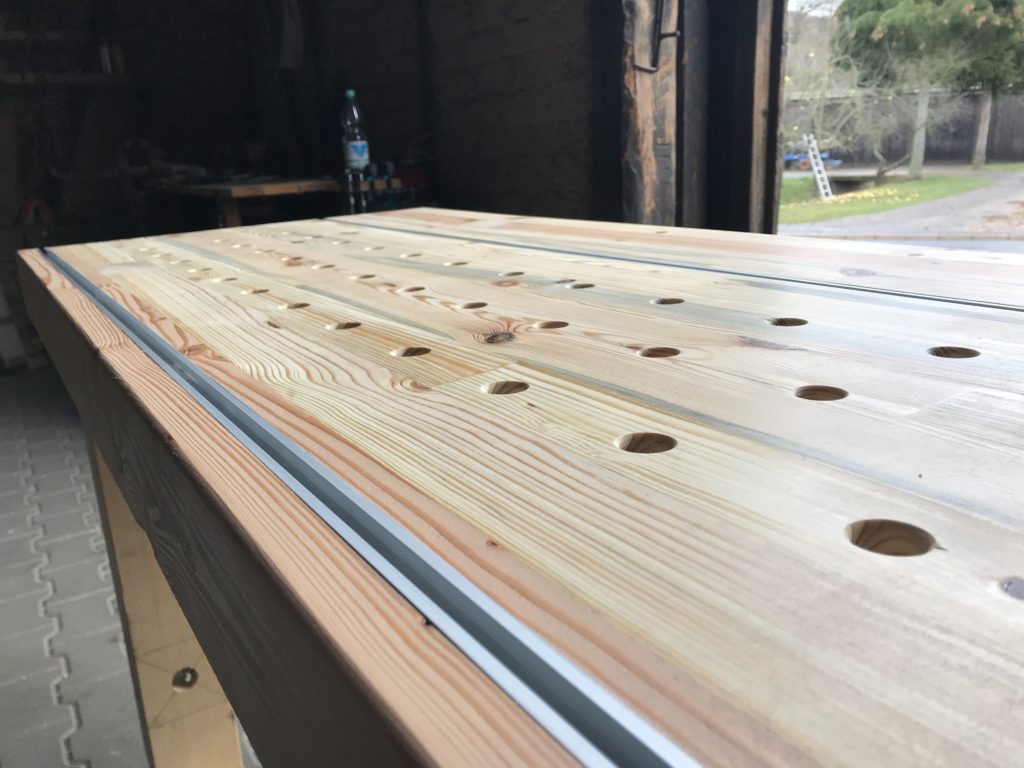
Once you have clarified the points for yourself, mark the hole grid on the worktop and drill the holes with a 19mm Forstner drill*. I can only advise you to use a drill stand so that you always drill vertical holes. So far, I can unreservedly recommend the inexpensive drill stand from Wolfcraft. It does what it is supposed to do at a reasonable price! Afterwards, you should always round off the edges of the hole with a round over corner bit* and your router* so that the wood does not splinter when bench dogs are inserted.
What about a Workbench Vice?
A workbench usually has at least one front clamp for clamping workpieces. In the following project you will learn how to install a workbench vice*. I can recommend the following one:
An actual comparison between popular Workbench Vices you can find here:
How to build a workbench – Surface treatment
You have reached the last step – finishing your DIY workbench! In general, it makes sense to treat the worktop to make it more resistant. Which oil you use is up to you. However, I recommend that you use a special worktop oil. I chose the worktop oil from Osmo*. It absorbs well and does not leave a sticky, greasy film. It is best to apply 3 coats. 30 minutes after applying a coat, I wiped off the excess oil-wax mixture with a cloth. I waited a day between coats.
The result is quite good- I am more than satisfied. The effort was definitely worth it!
That’s it! The project “how to build a workbench (metric)” is finished! I hope you enjoyed the project and I was able to give you a tip or two! Tell me in the comments about your DIY workbench project and what was the biggest challenge for you when building it yourself!