Installing a workbench vice is not difficult. I have significantly improved my DIY workbench with a retrofit woodworking vice. You can find out how easy it is to install this workbench vice and what you shouldpay attention to in the article below.
* = Affiliate Links /Advertising
As an amazon associate i earn from qualifying purchases.
Advertising

Necessary Tools
Necessary Material
- Woodworking Vice*
- Woodworking Vice – Alternative 1*
- Woodworking Vice – Alternative 2*
- Woodworking Vice – Alternative 3*
- Woodworking Vice – Alternative 4*
- Forstner drill bit 19mm*
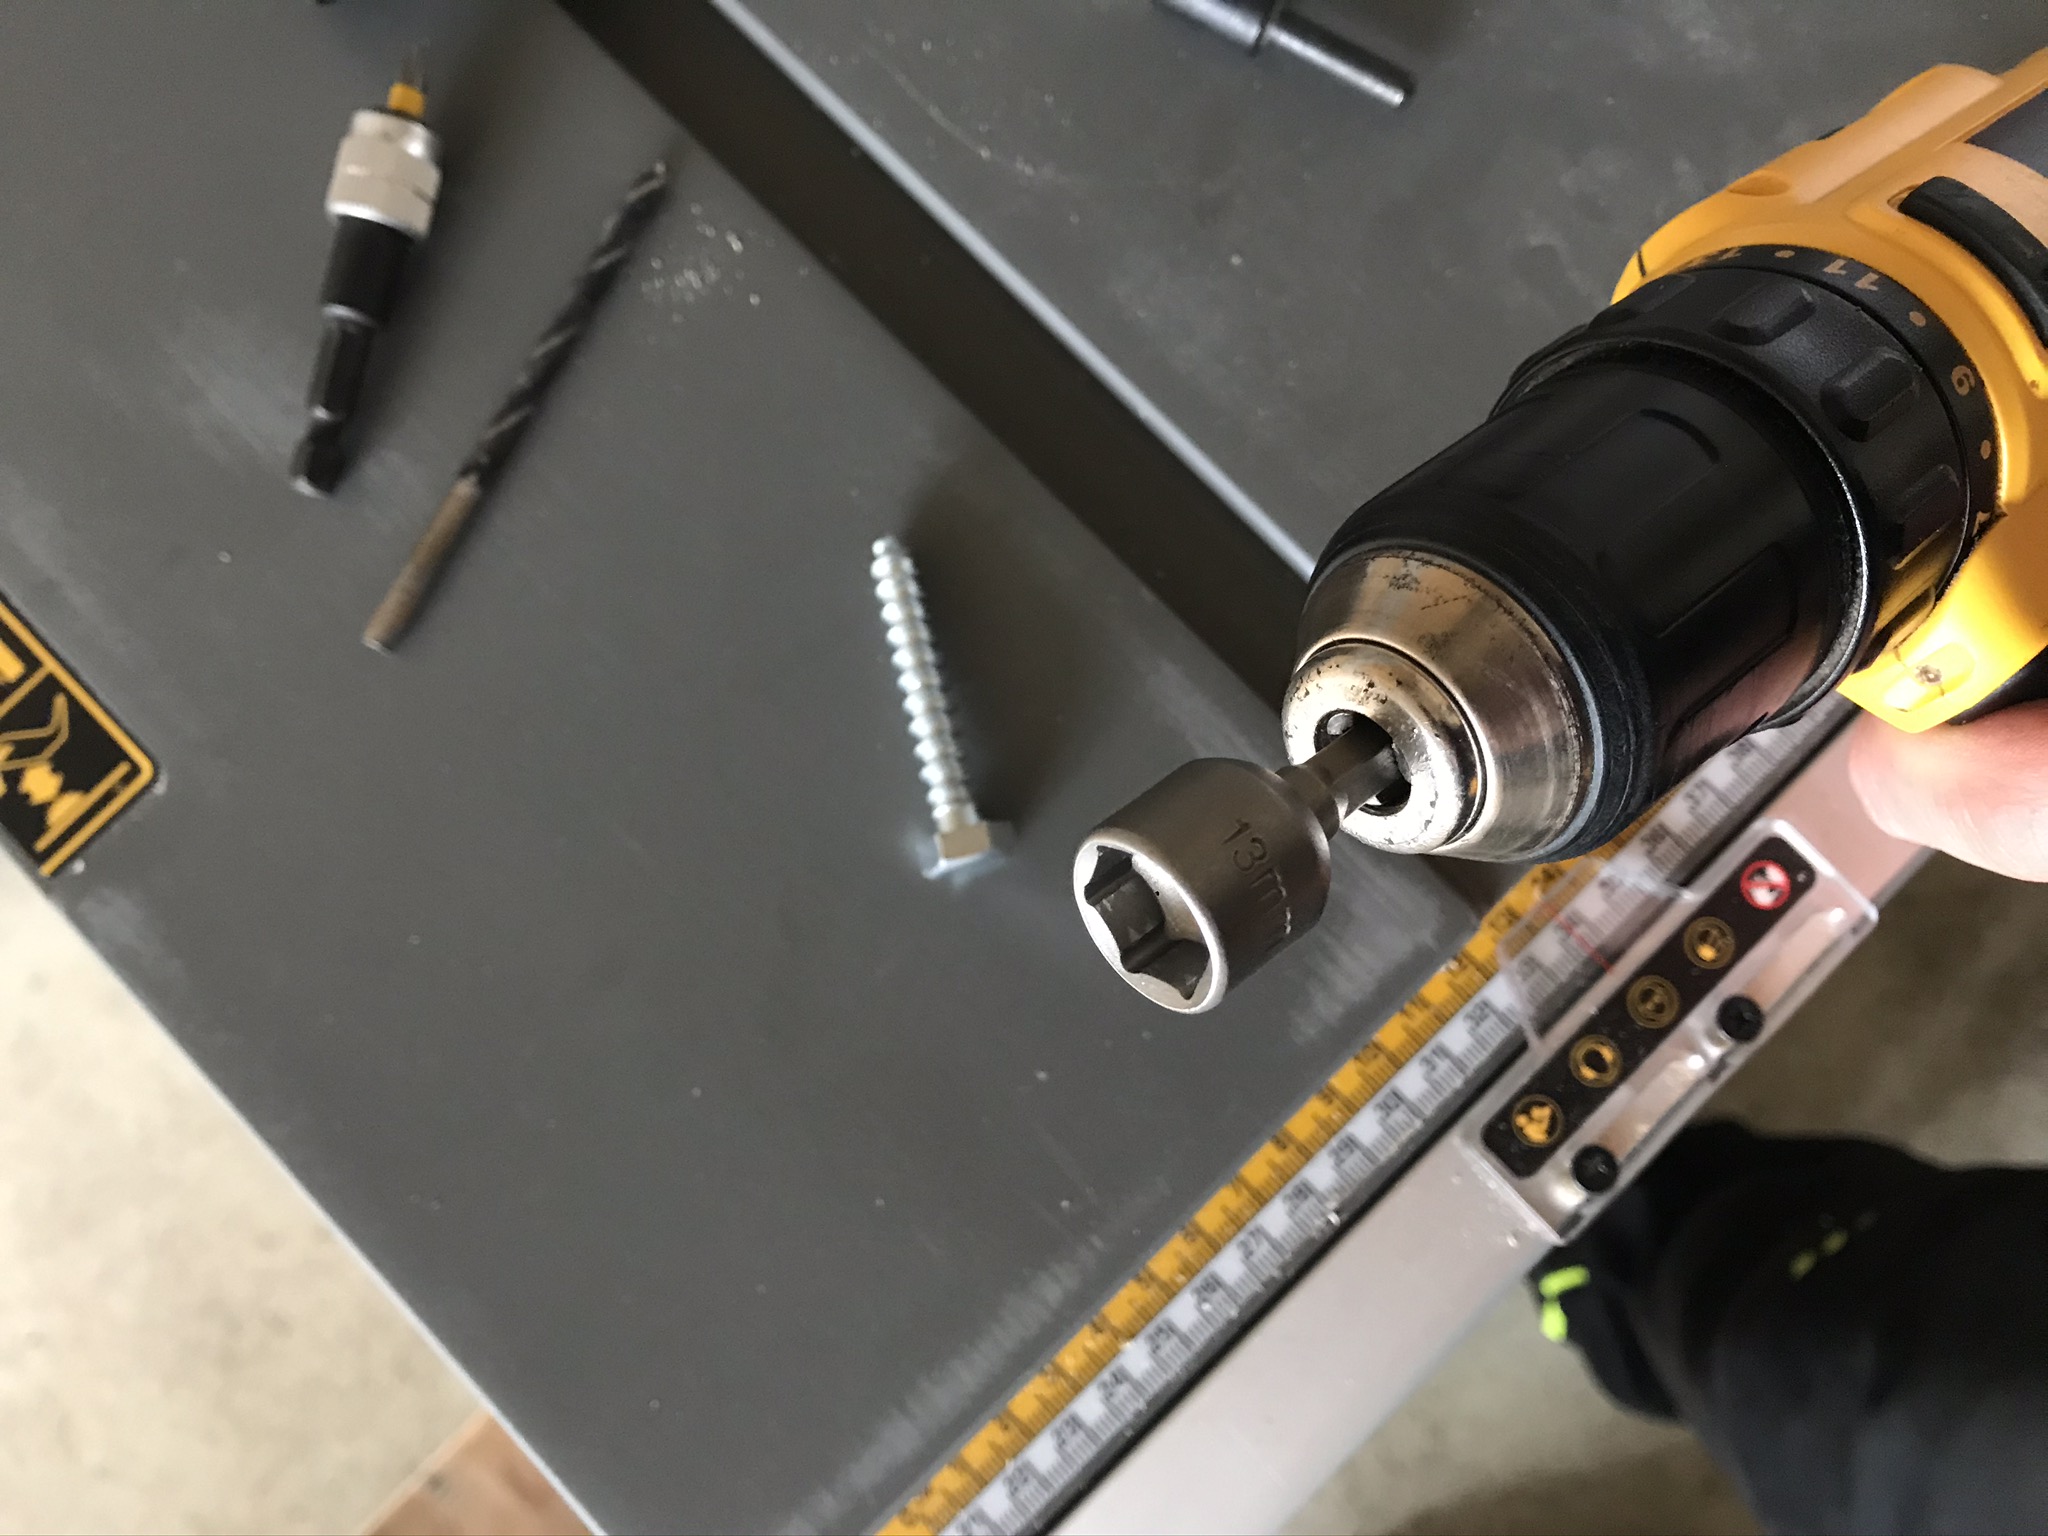
- 13mm hex drill bit*
- 3mm drill bit for wood*
- countersink drill bit*
- Wood glue*
- [3 pcs.] 230x115x18mm oak wood
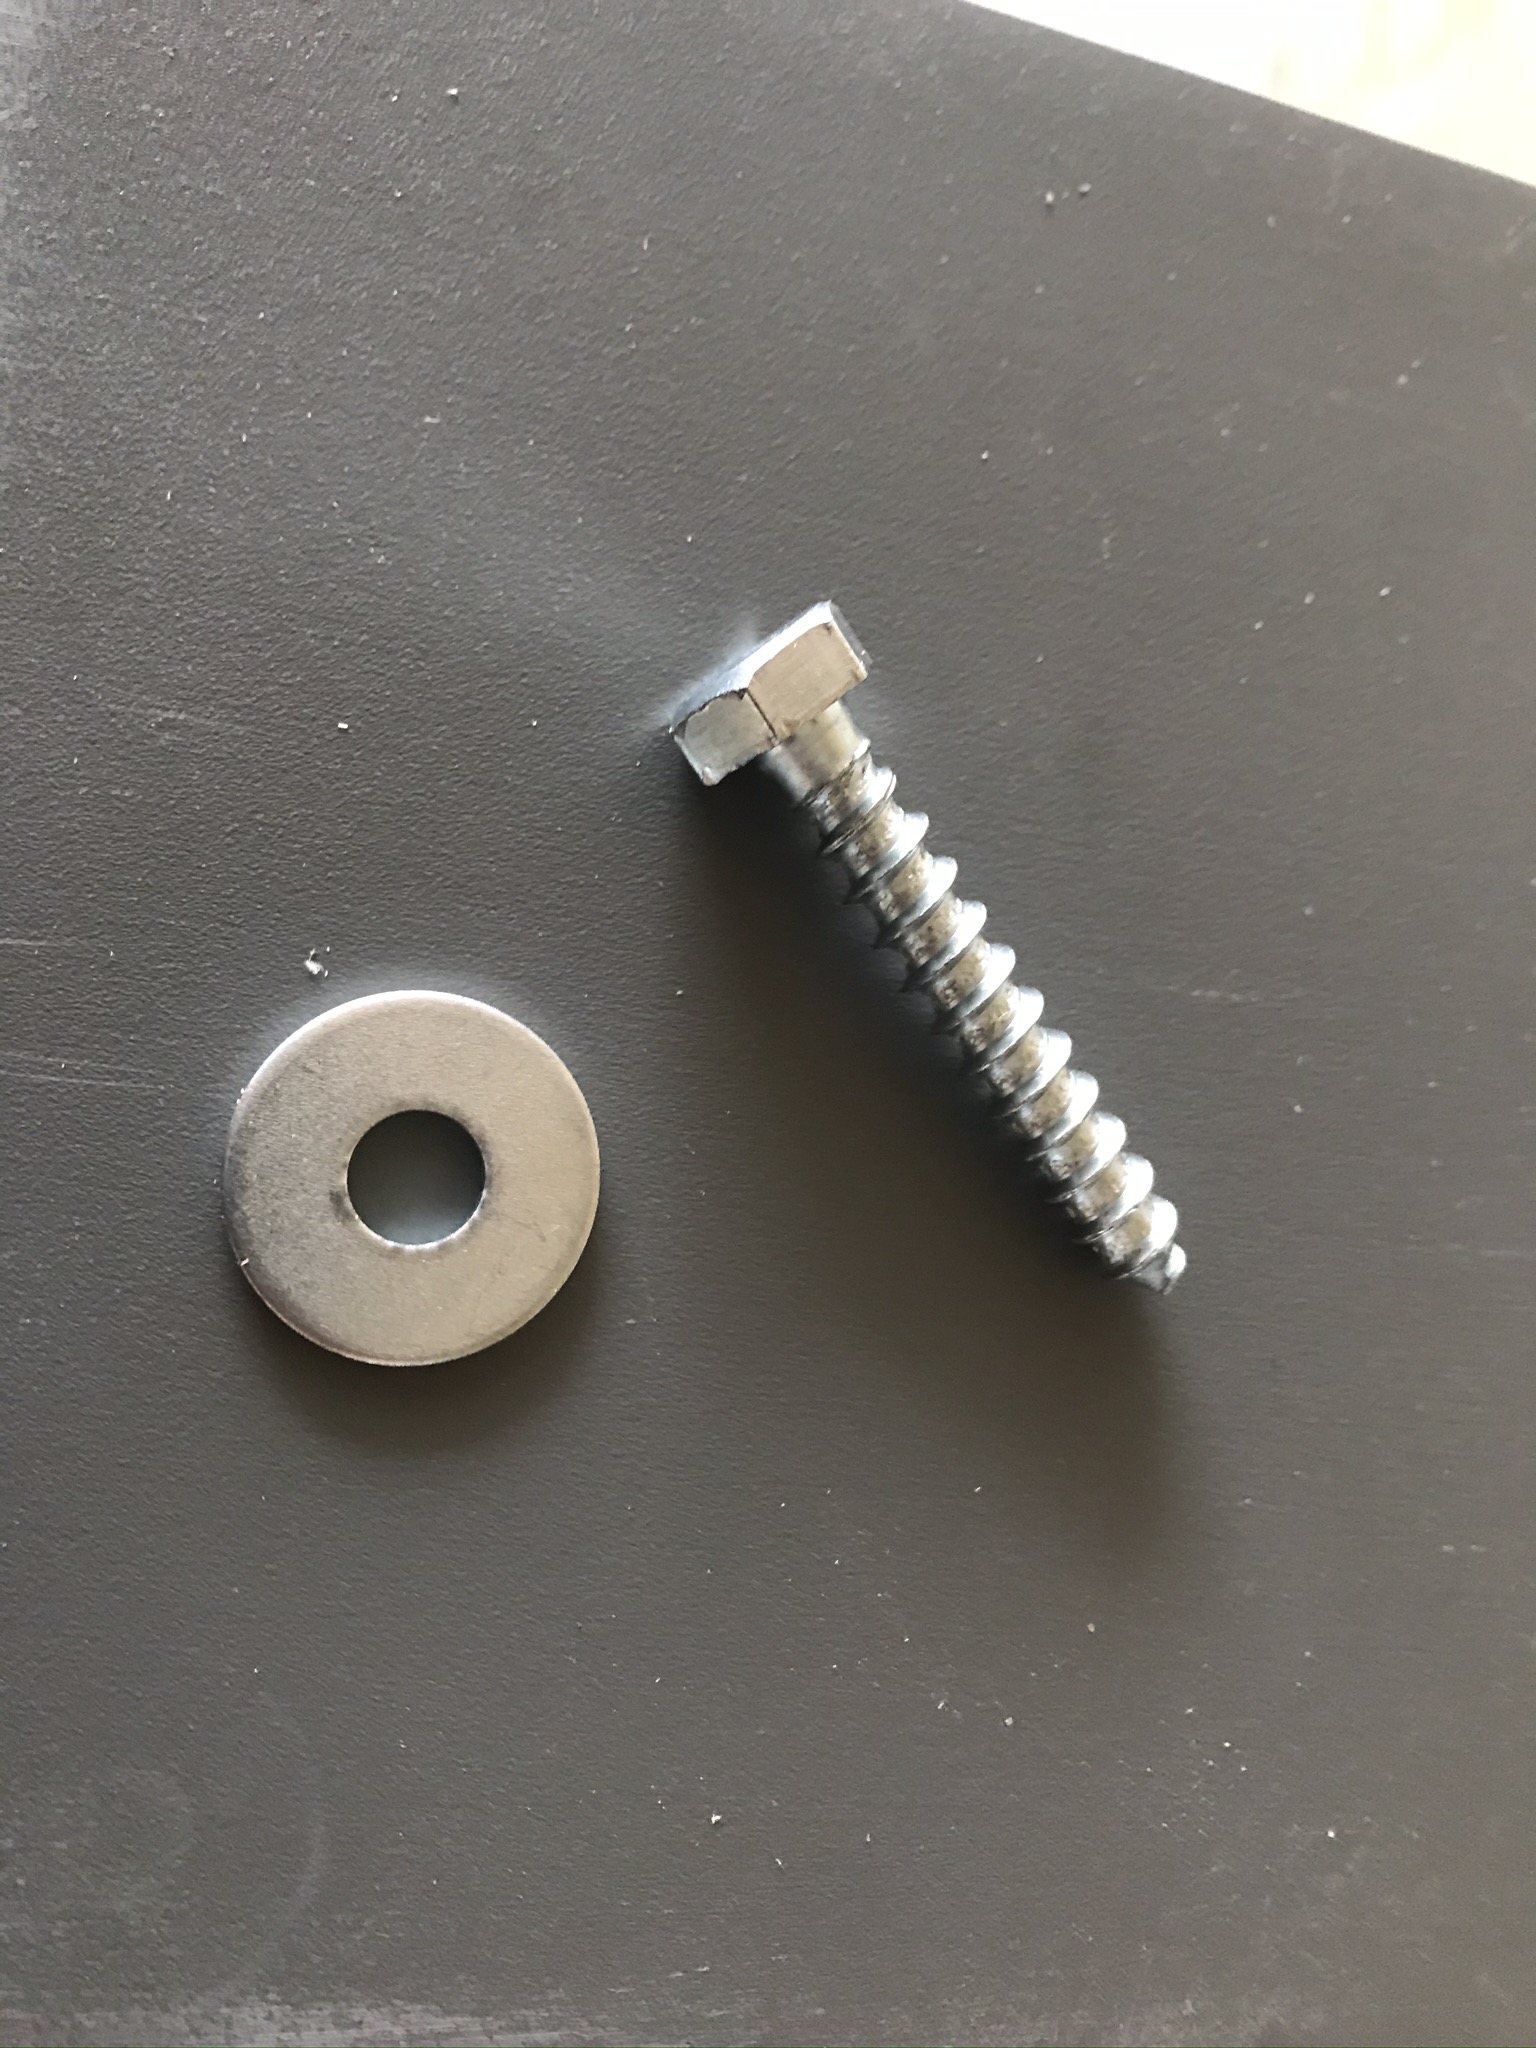
- [4 pcs.] 8x50mm hex wood screw*
- [4 pcs.] 8,4x24mm washer*
- [2 pcs.] 5x60mm wood screw*
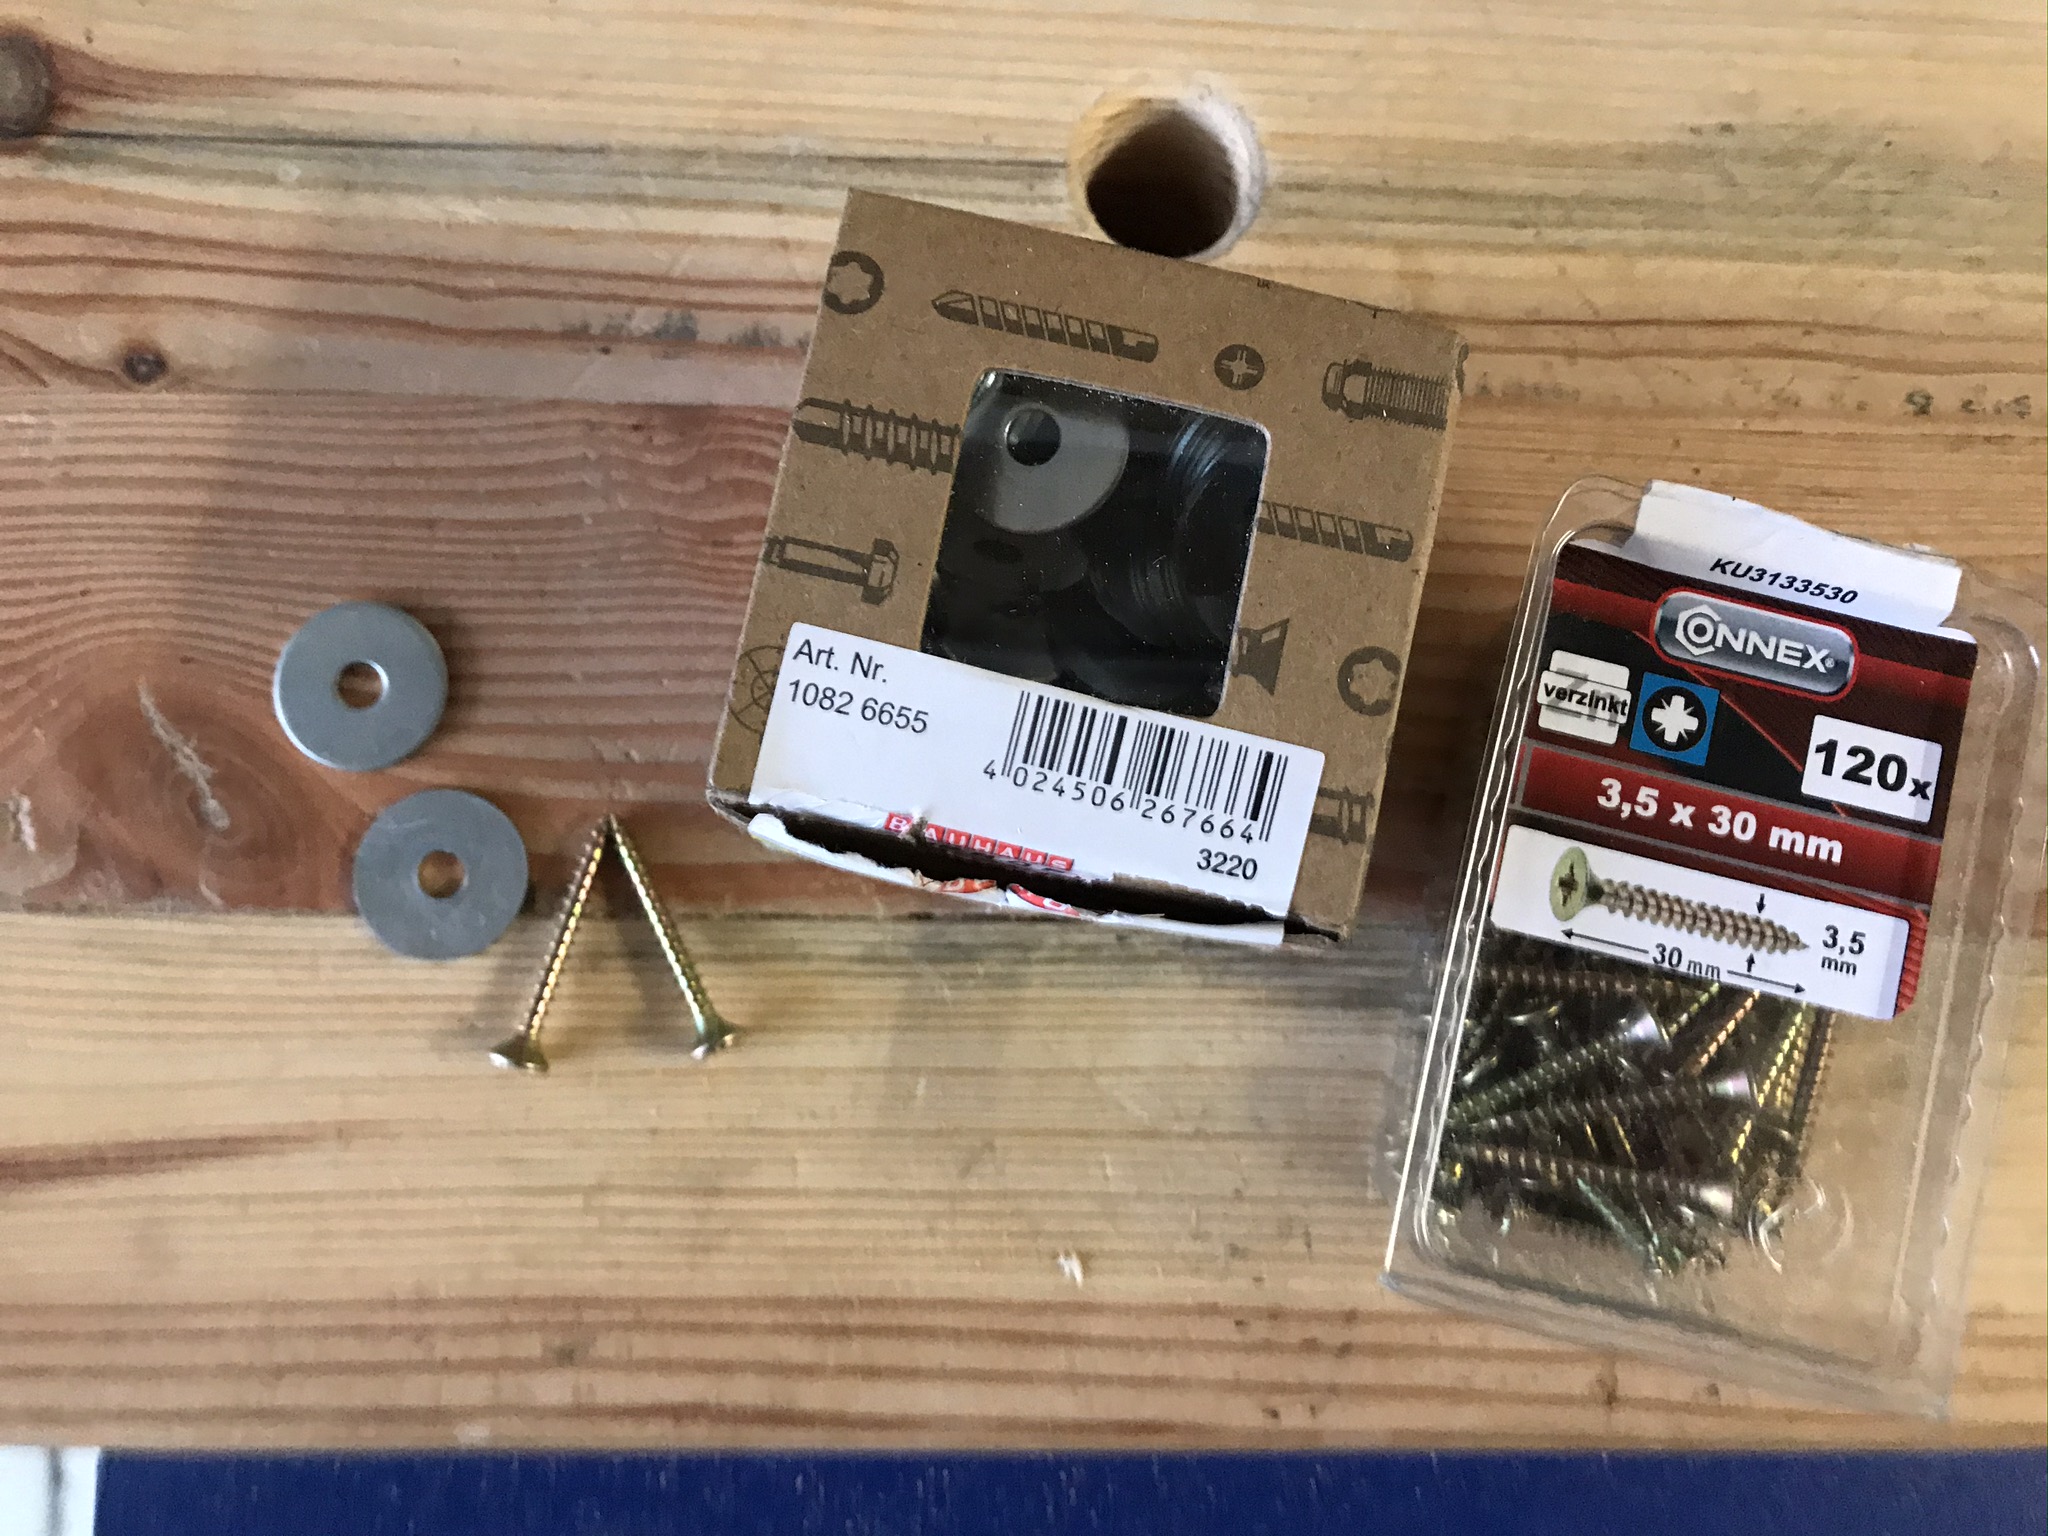
- [2 pcs.] 3,5x30mm wood screw*
- [2 pcs.] 5,3x20mm washer*
Woodworking Plans – 3D Drawings – Wood Blocks


- Model Number: IWT53PD
- Item Package Quantity: 1
Woodworking Vice for a DIY Workbench – what’s important?
To give the multifunctional DIY workbench from Timbertime.de (link to the DIY project!) even more possibilities for use, I have finally installed a woodworking vice. I thought long about which type to buy and finally decided against the usual spindle vices. Since my DIY workbench is relatively thick and massive, you need a front vice that is constructed like an L-profile. This can then be attached to the Timbertime workbench very easily and without much effort. So that the hole grid of the workbench can be used to gently clamp workpieces, wooden jaws are also integrated into the woodworking vice in this project, which have a hole that matches the hole grid of the workbench.
Find out how you can build the Timbertime workbench yourself here:
Wooden Jaws for a woodworking Vice
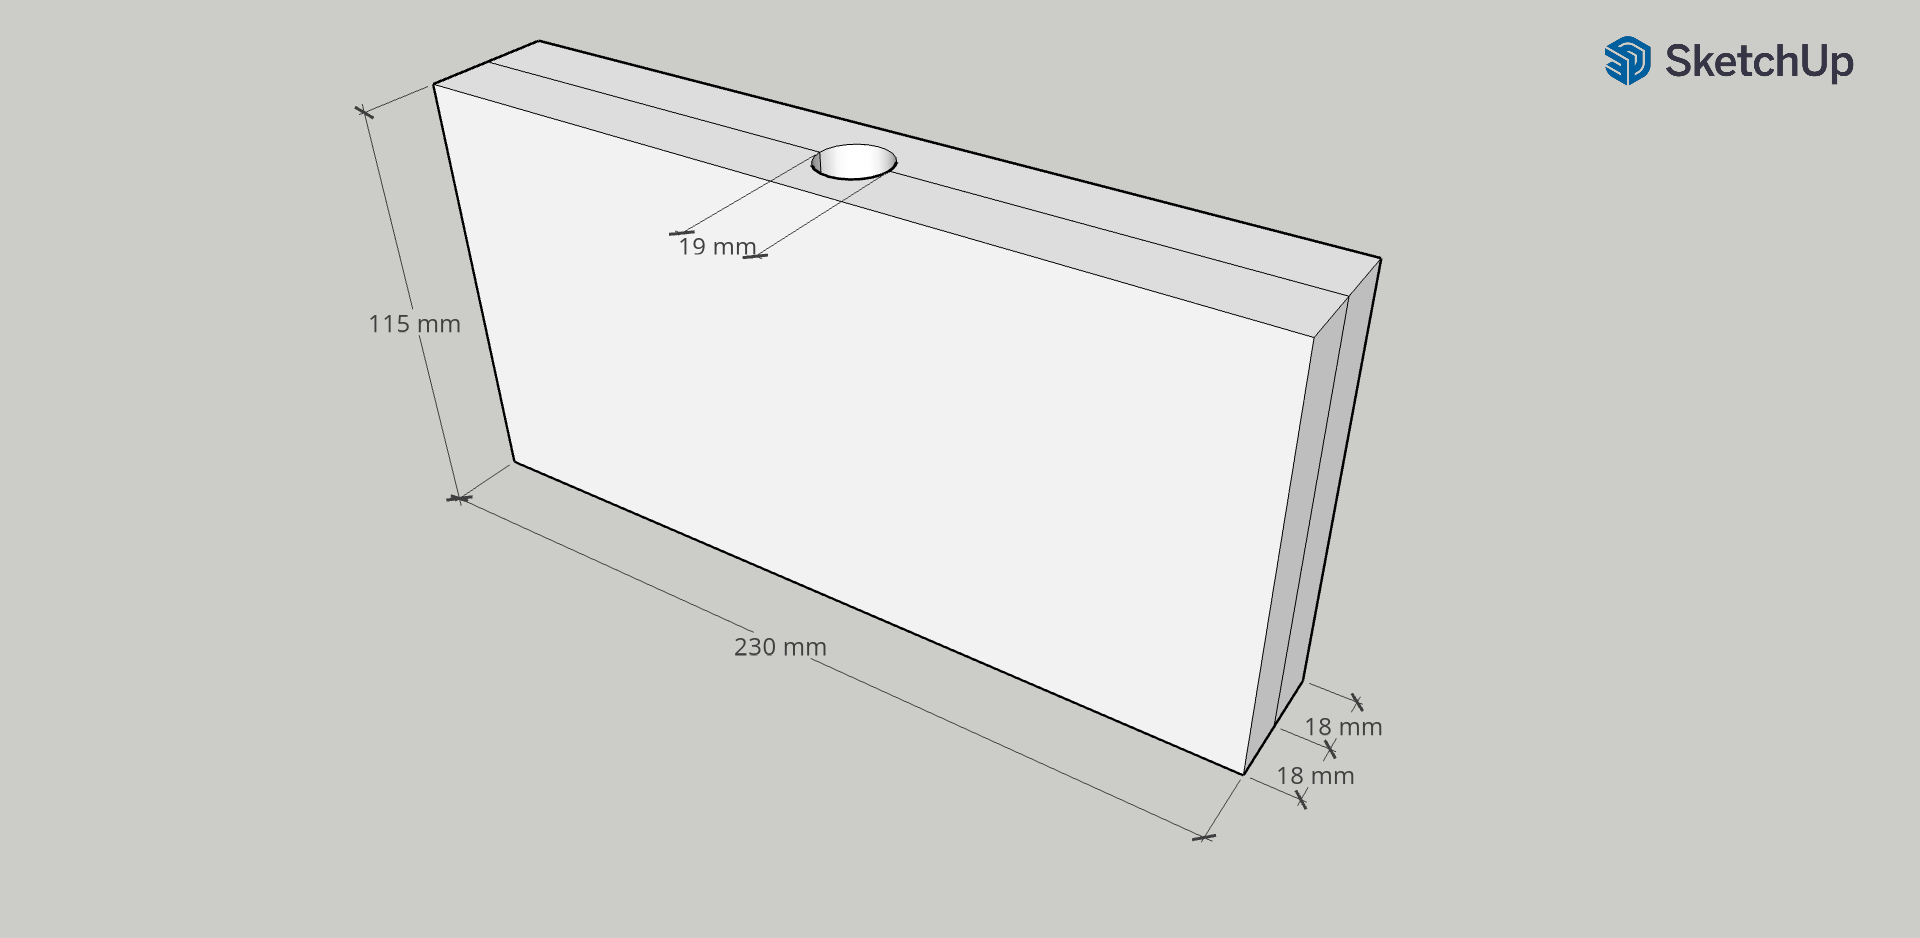
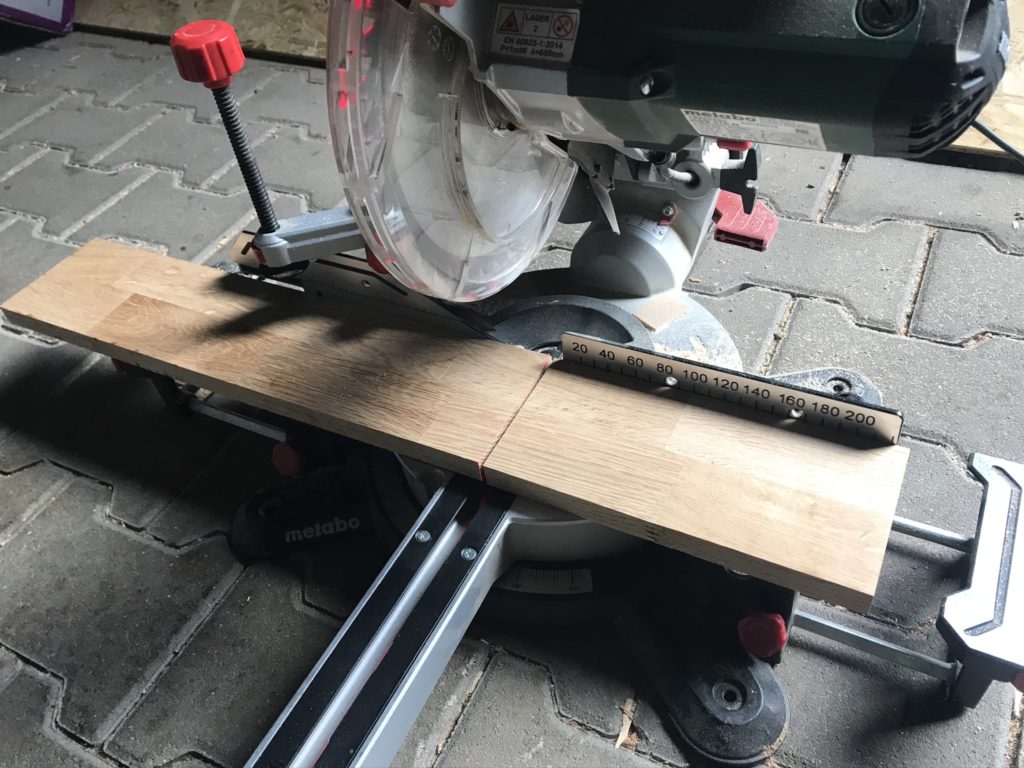
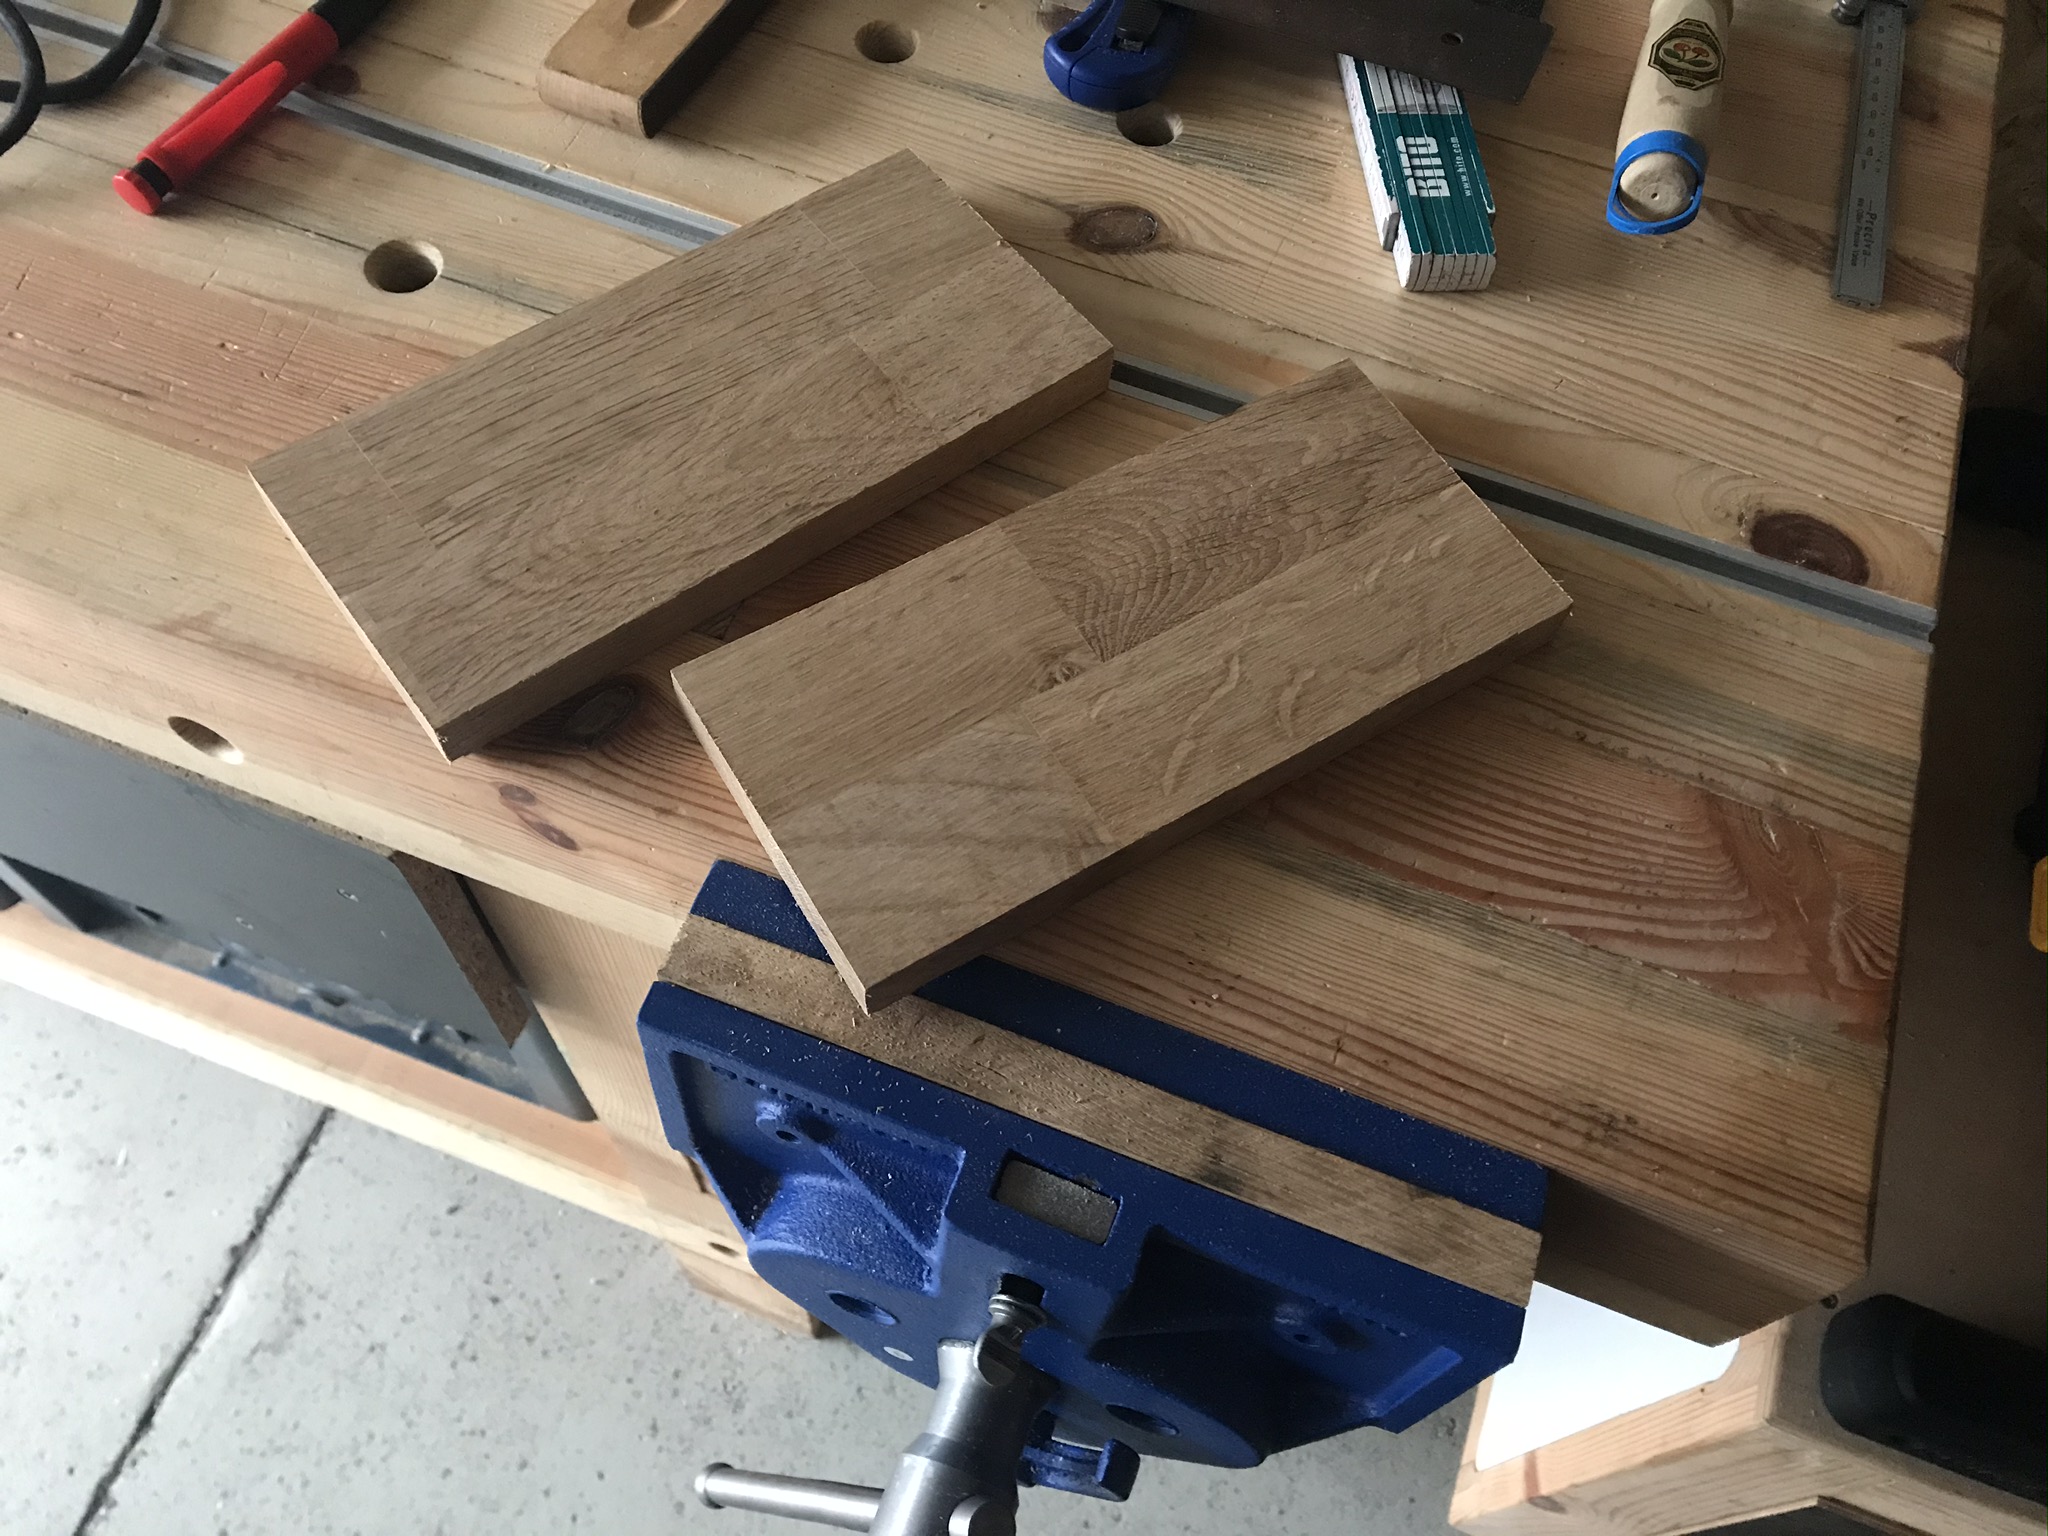
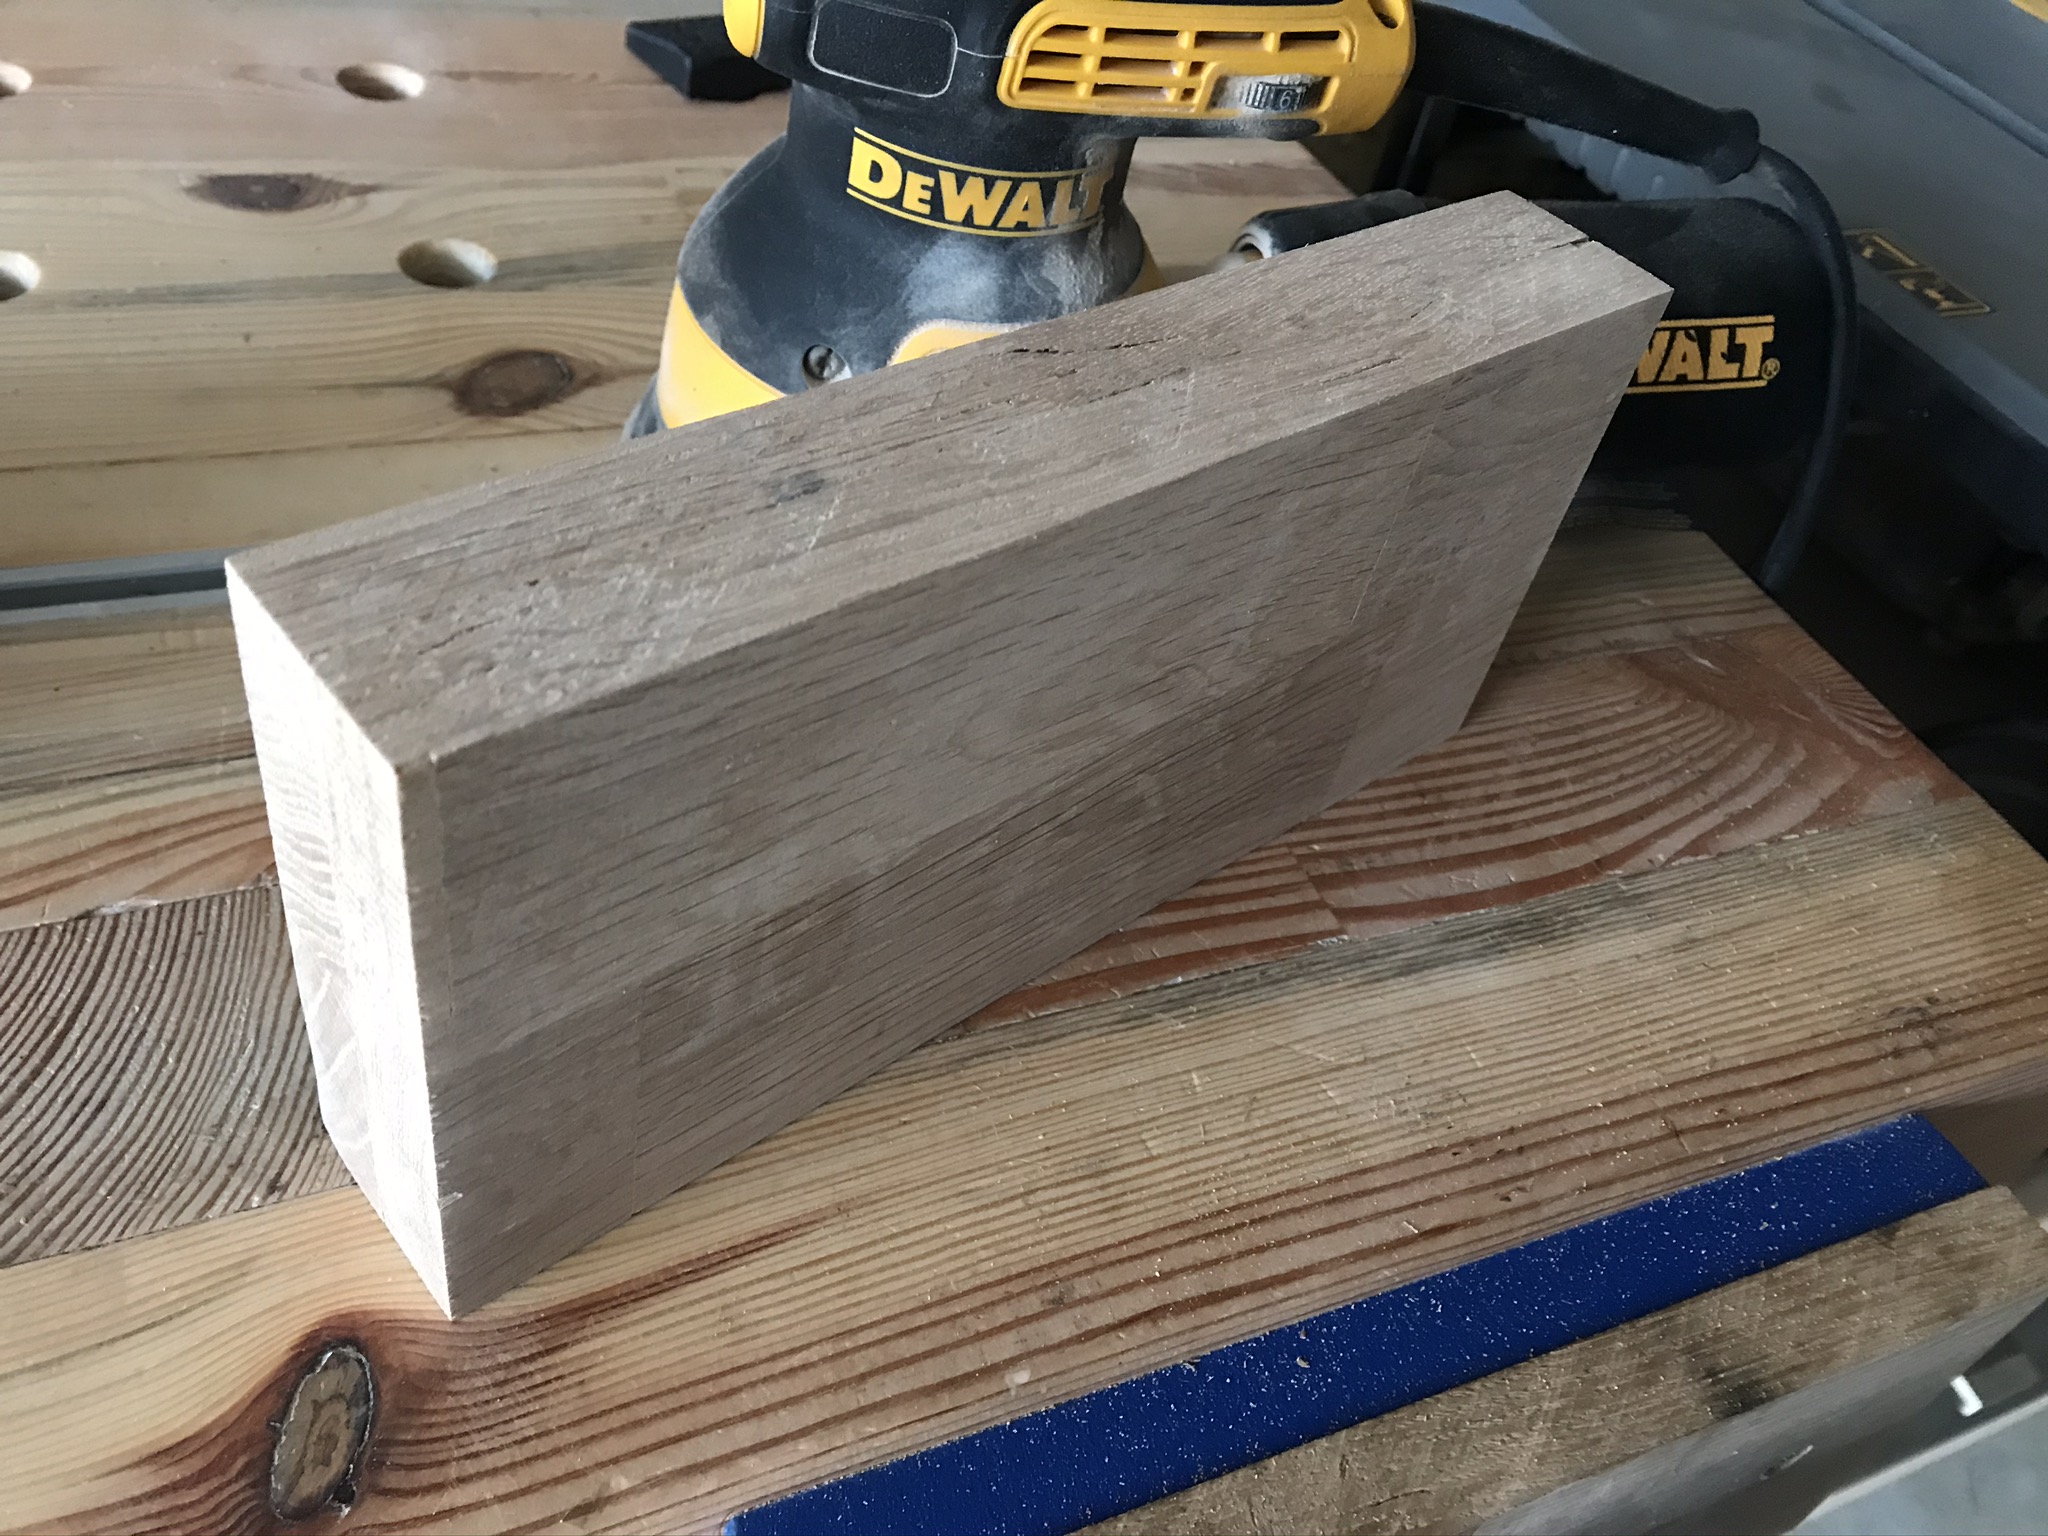
First, cut the three wooden plates that will later serve as clamping jaws to protect your workpieces from the very hard metal of the front clamp. You can easily cut the three identical wooden plates with the dimensions 230x115x18mm on the miter saw* or on the circular saw from a board or a piece of scrap wood.
One of the three plates goes on the fixed jaw of the front clamp. The other two go on the movable side.
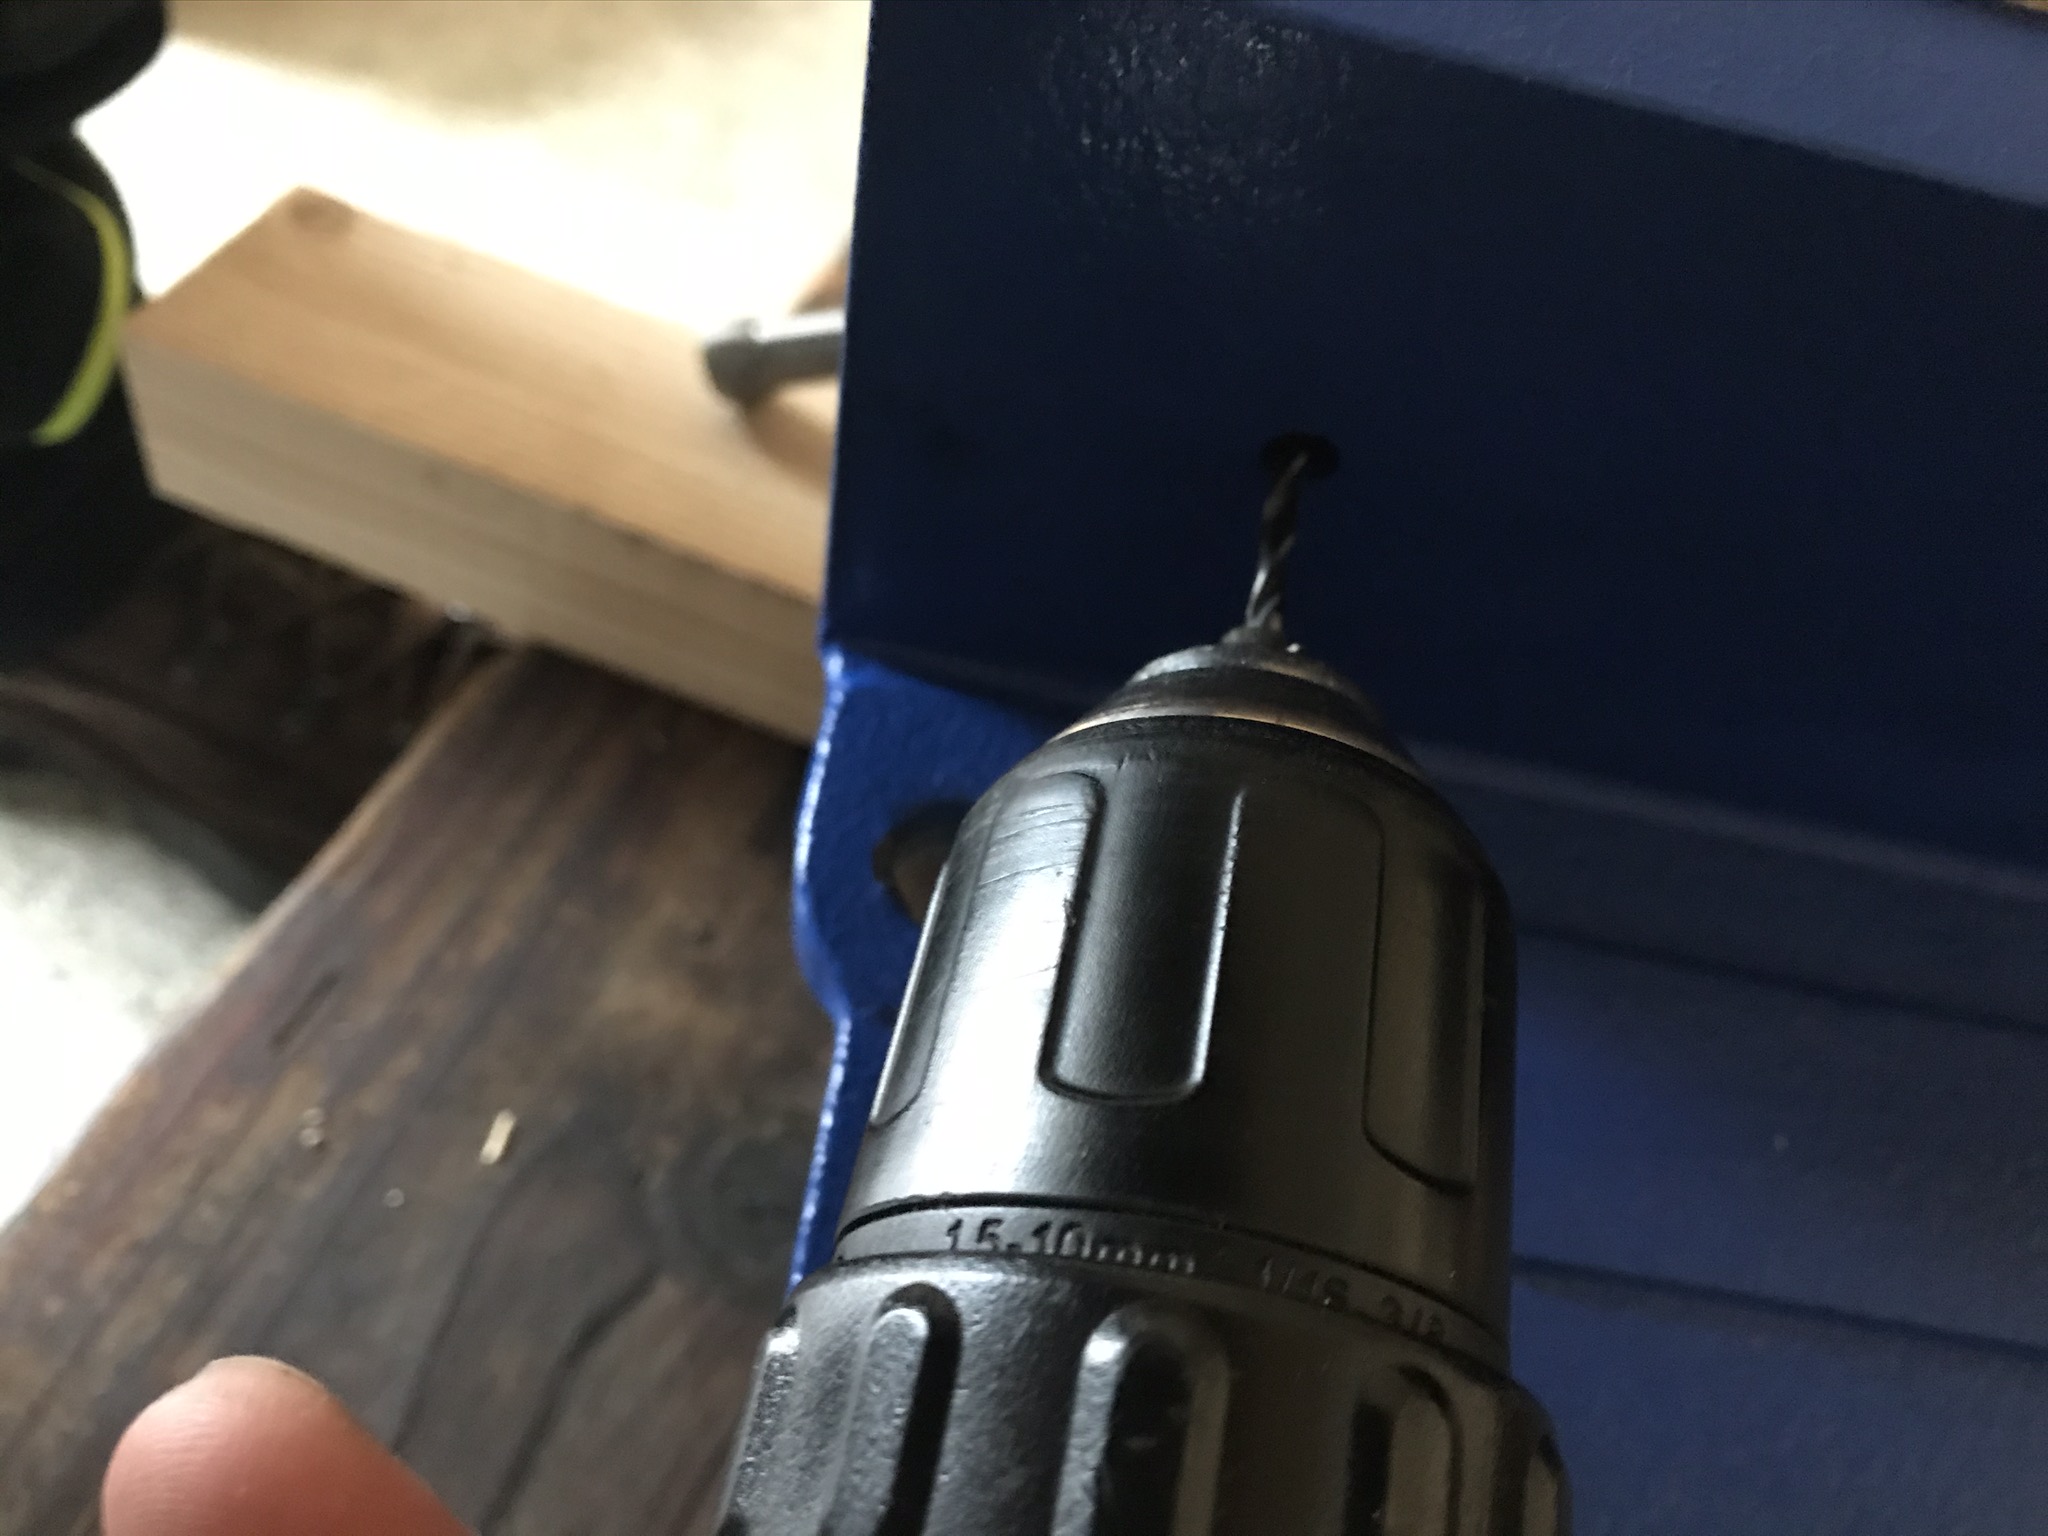
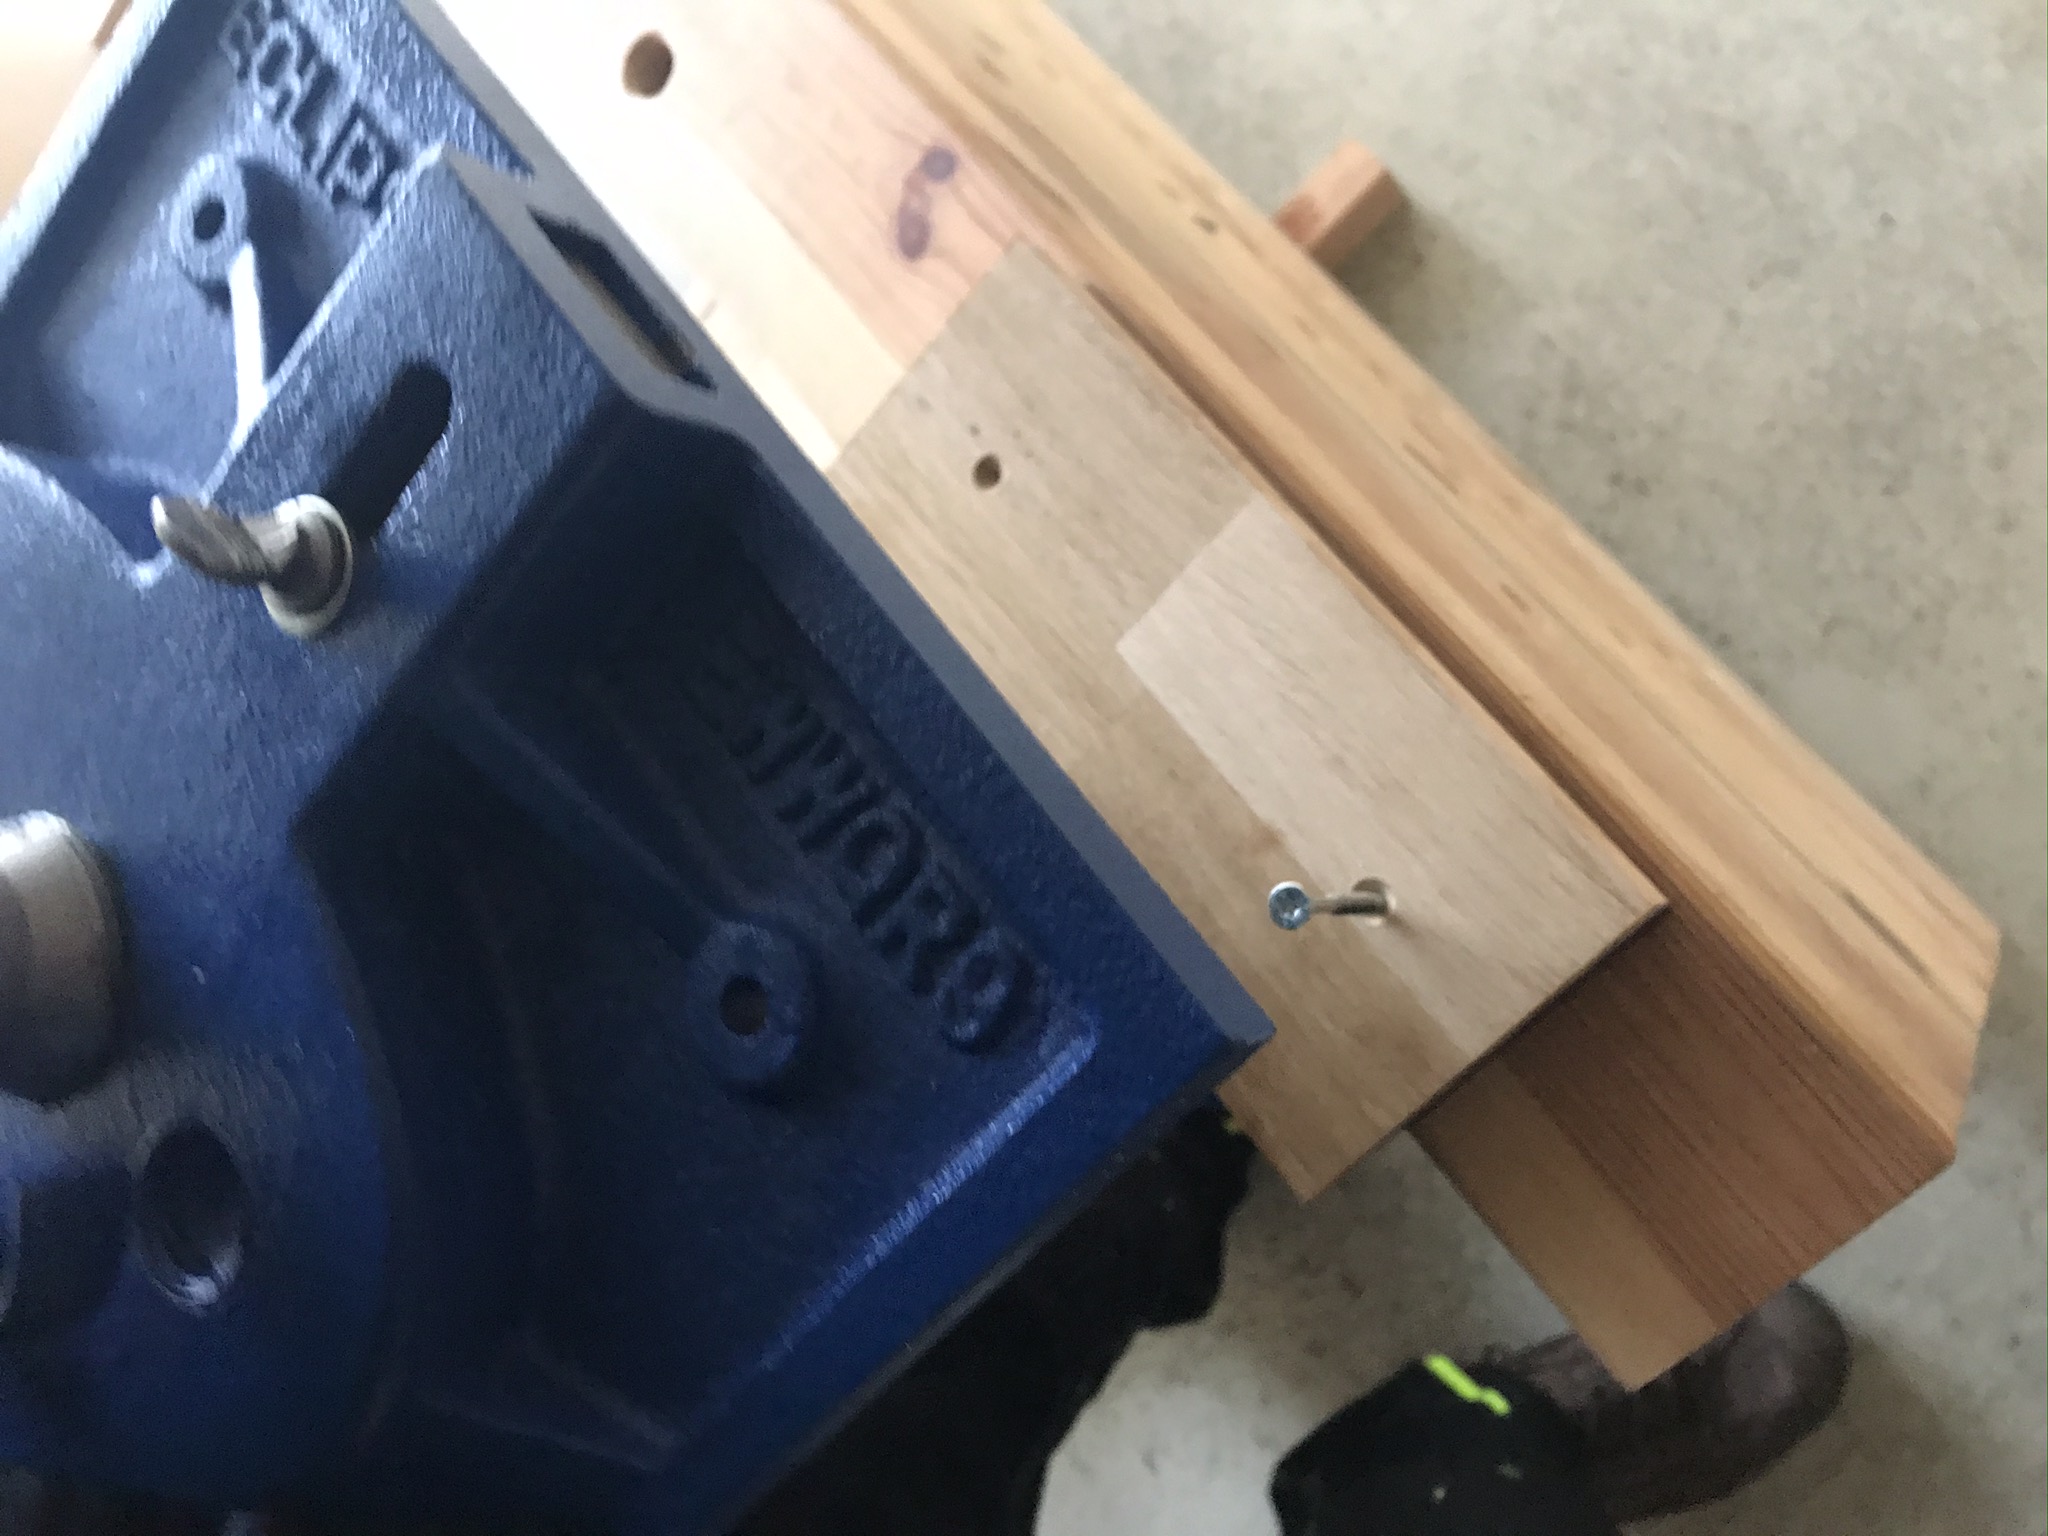
First, clamp one of the three wooden plates in the front clamp and drill through the wooden plate from behind with a 3mm wood drill bit* – where the matching holes are already on the vice.

Afterwards you should countersink the holes from the front side with a countersink bit*. If you do not do this, the screw head may protrude from the wood later and damage your workpieces when you clamp them.

Woodworking Vice Installation
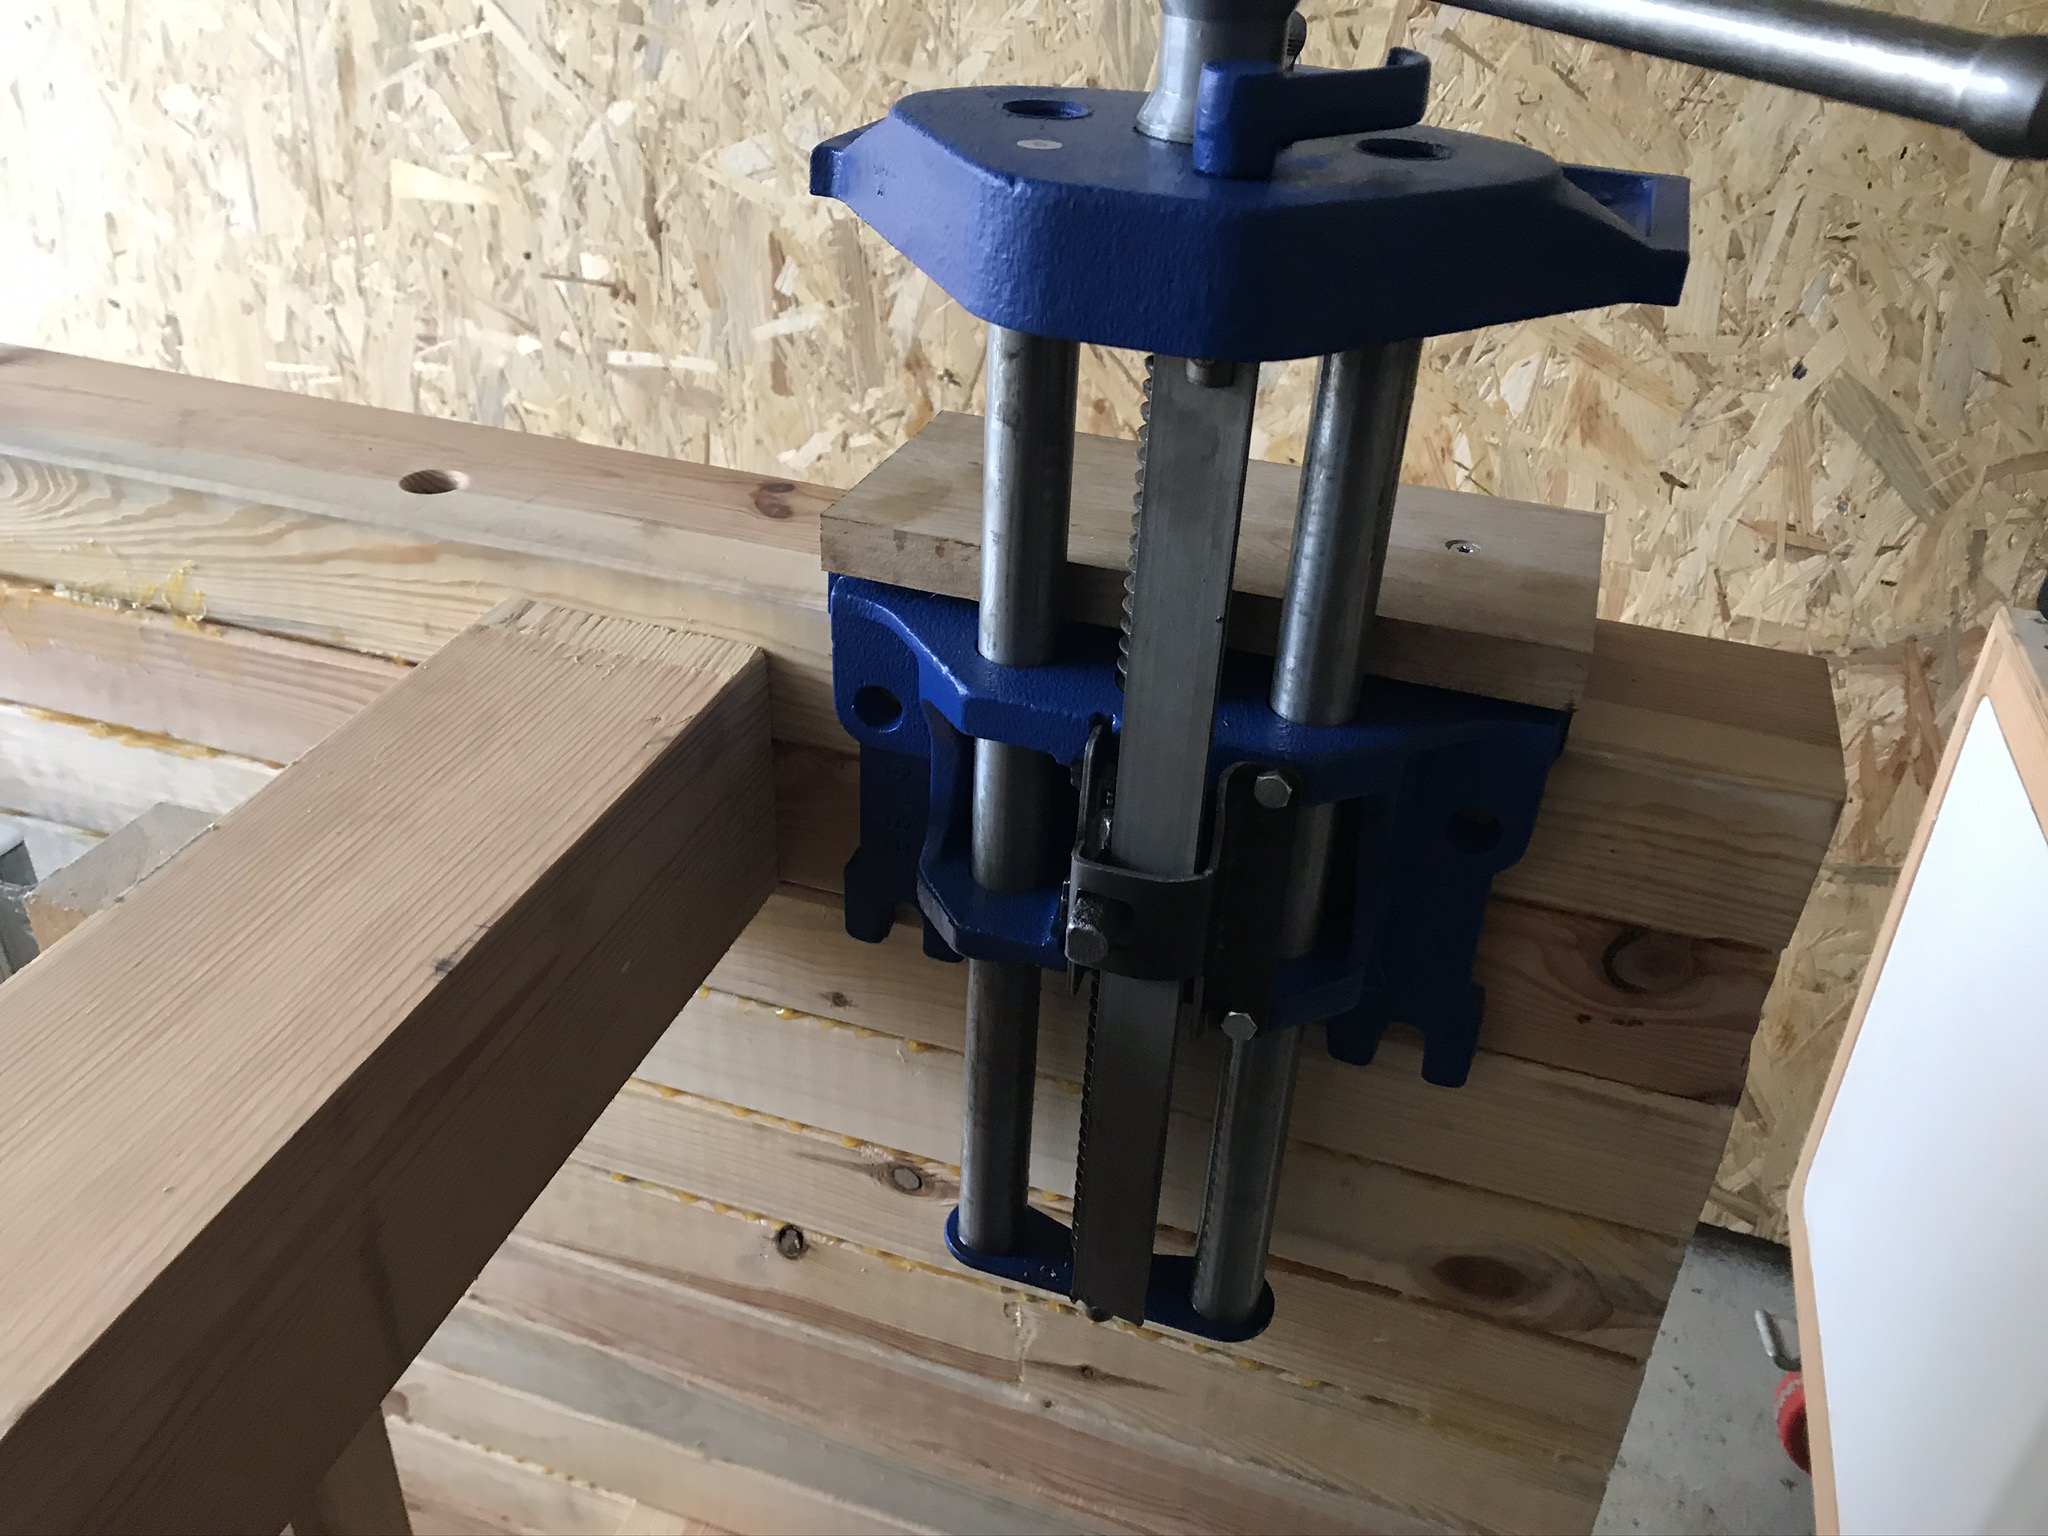
Once all this is done, you can mount the front tongs on the workbench. To make my work easier, I have tilted my workbench so that the front tongs can be placed on the edge of the workbench without any problems. Otherwise, it is advisable to organise one or two helpers. Unfortunately, screw clamps do not hold well on the curved underside of the front pliers.
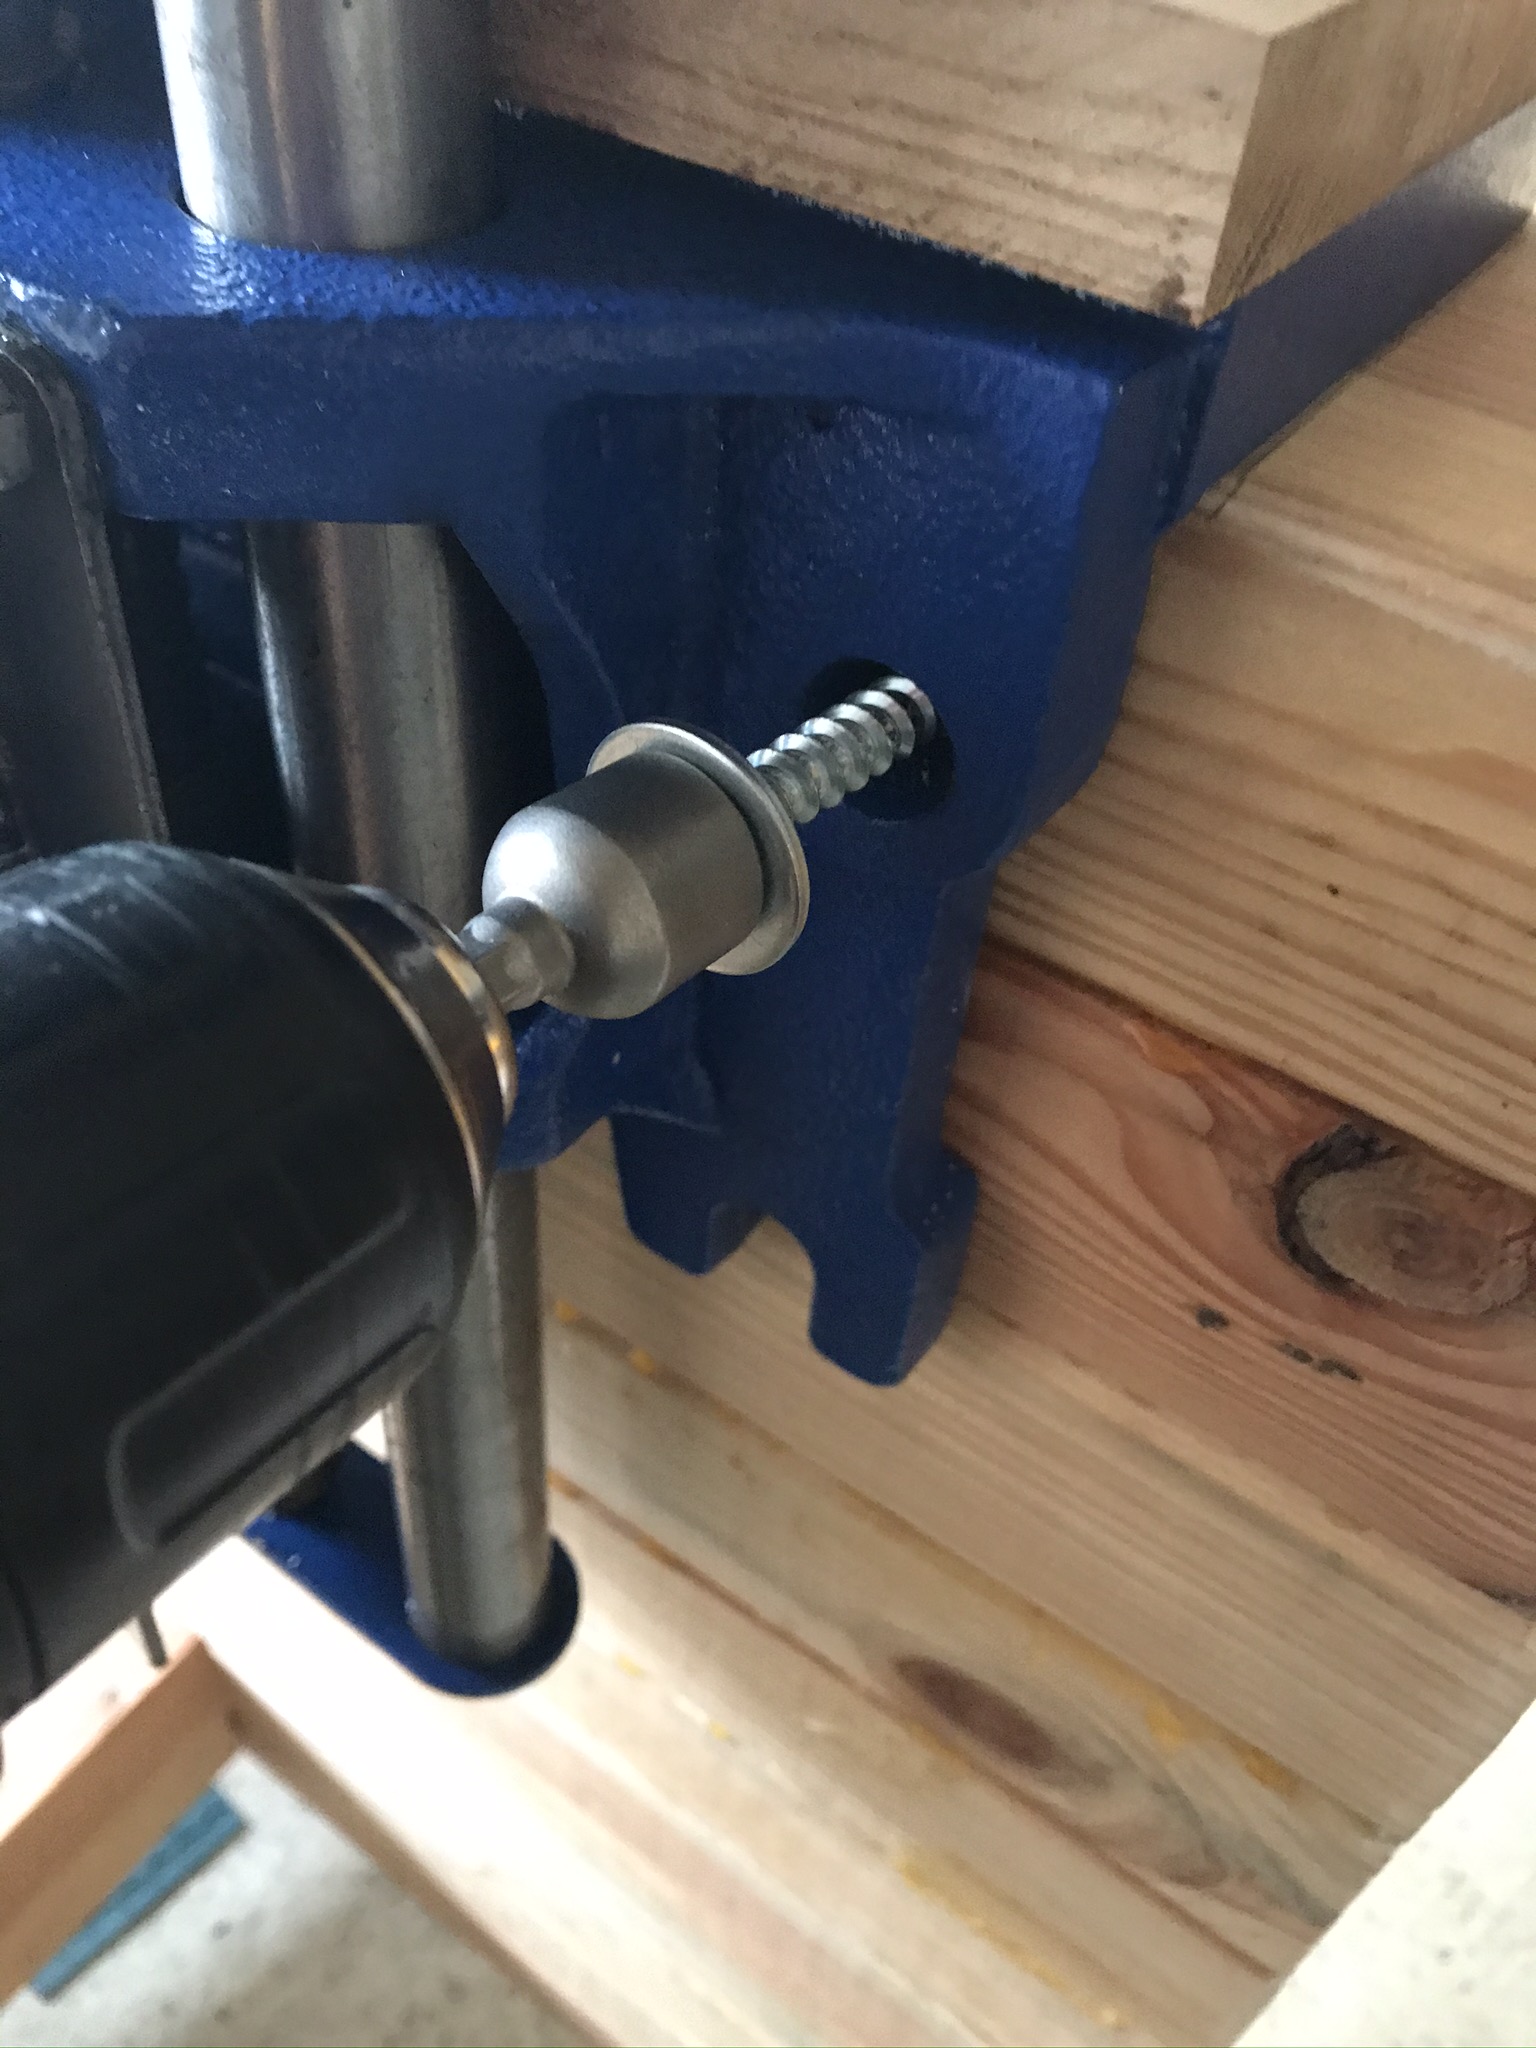
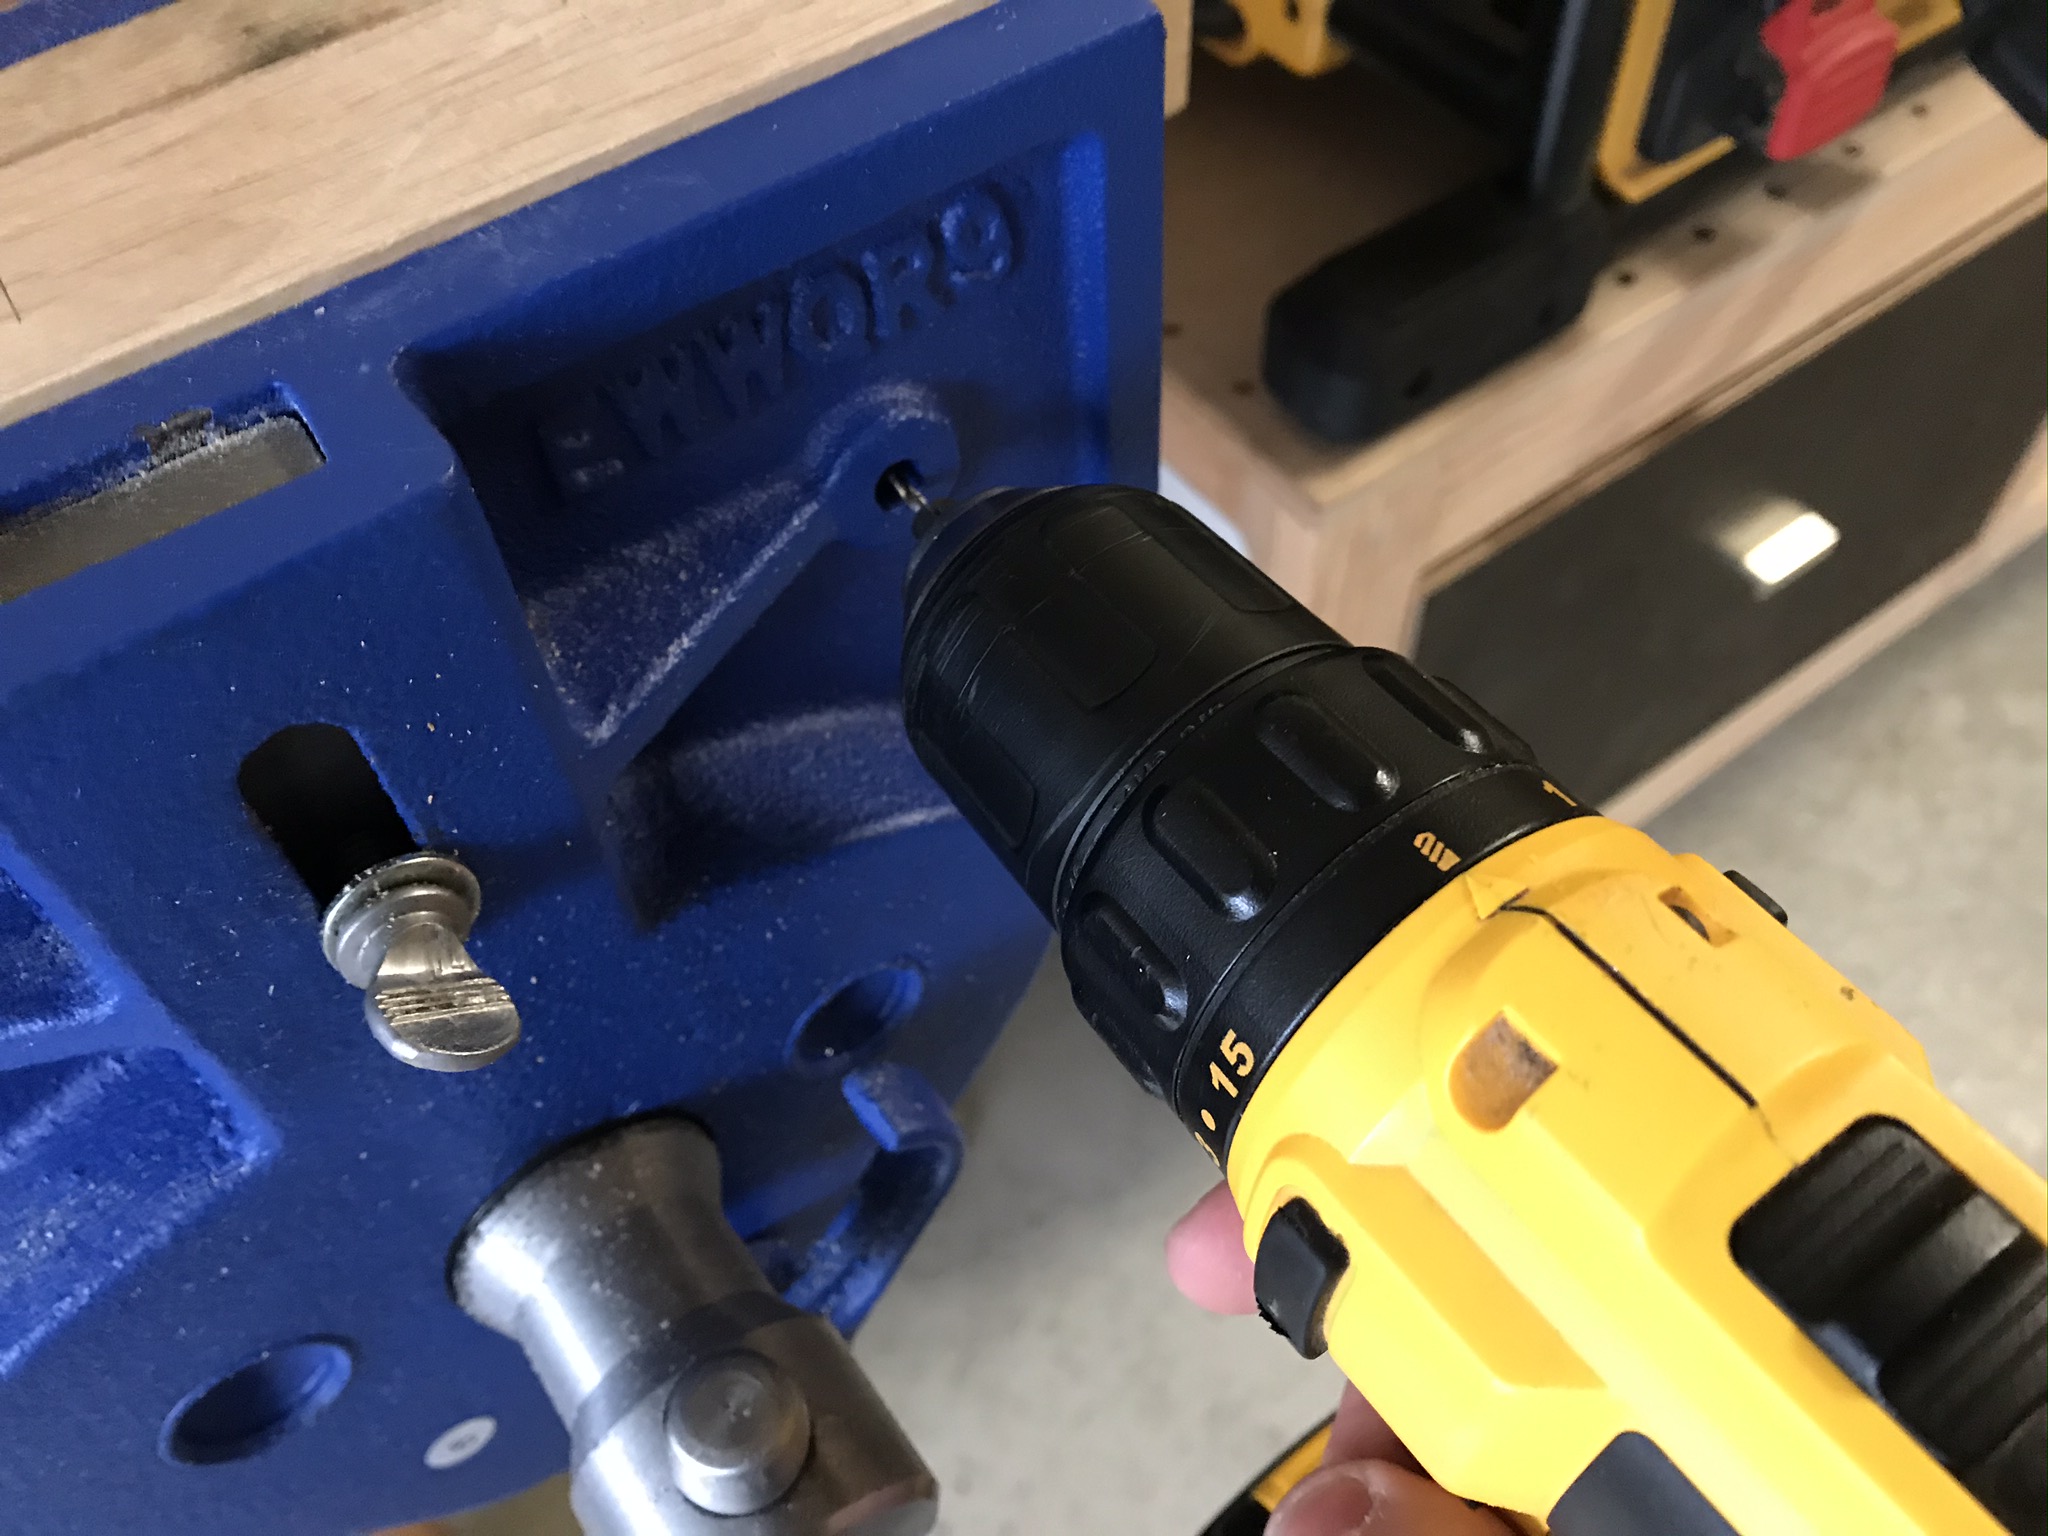
To assemble, you can first screw the front clamp to the front edge of the workbench with two 5x60mm wood screws*. Simply position the two screws in the pre-drilled holes. This not only fixes the front clamp itself to the workbench, but also the first clamping jaw.
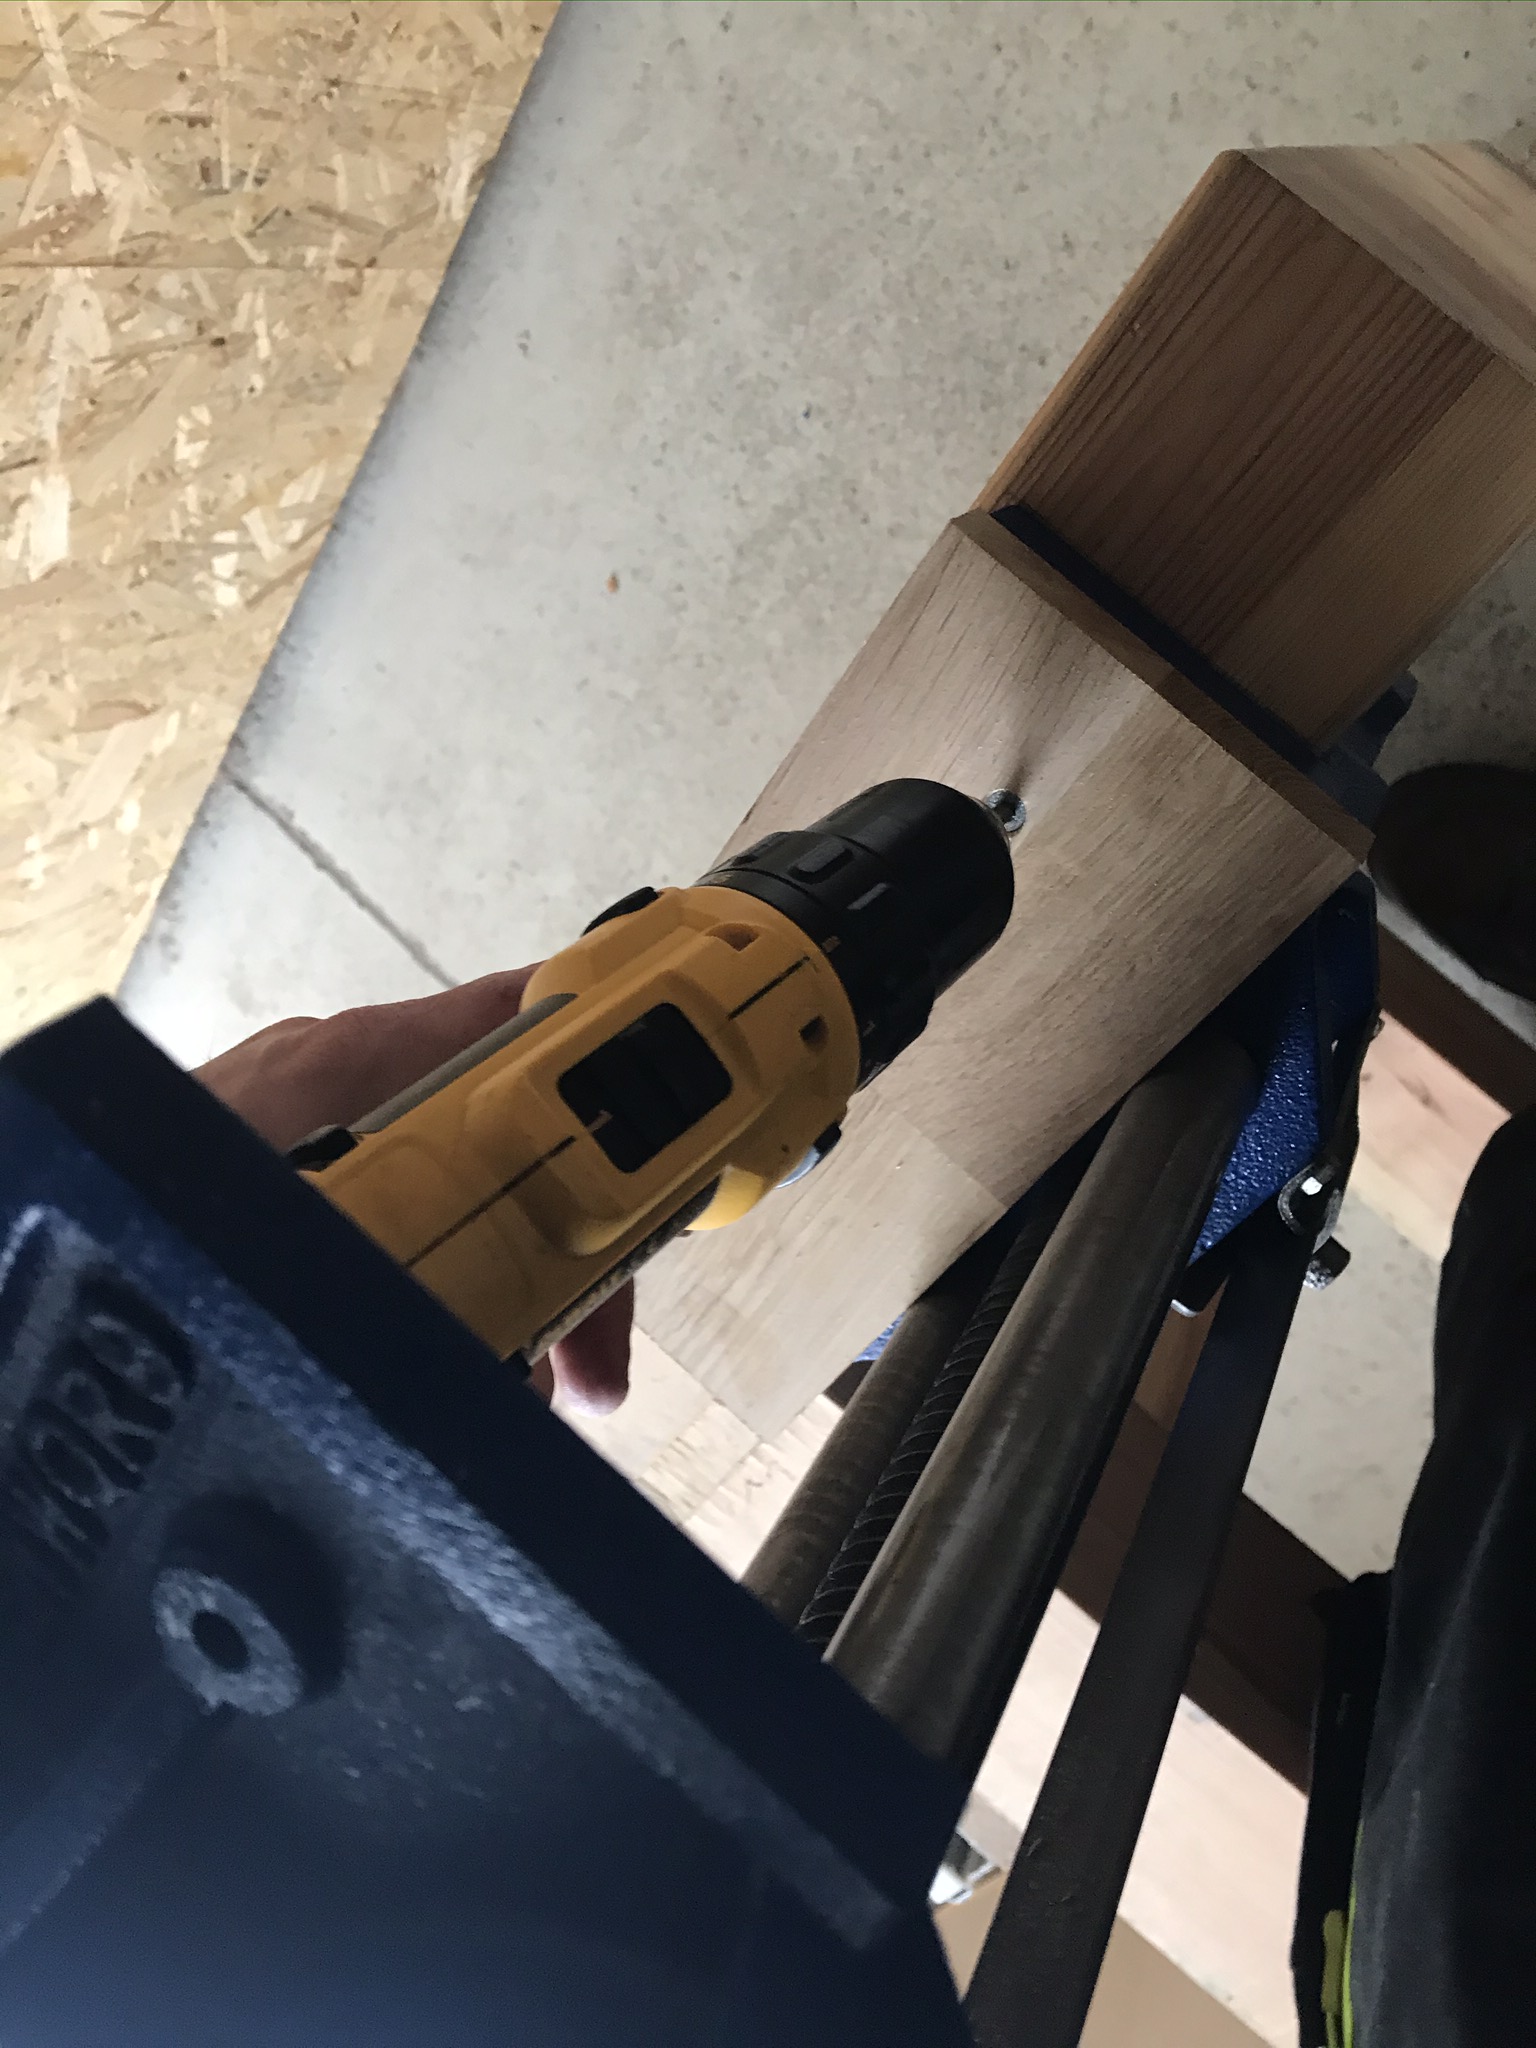
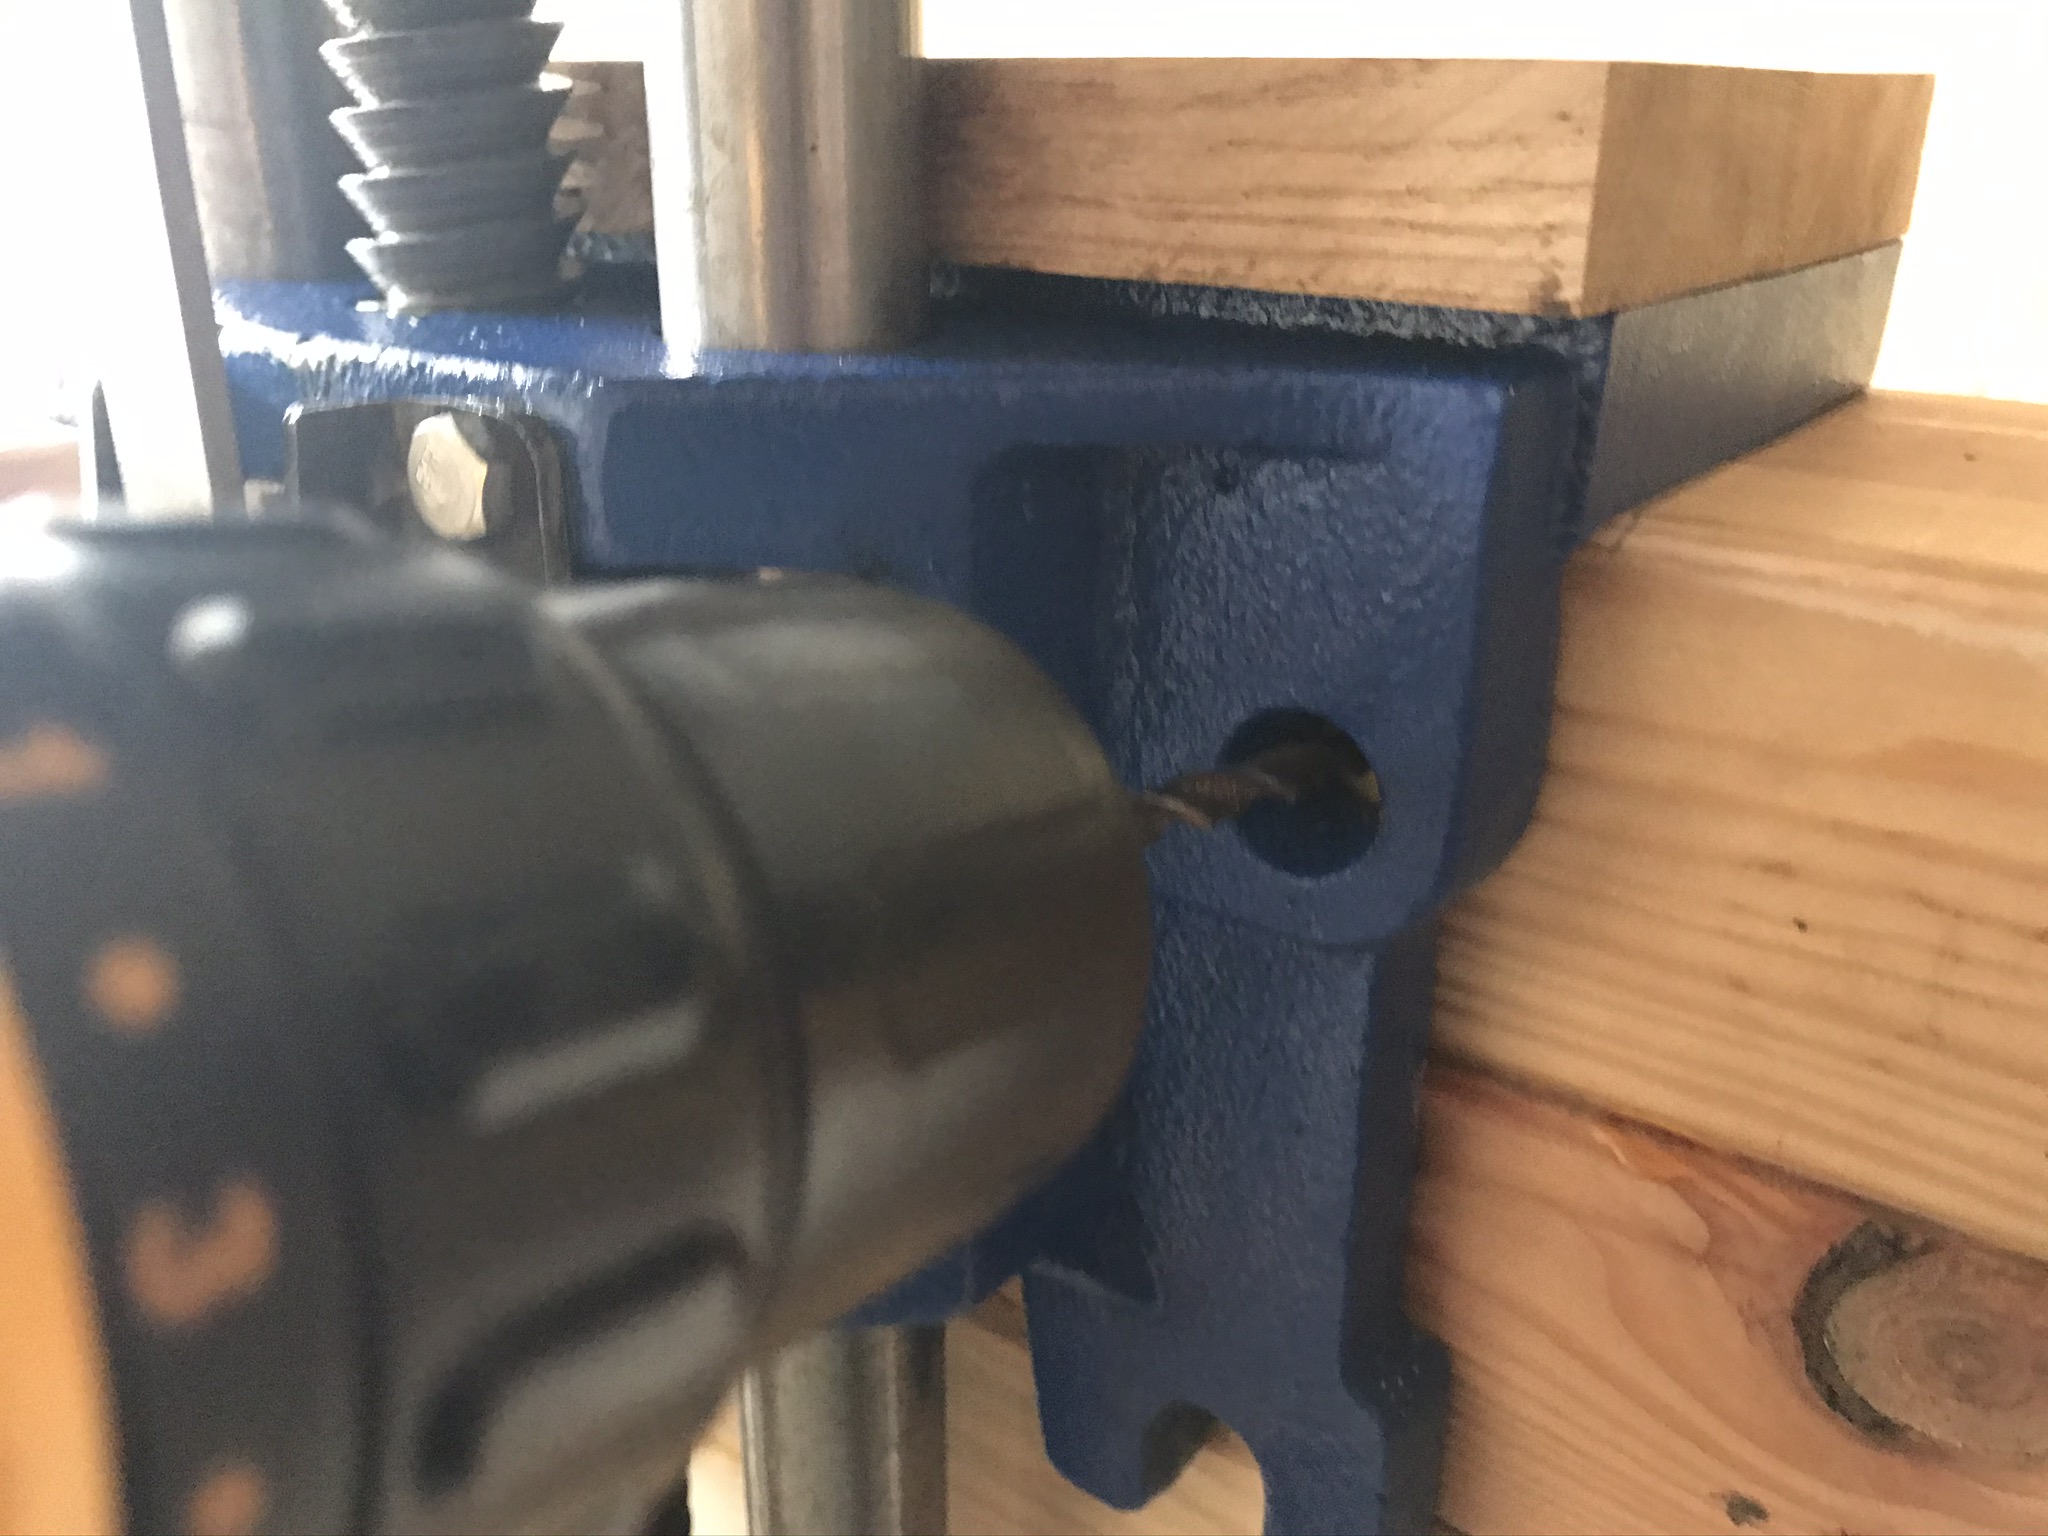
Then screw the front tongs from below with the four 8x50mm hexagonal wood screws* and the matching 8.4x24mm washers*. There are pre-prepared holes in the front pliers for this as well. I pre-drilled with a 5mm wood drill bit because my workbench is made of softwood. If your workbench is made of hardwood, use a 6mm wood drill bit.
Once this is done, the front tongs are firmly seated in the workbench and you can put the workbench back in place. Here, too, it doesn’t hurt to have a helping hand.


- Made from fine grain cast iron
- Steel buttress thread main screw
- Adjustable front dog to assist holding larger work pieces
- Package Weight: 16.78 kilograms.Package Dimensions: 24.0 L x 59.0 H x 28.8 W (centimeters).Draper Guaranteed Product
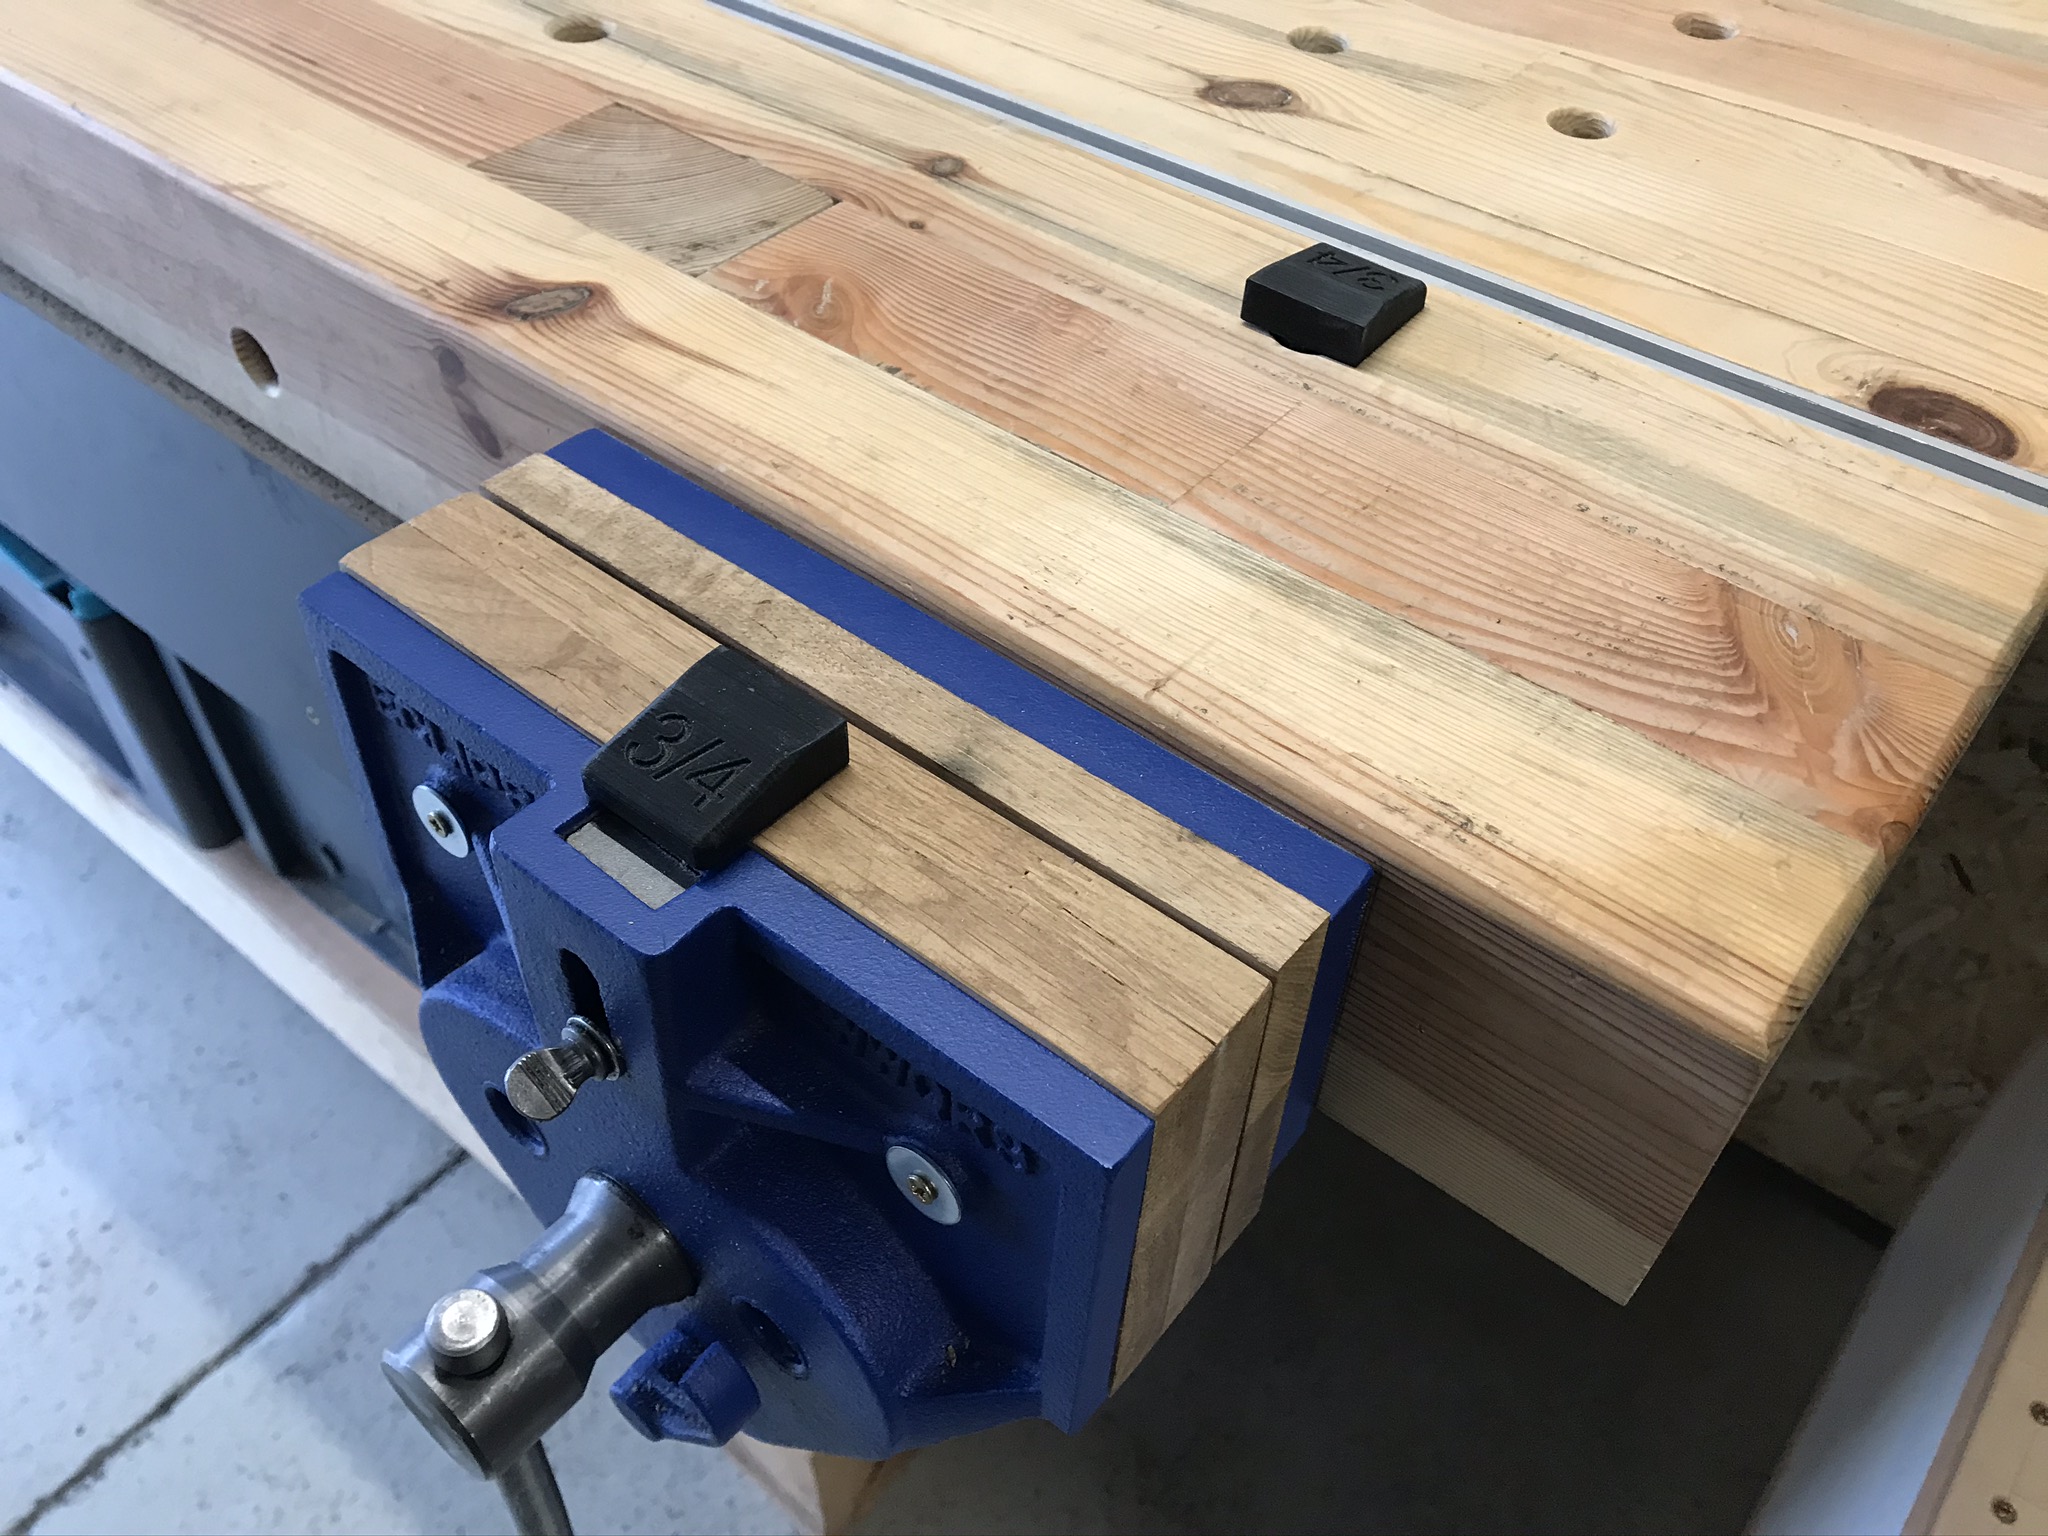
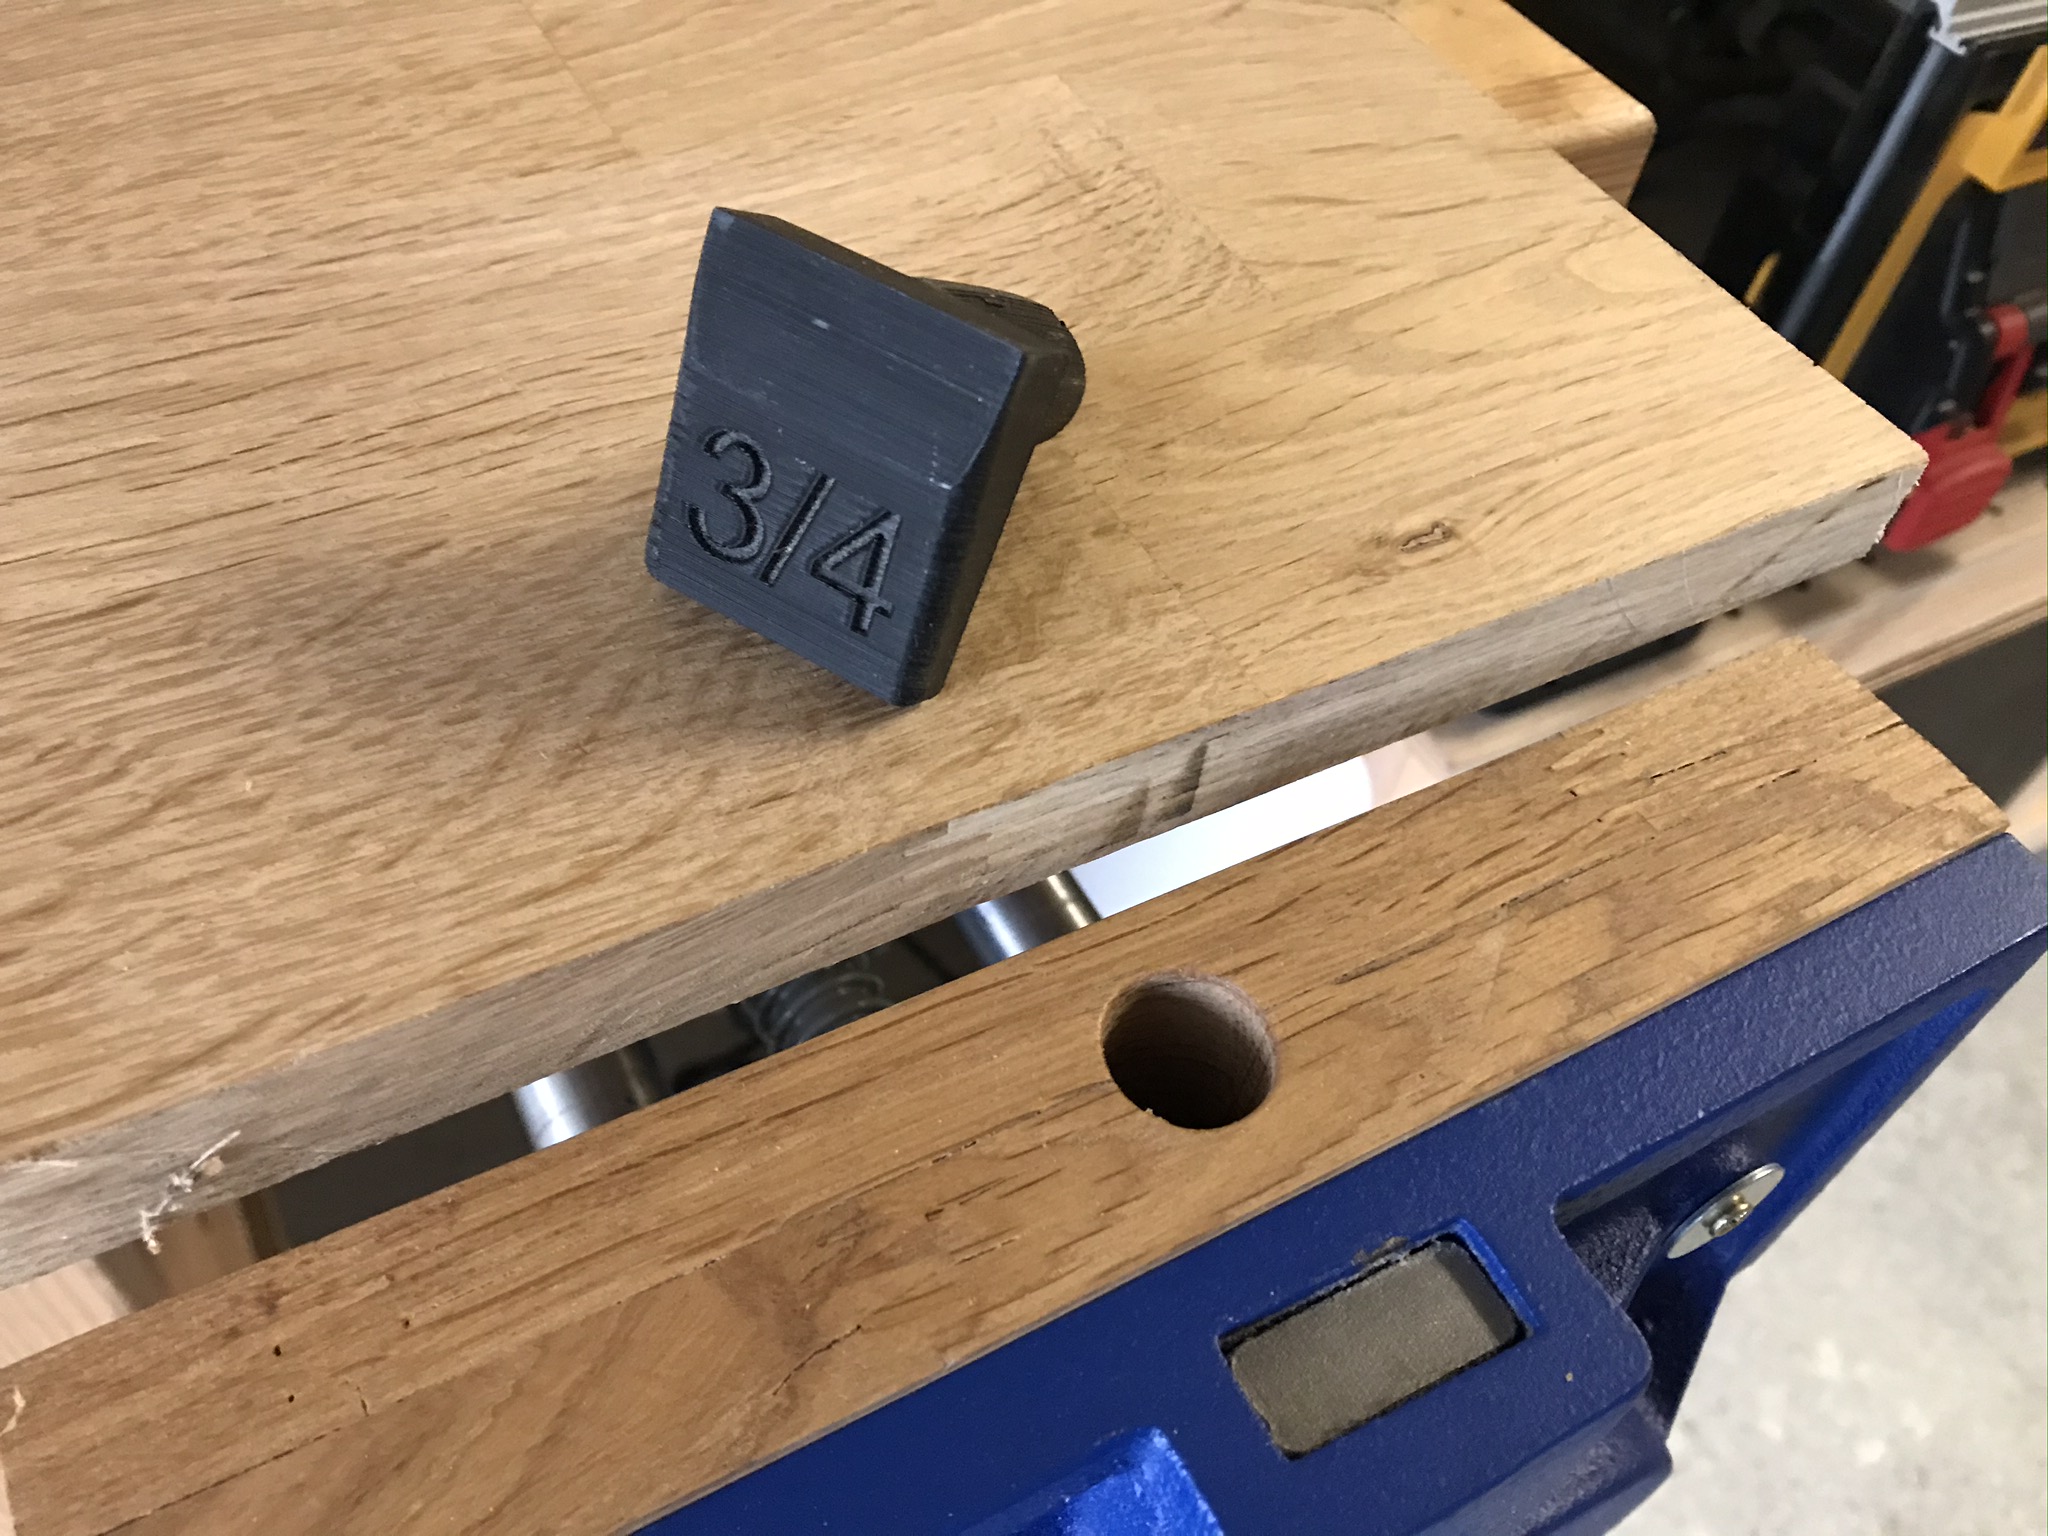
Clamping jaw with hole grid for Benchdog
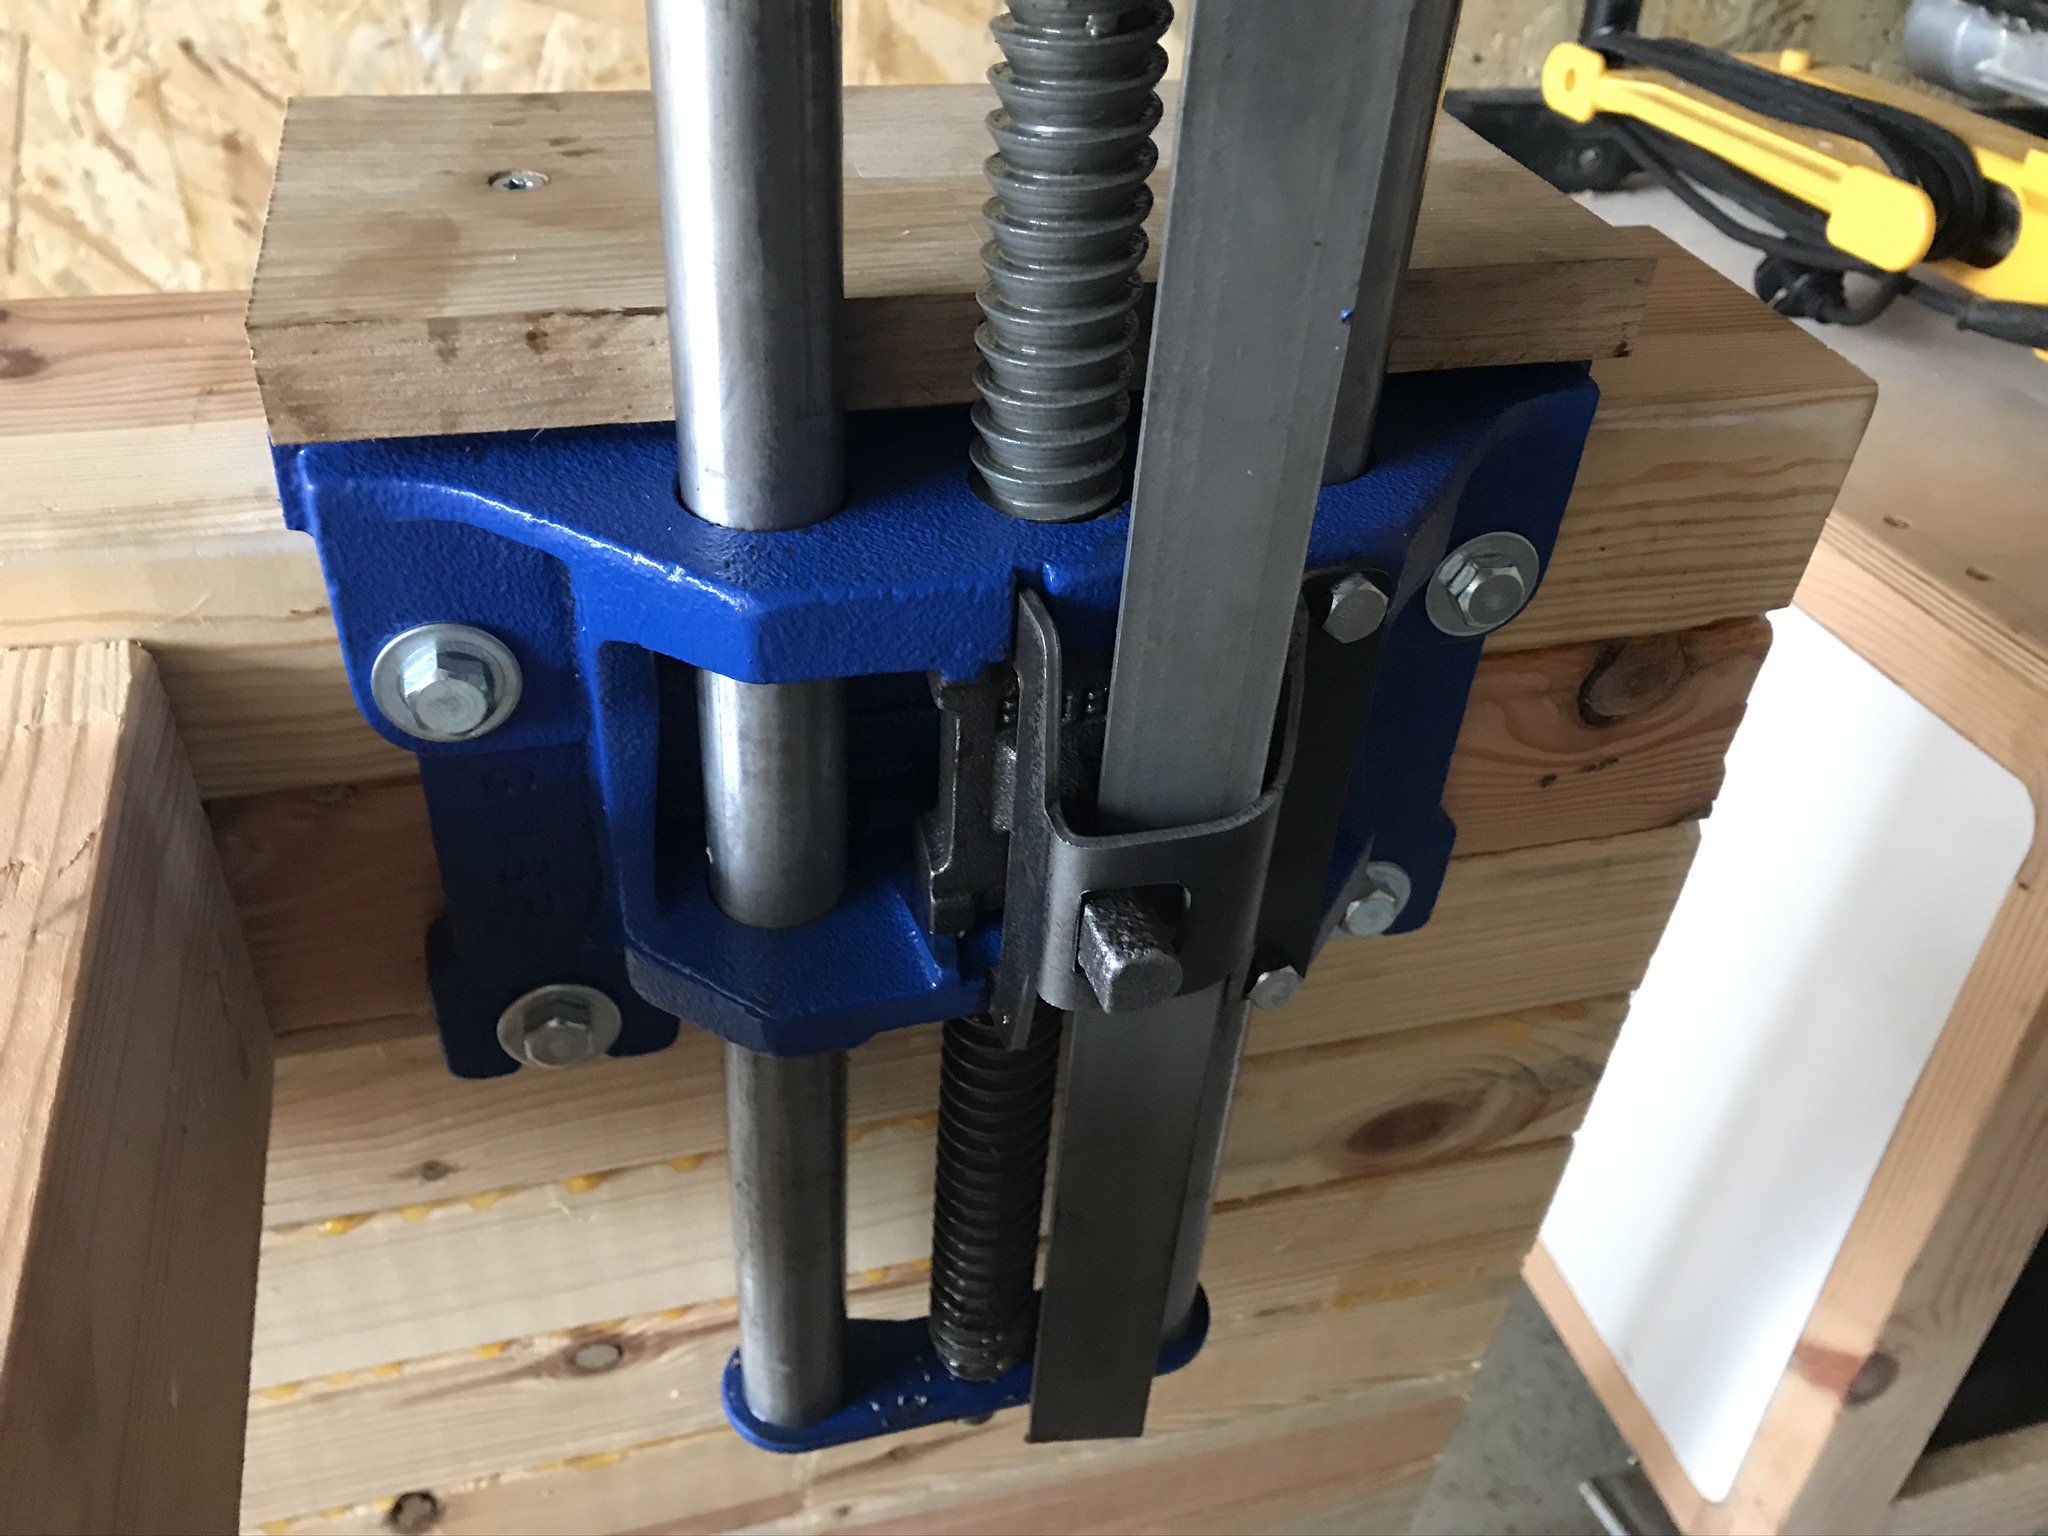
Next, the second clamping jaw is built from the two remaining oak wooden boards. A small special feature is to be a hole with the help of which one can clamp workpieces gently on the workbench. The front clamp already has a small metal bench dog that can be pulled out for this purpose. However, I am afraid that this metal bench dog will leave marks in the workpieces too quickly.
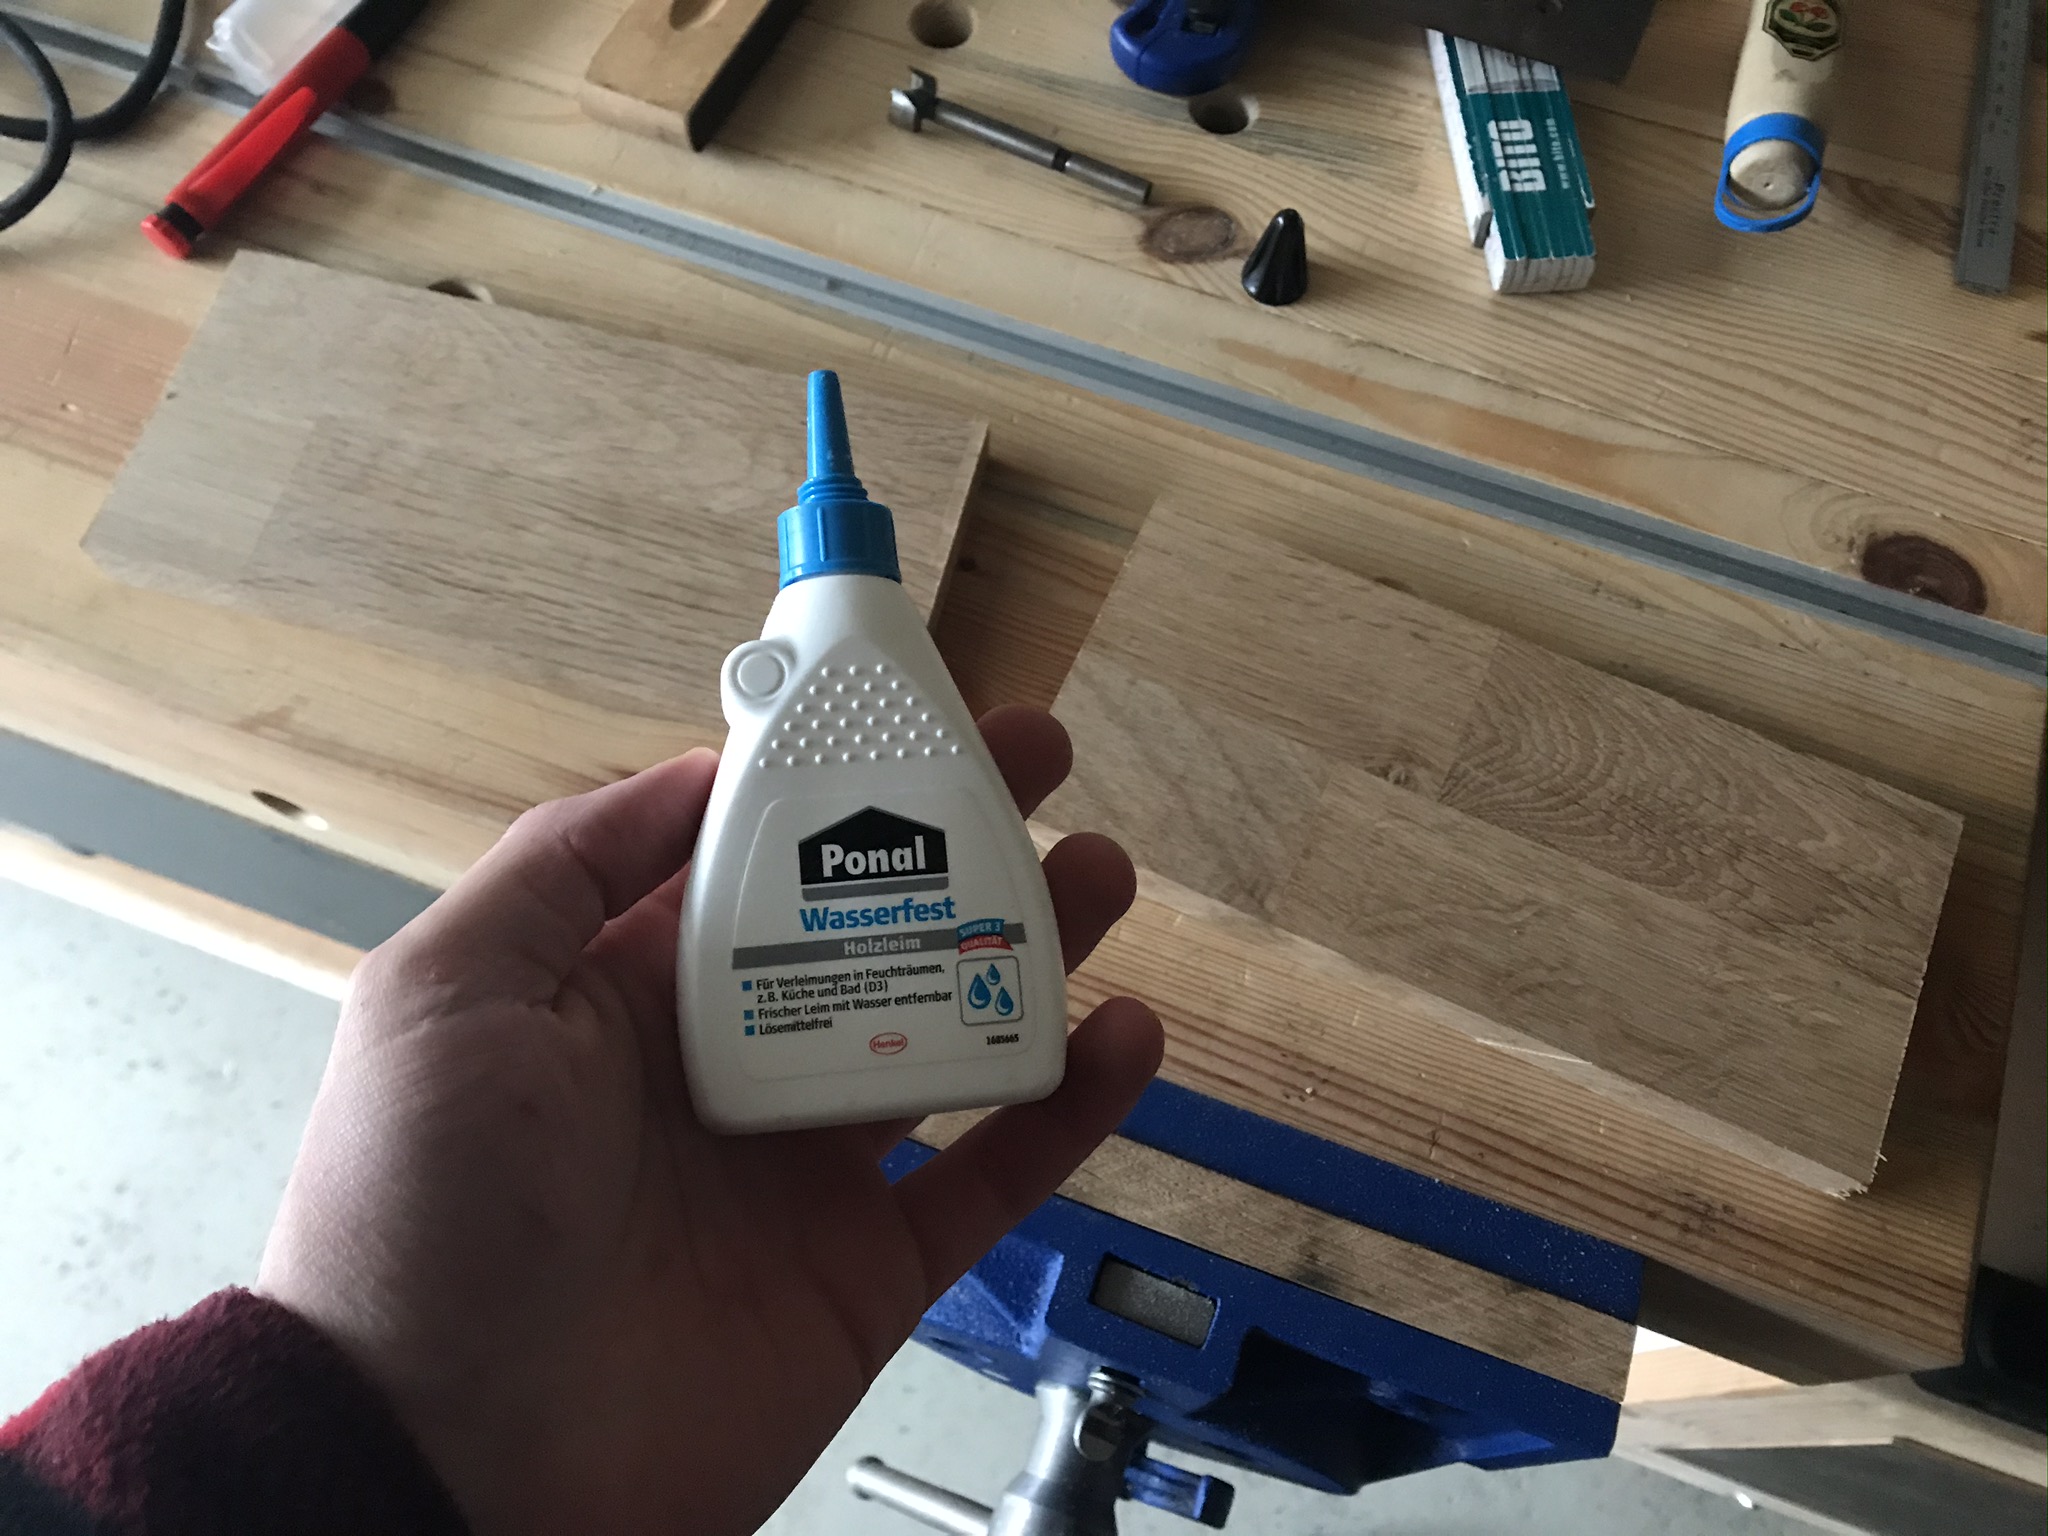
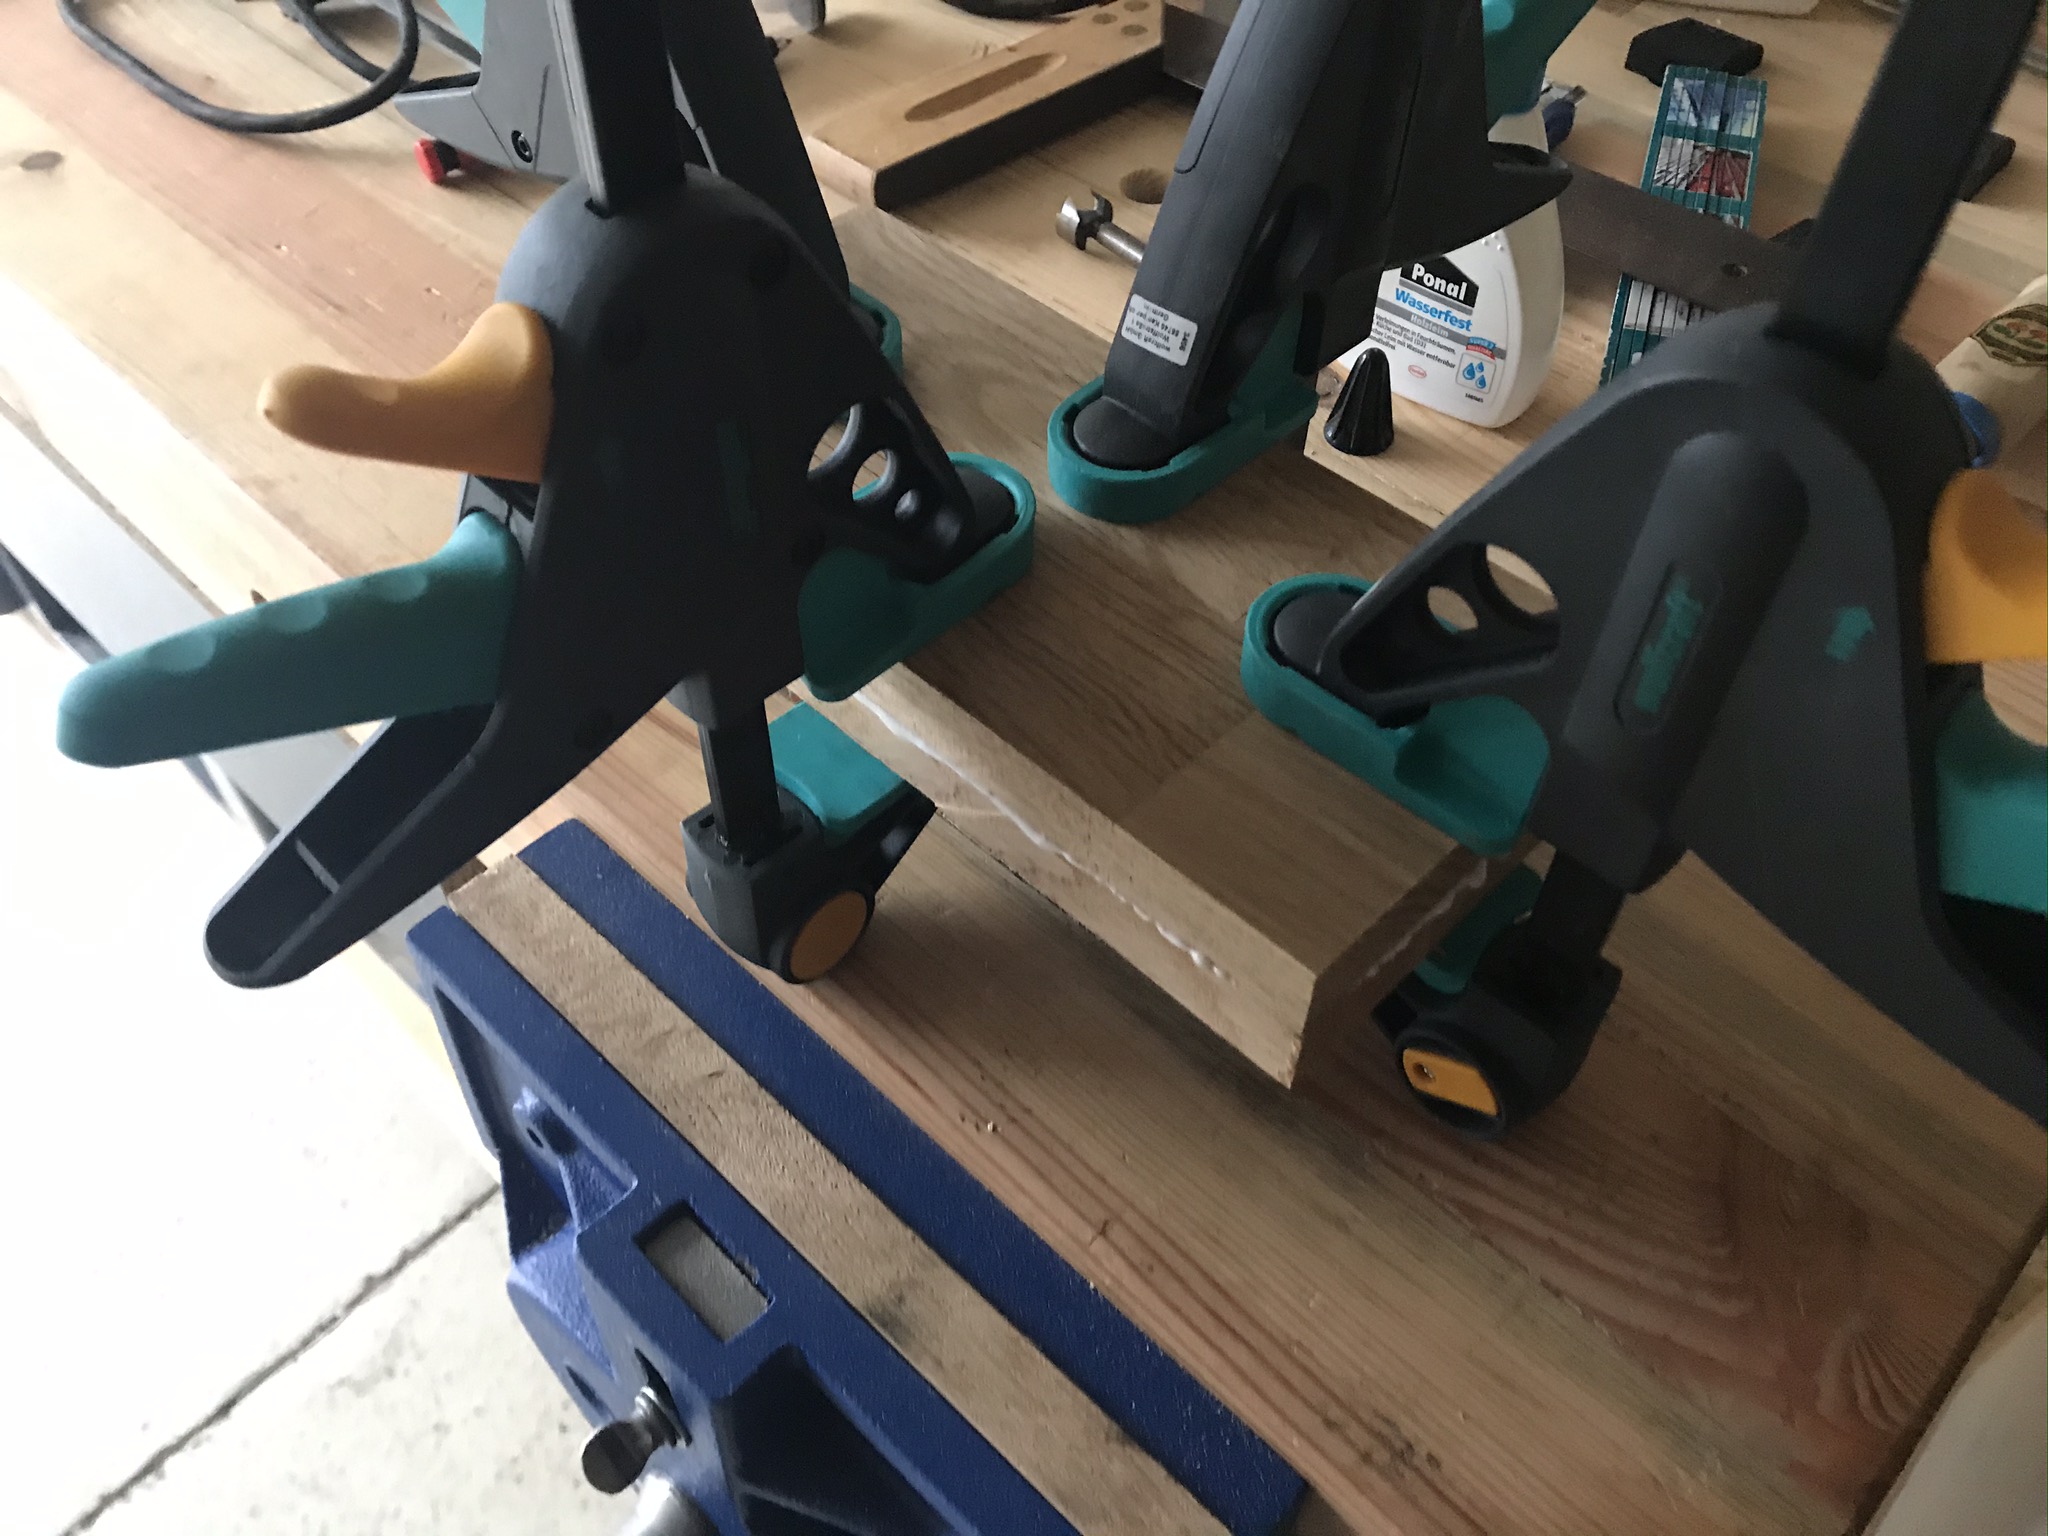
Glue the two oak boards together with wood glue and press them together with 4 screw clamps. To be on the safe side, I used waterproof wood glue because the workshop is not always heated and the humidity can sometimes be higher.
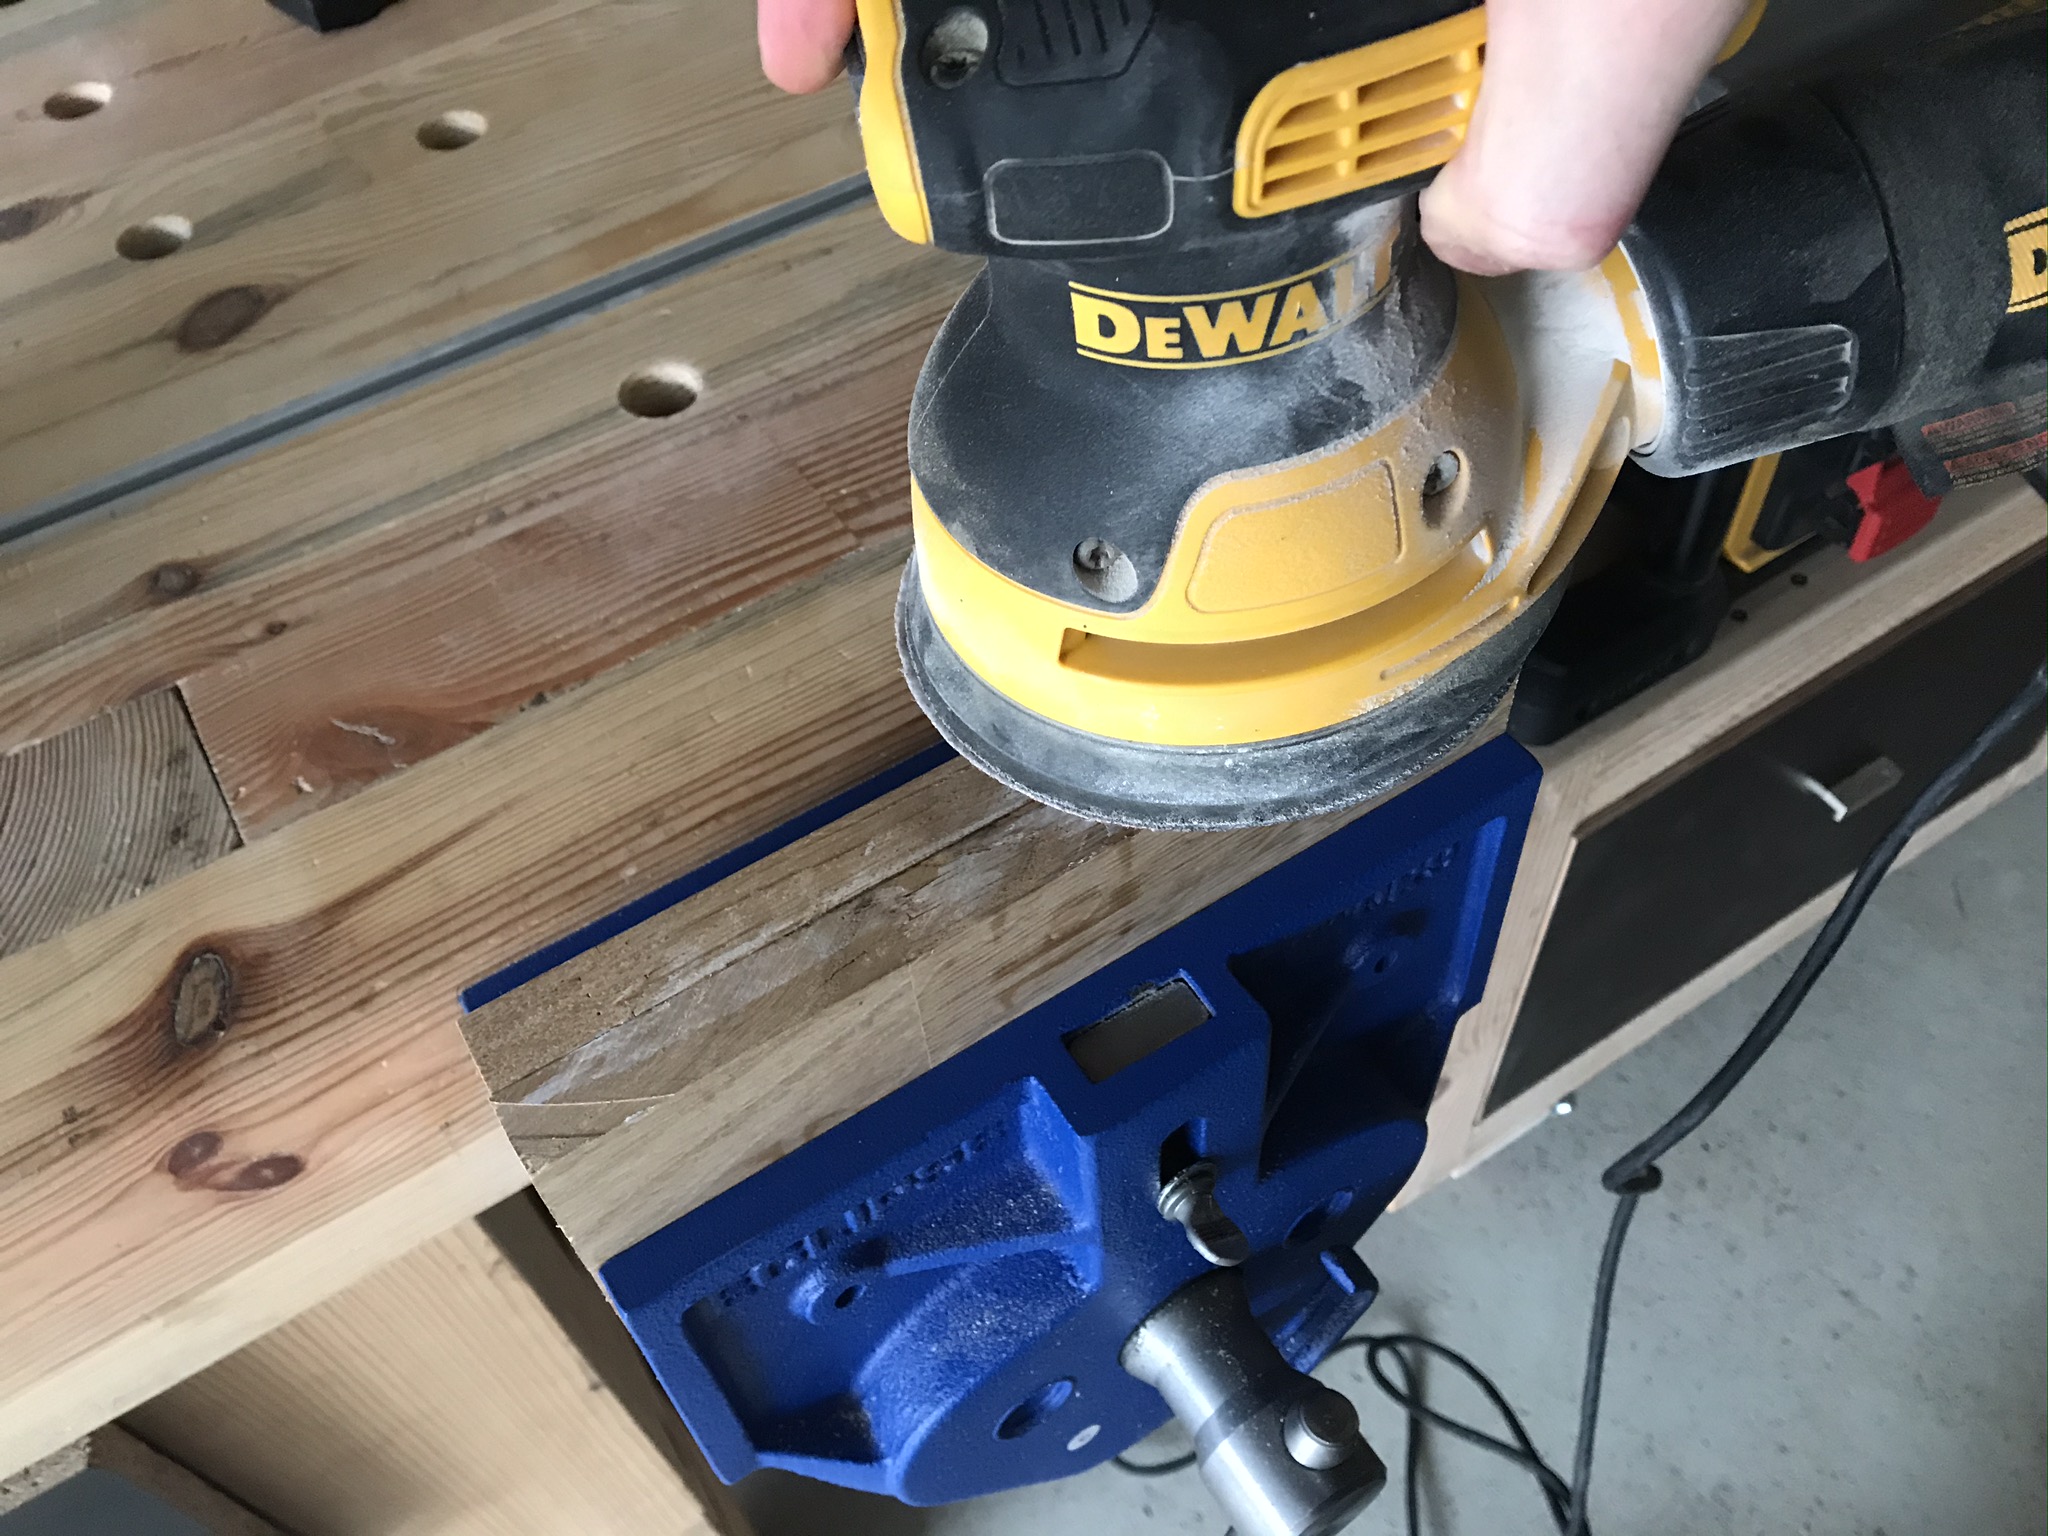
As soon as the wood glue has dried, the four narrow edges of the clamping jaw can be sanded flat with a sander*.
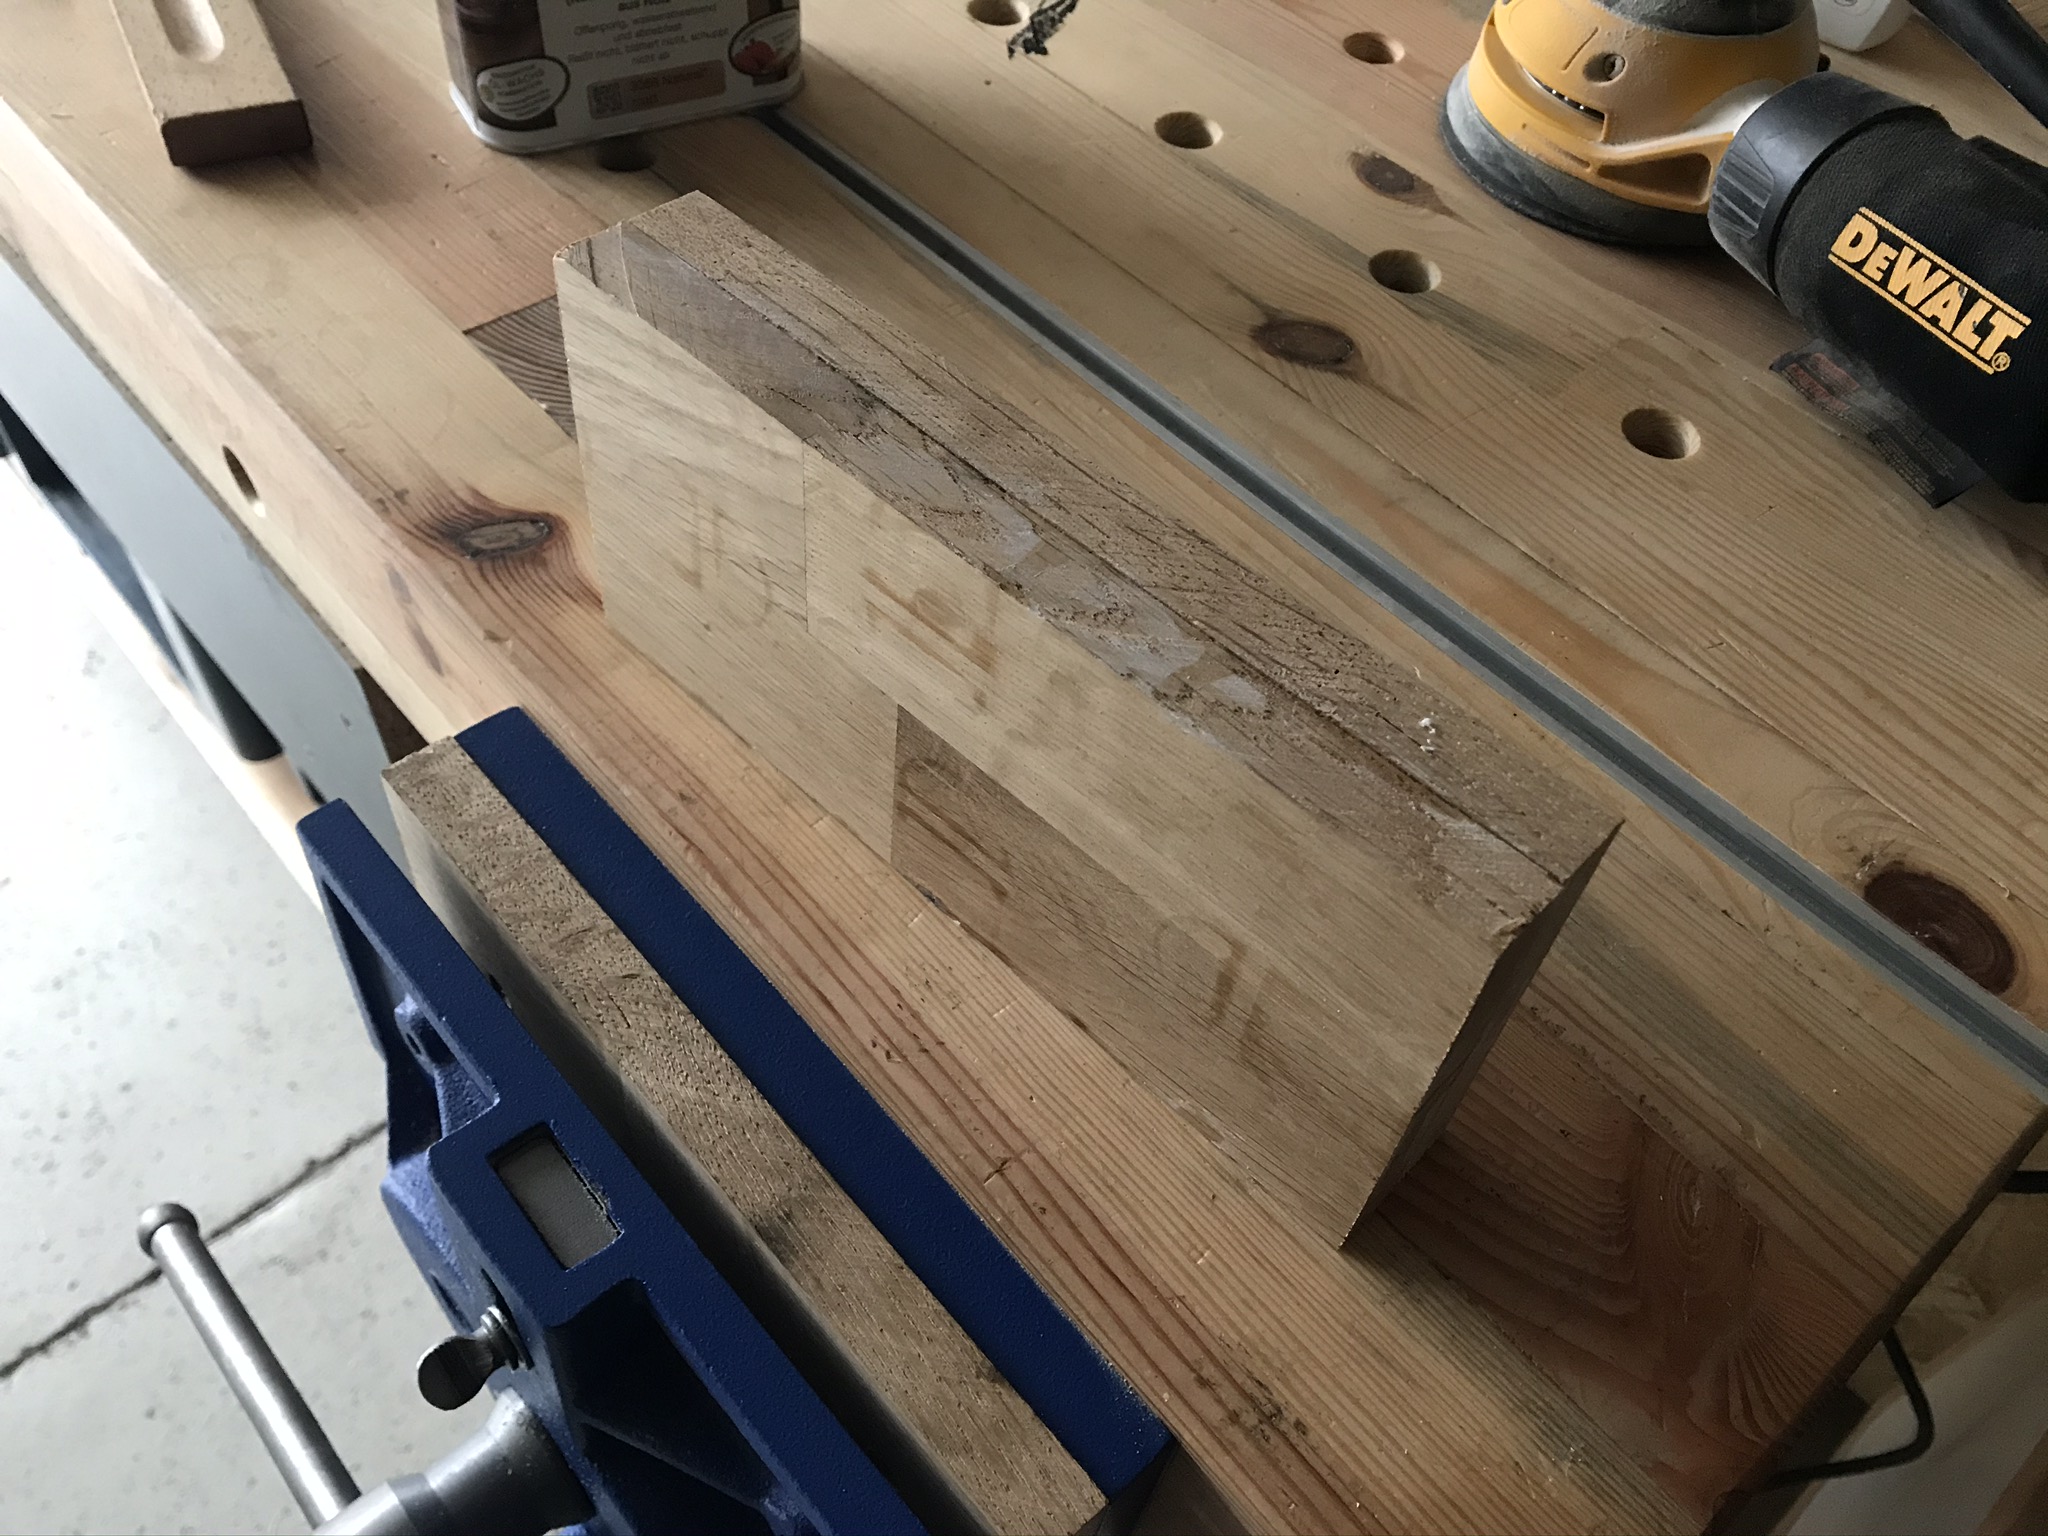
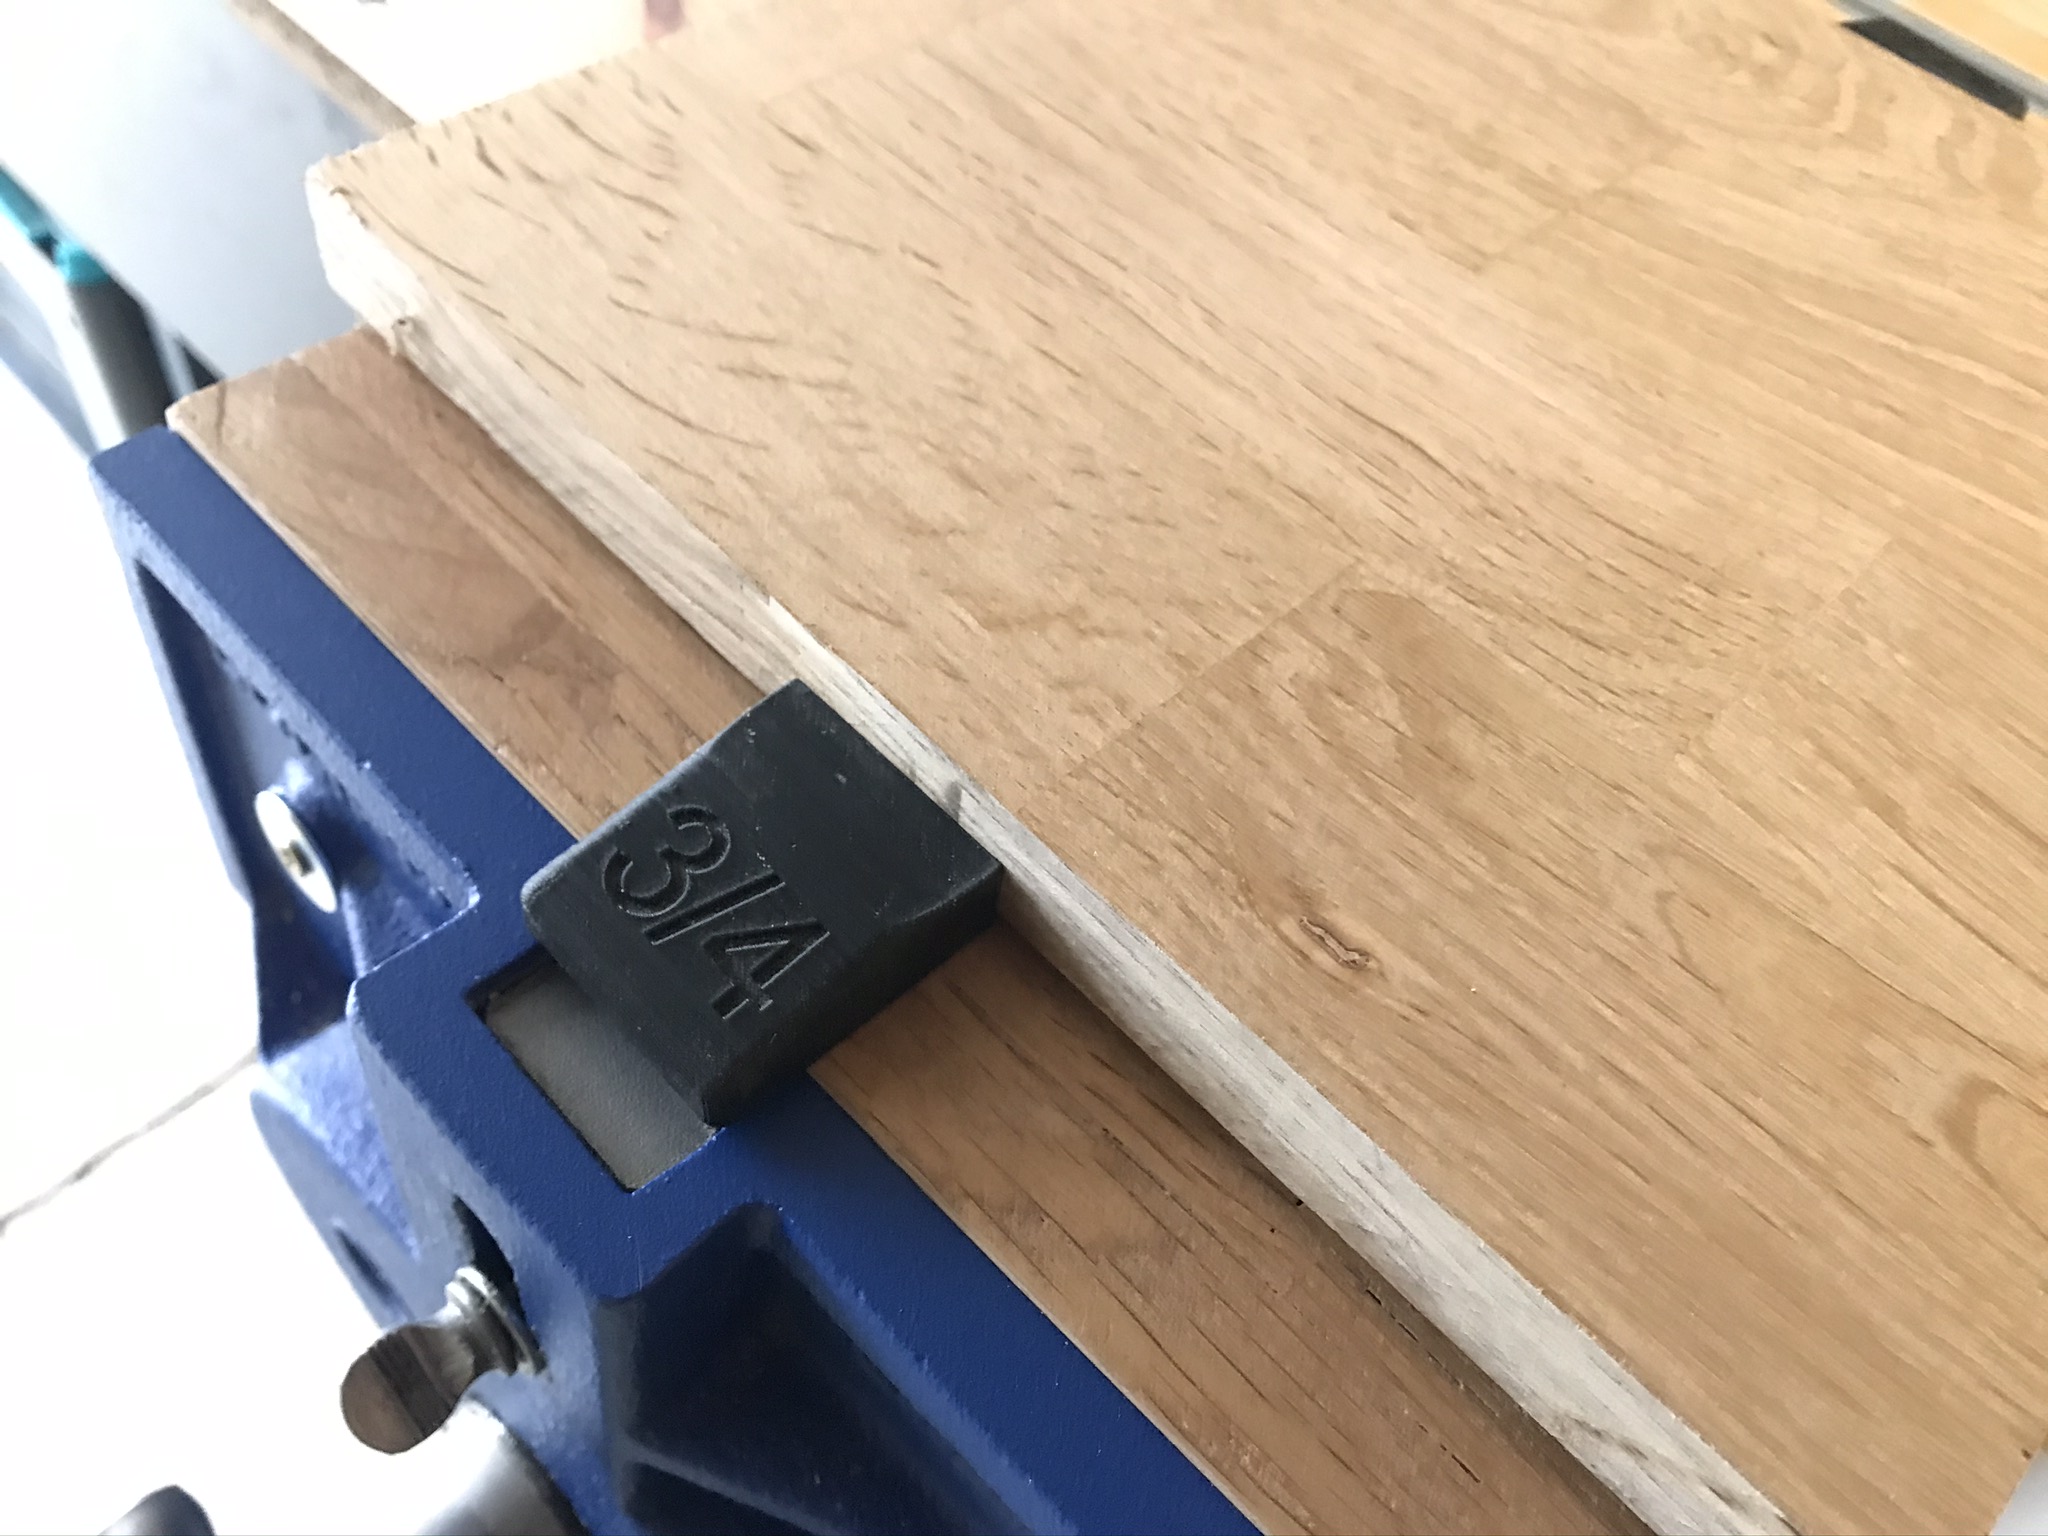
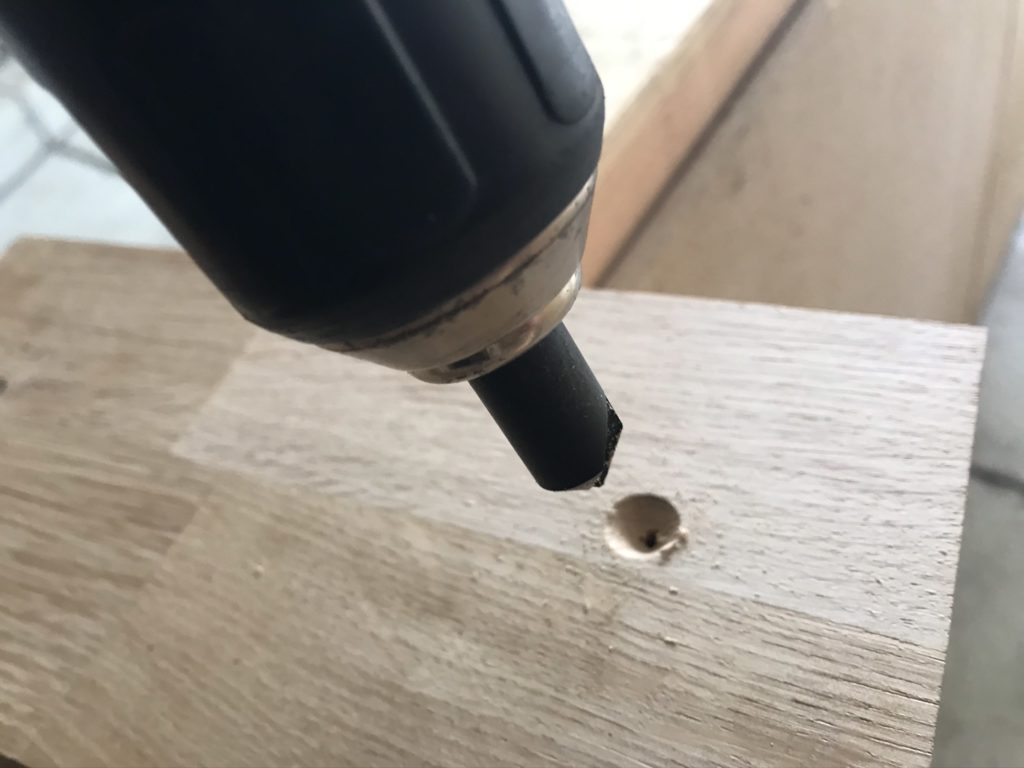
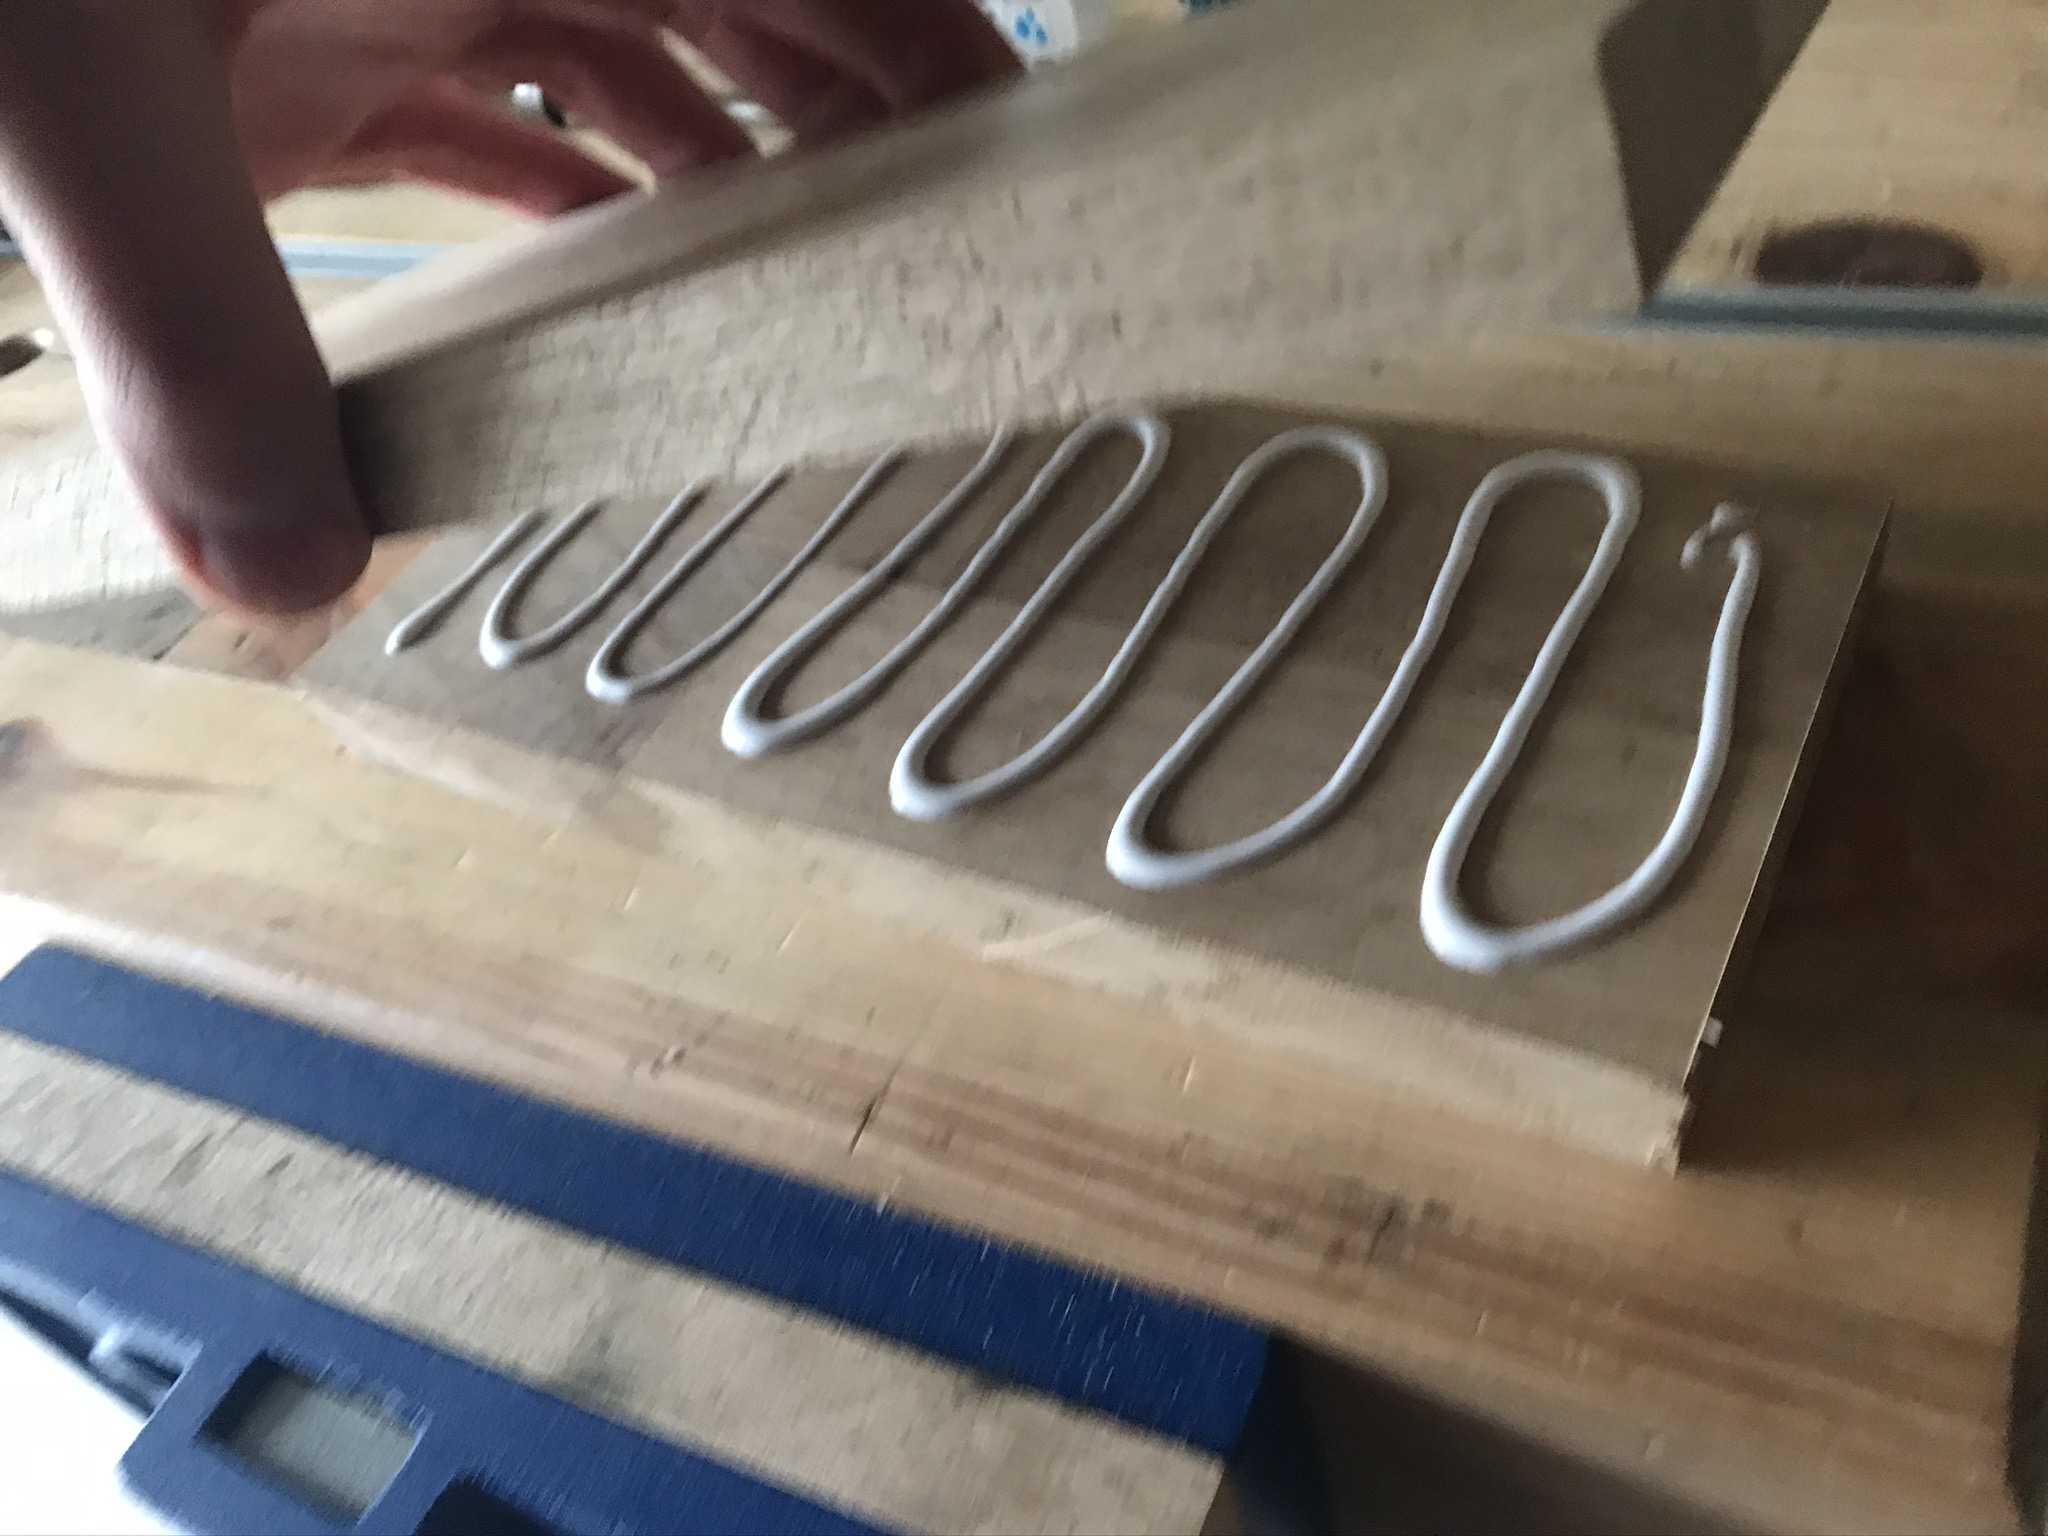
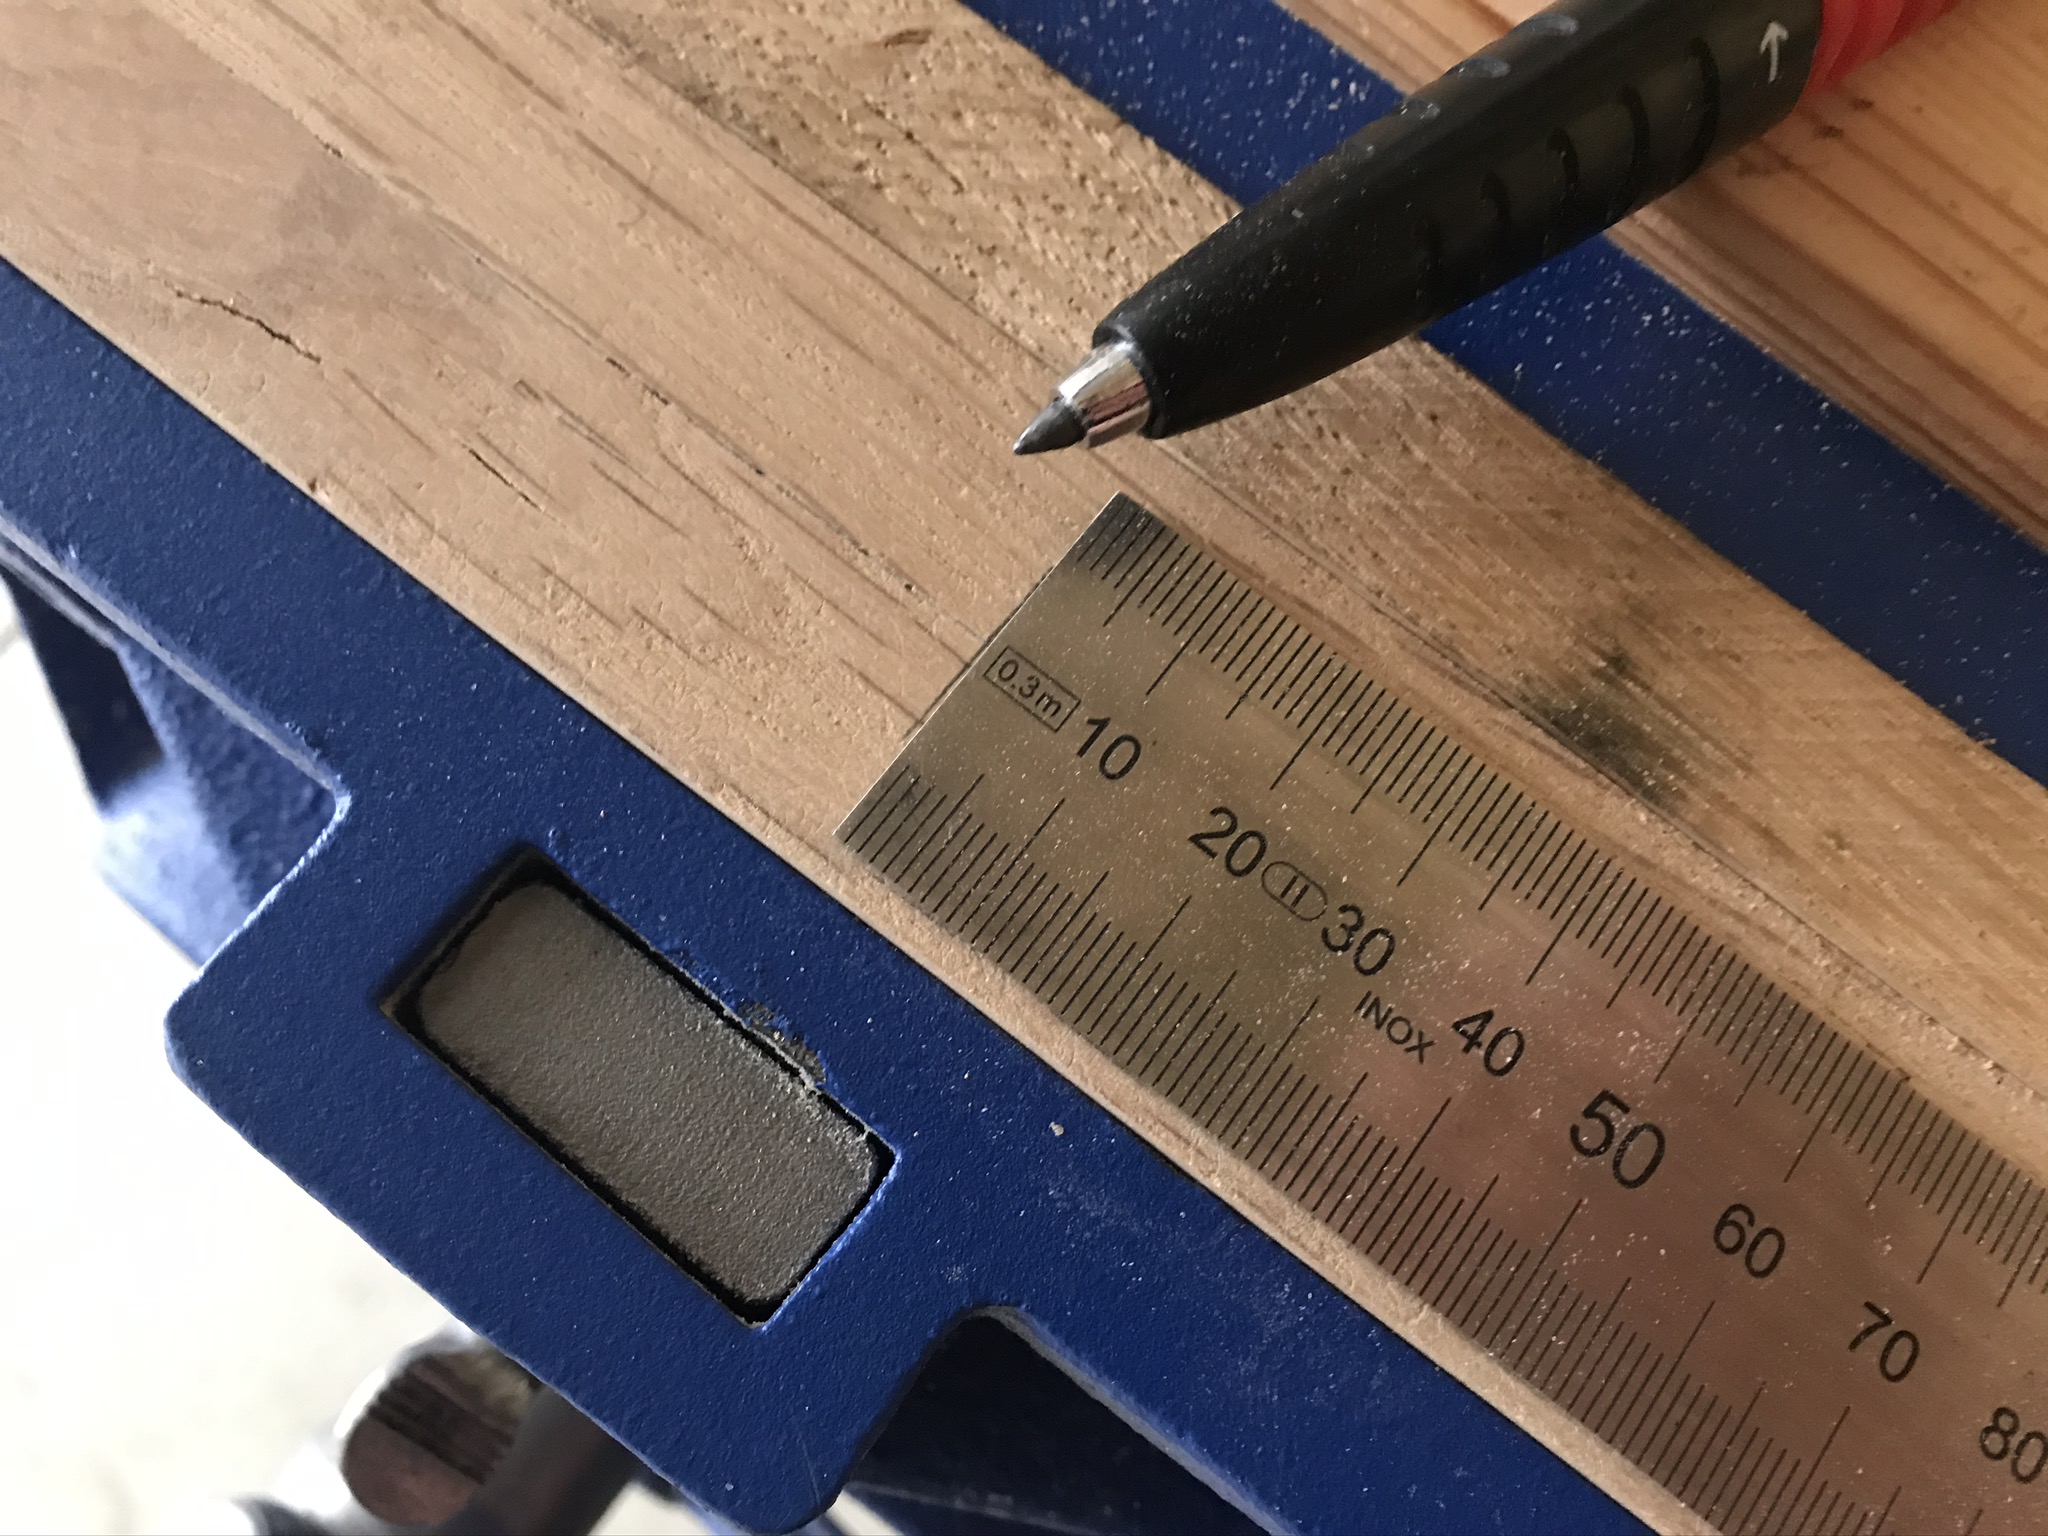
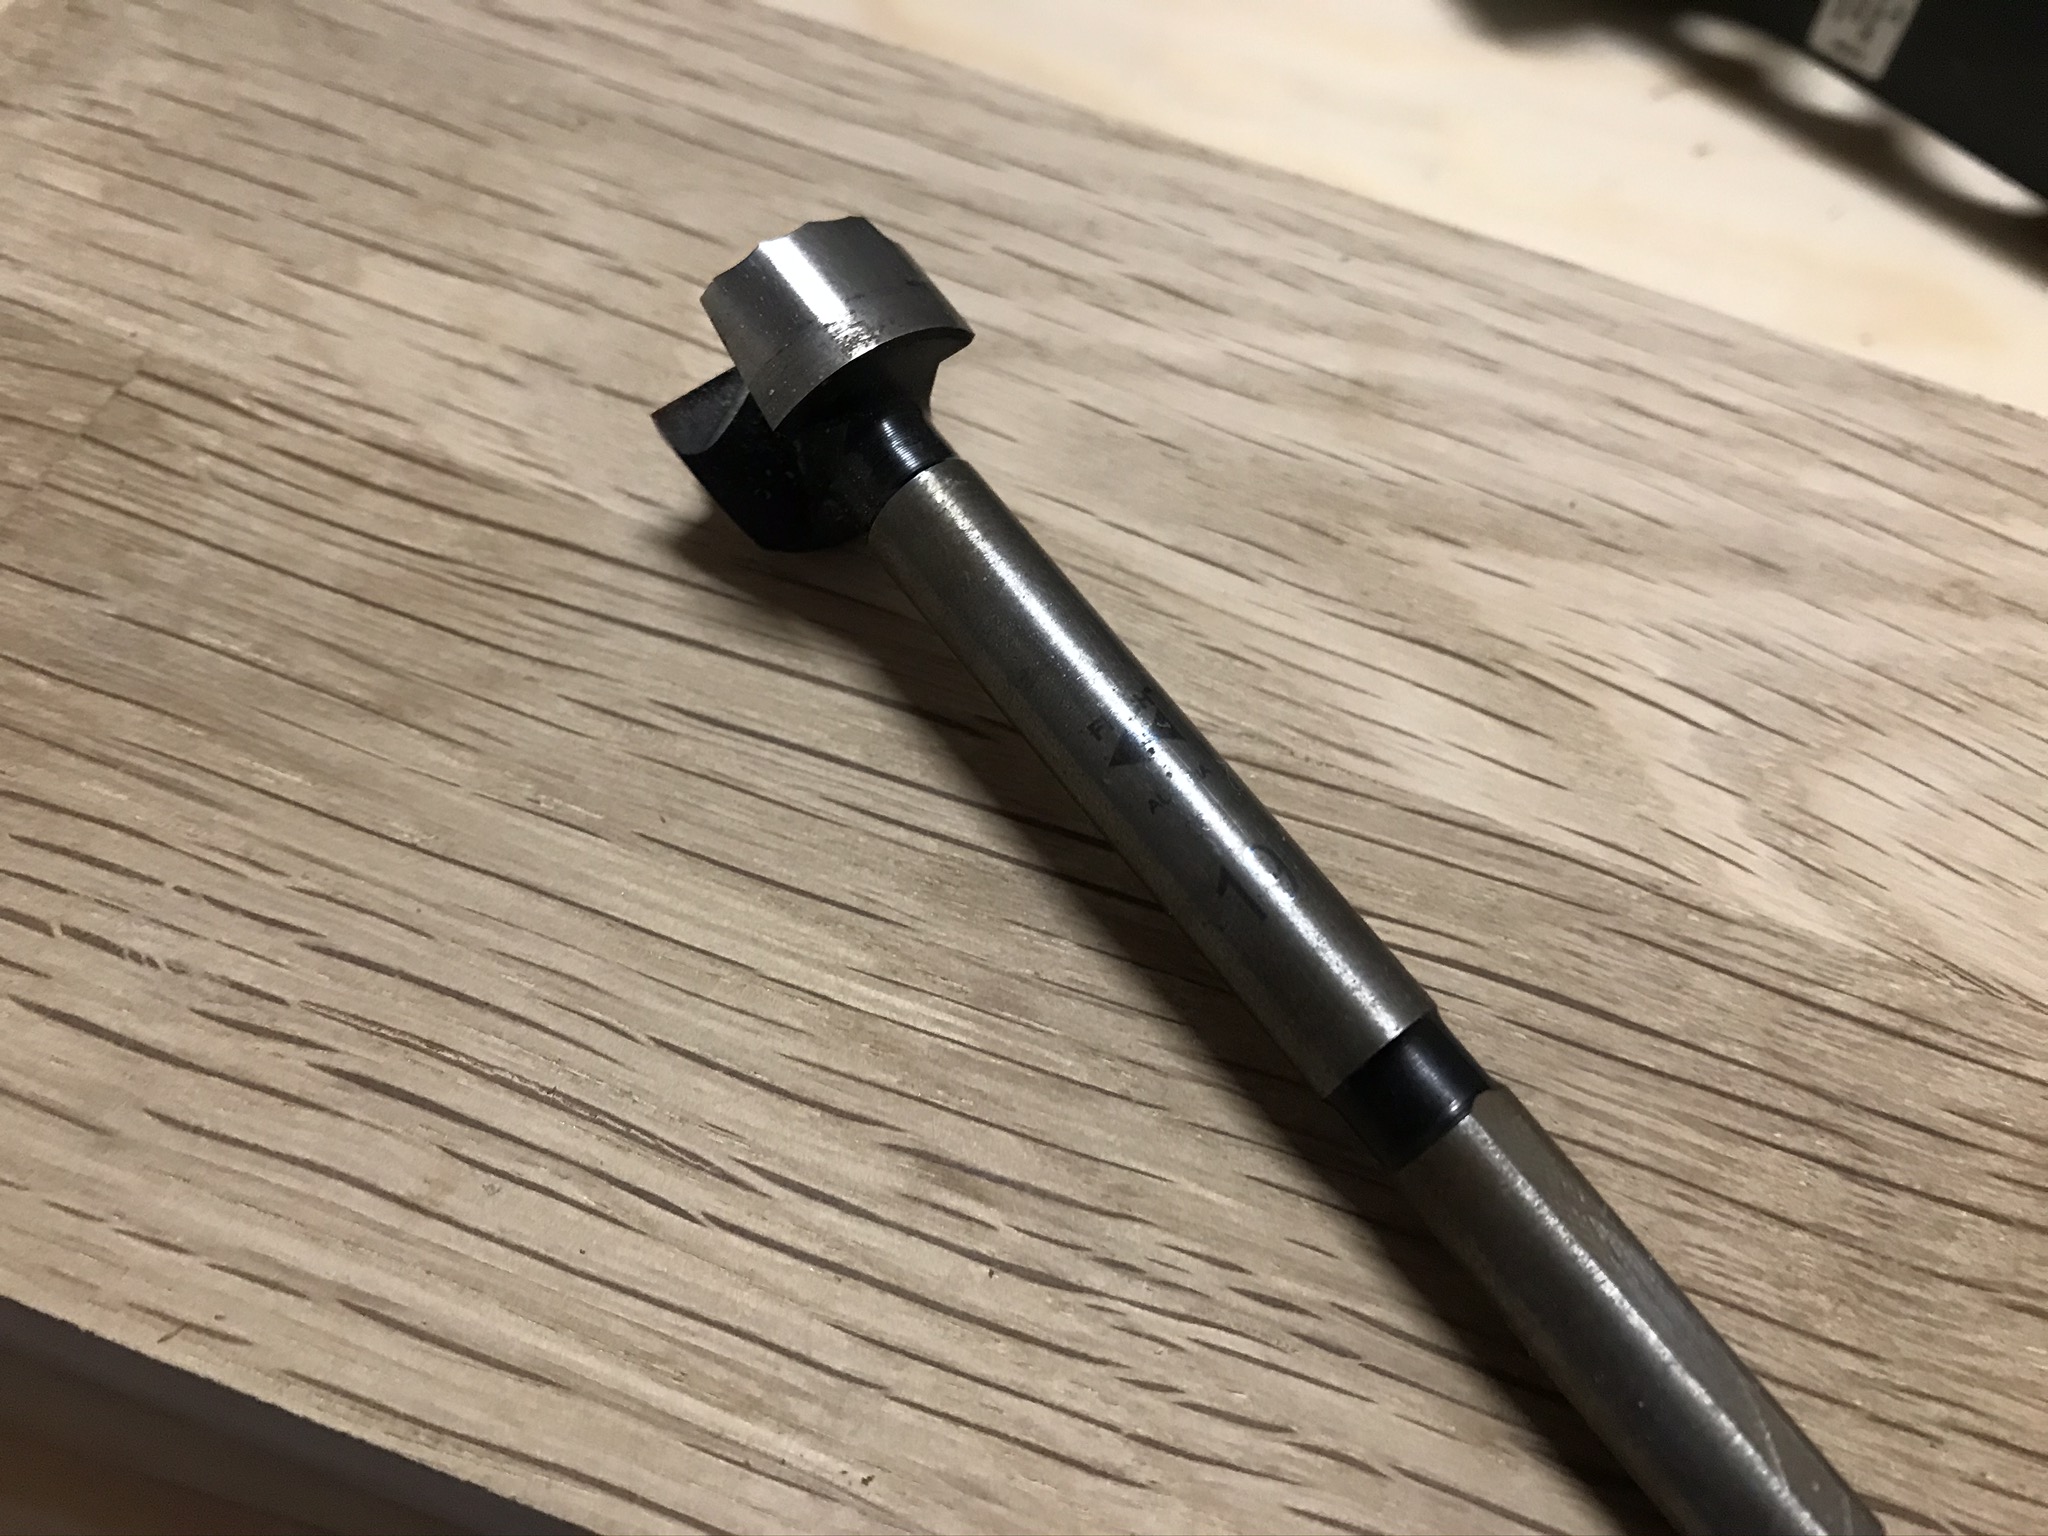
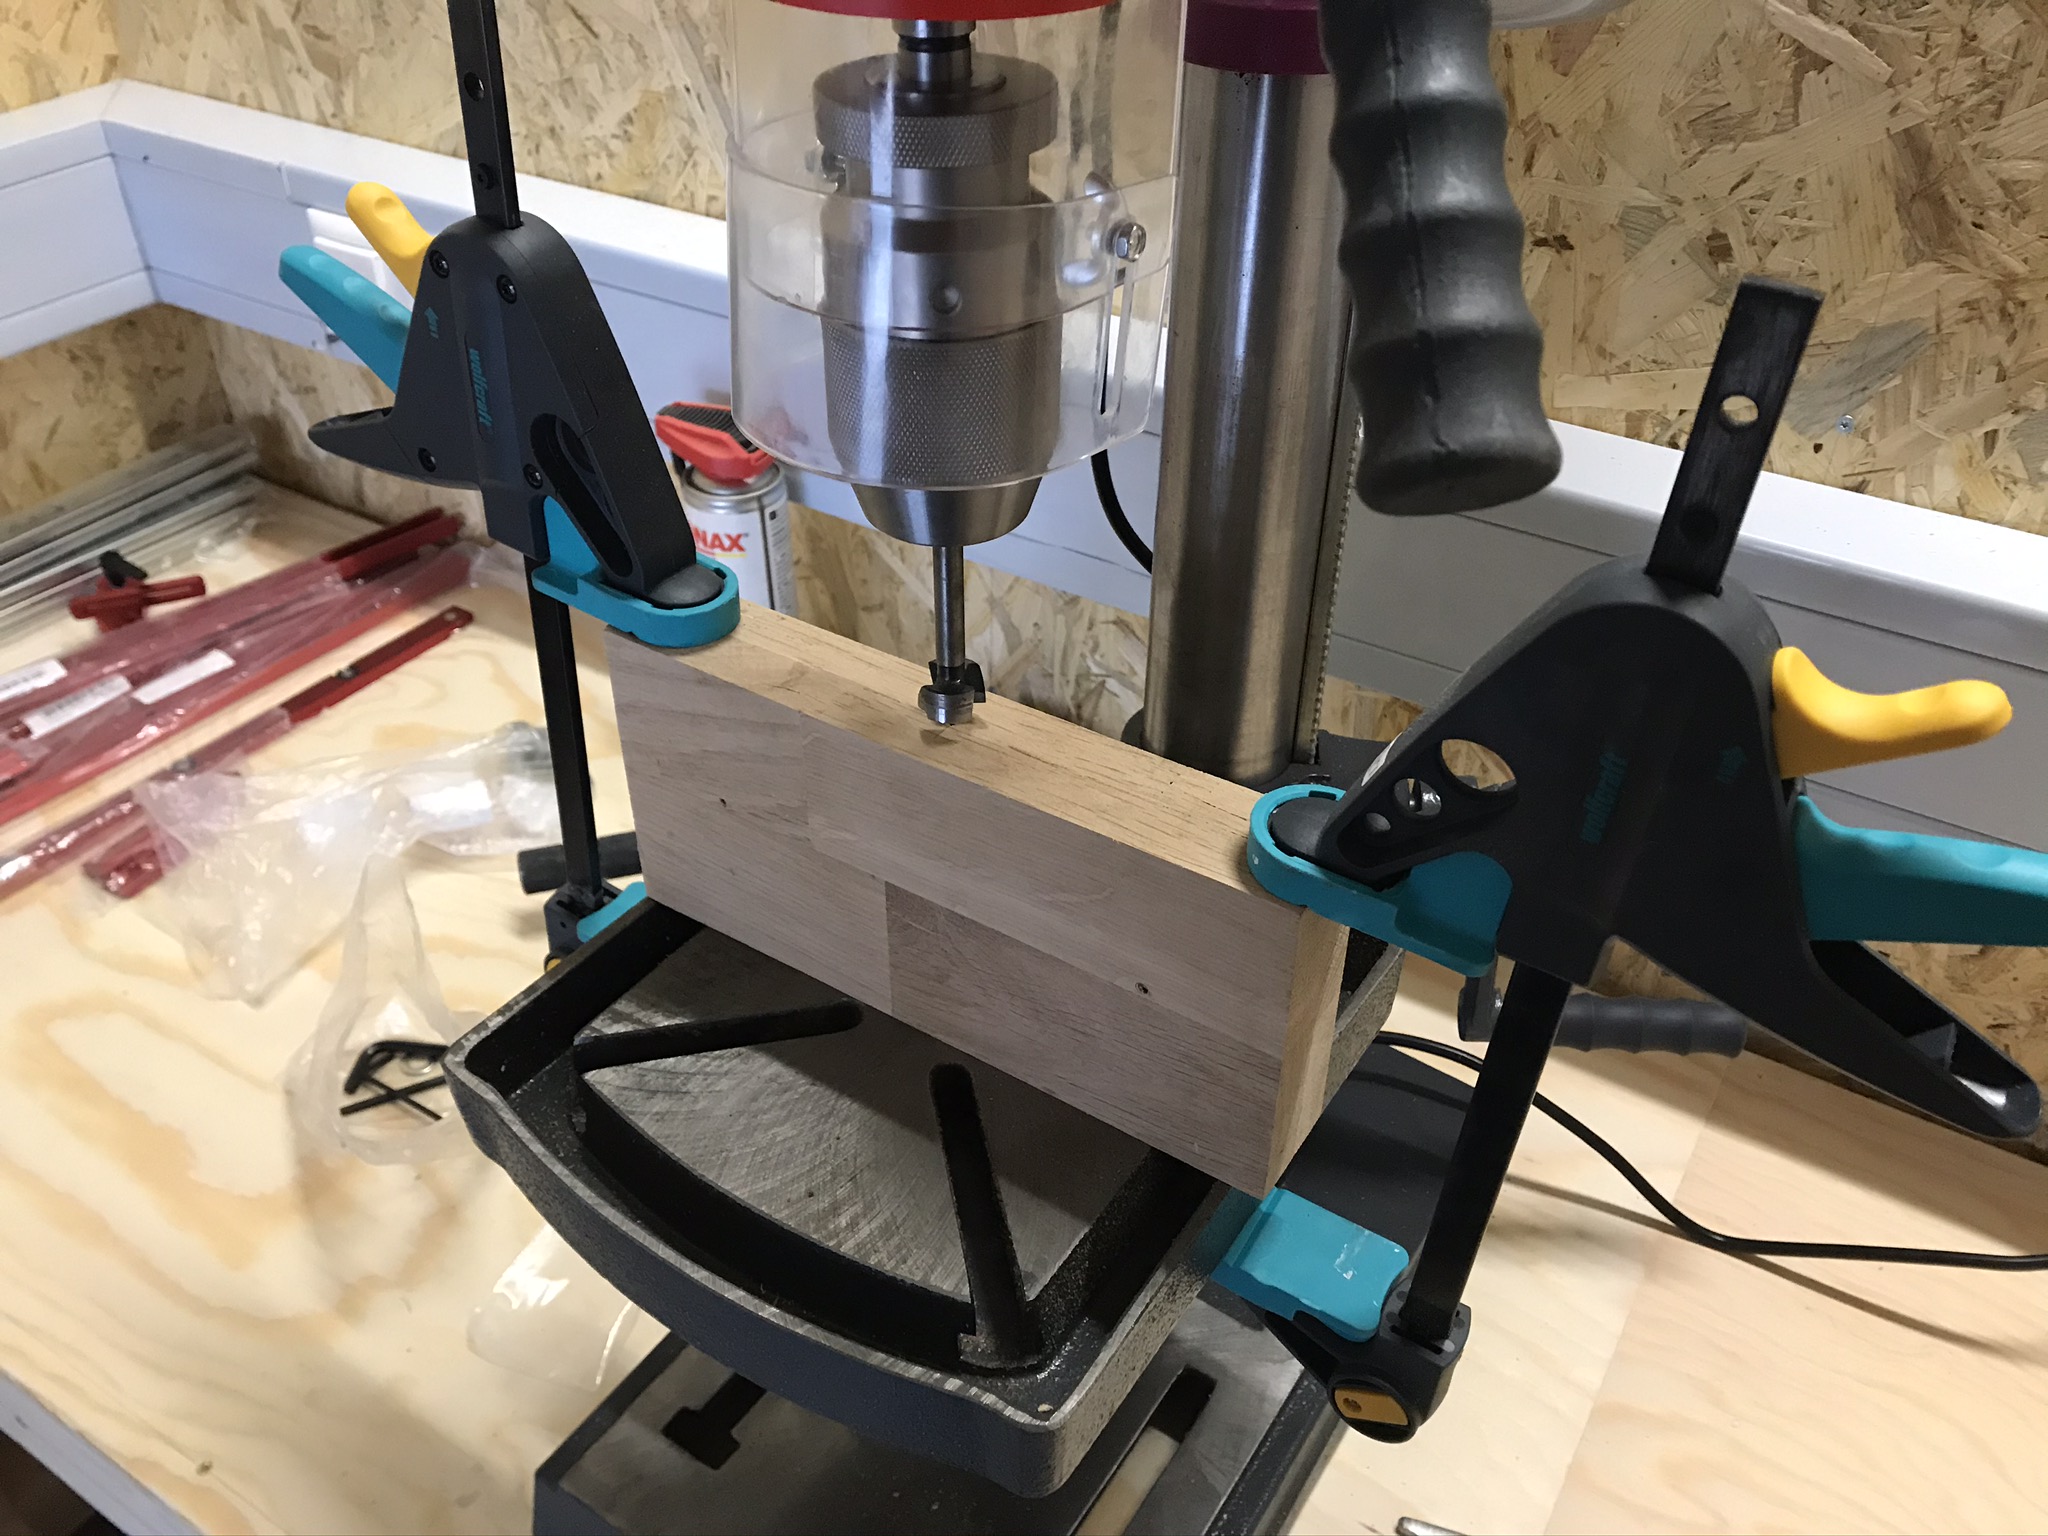
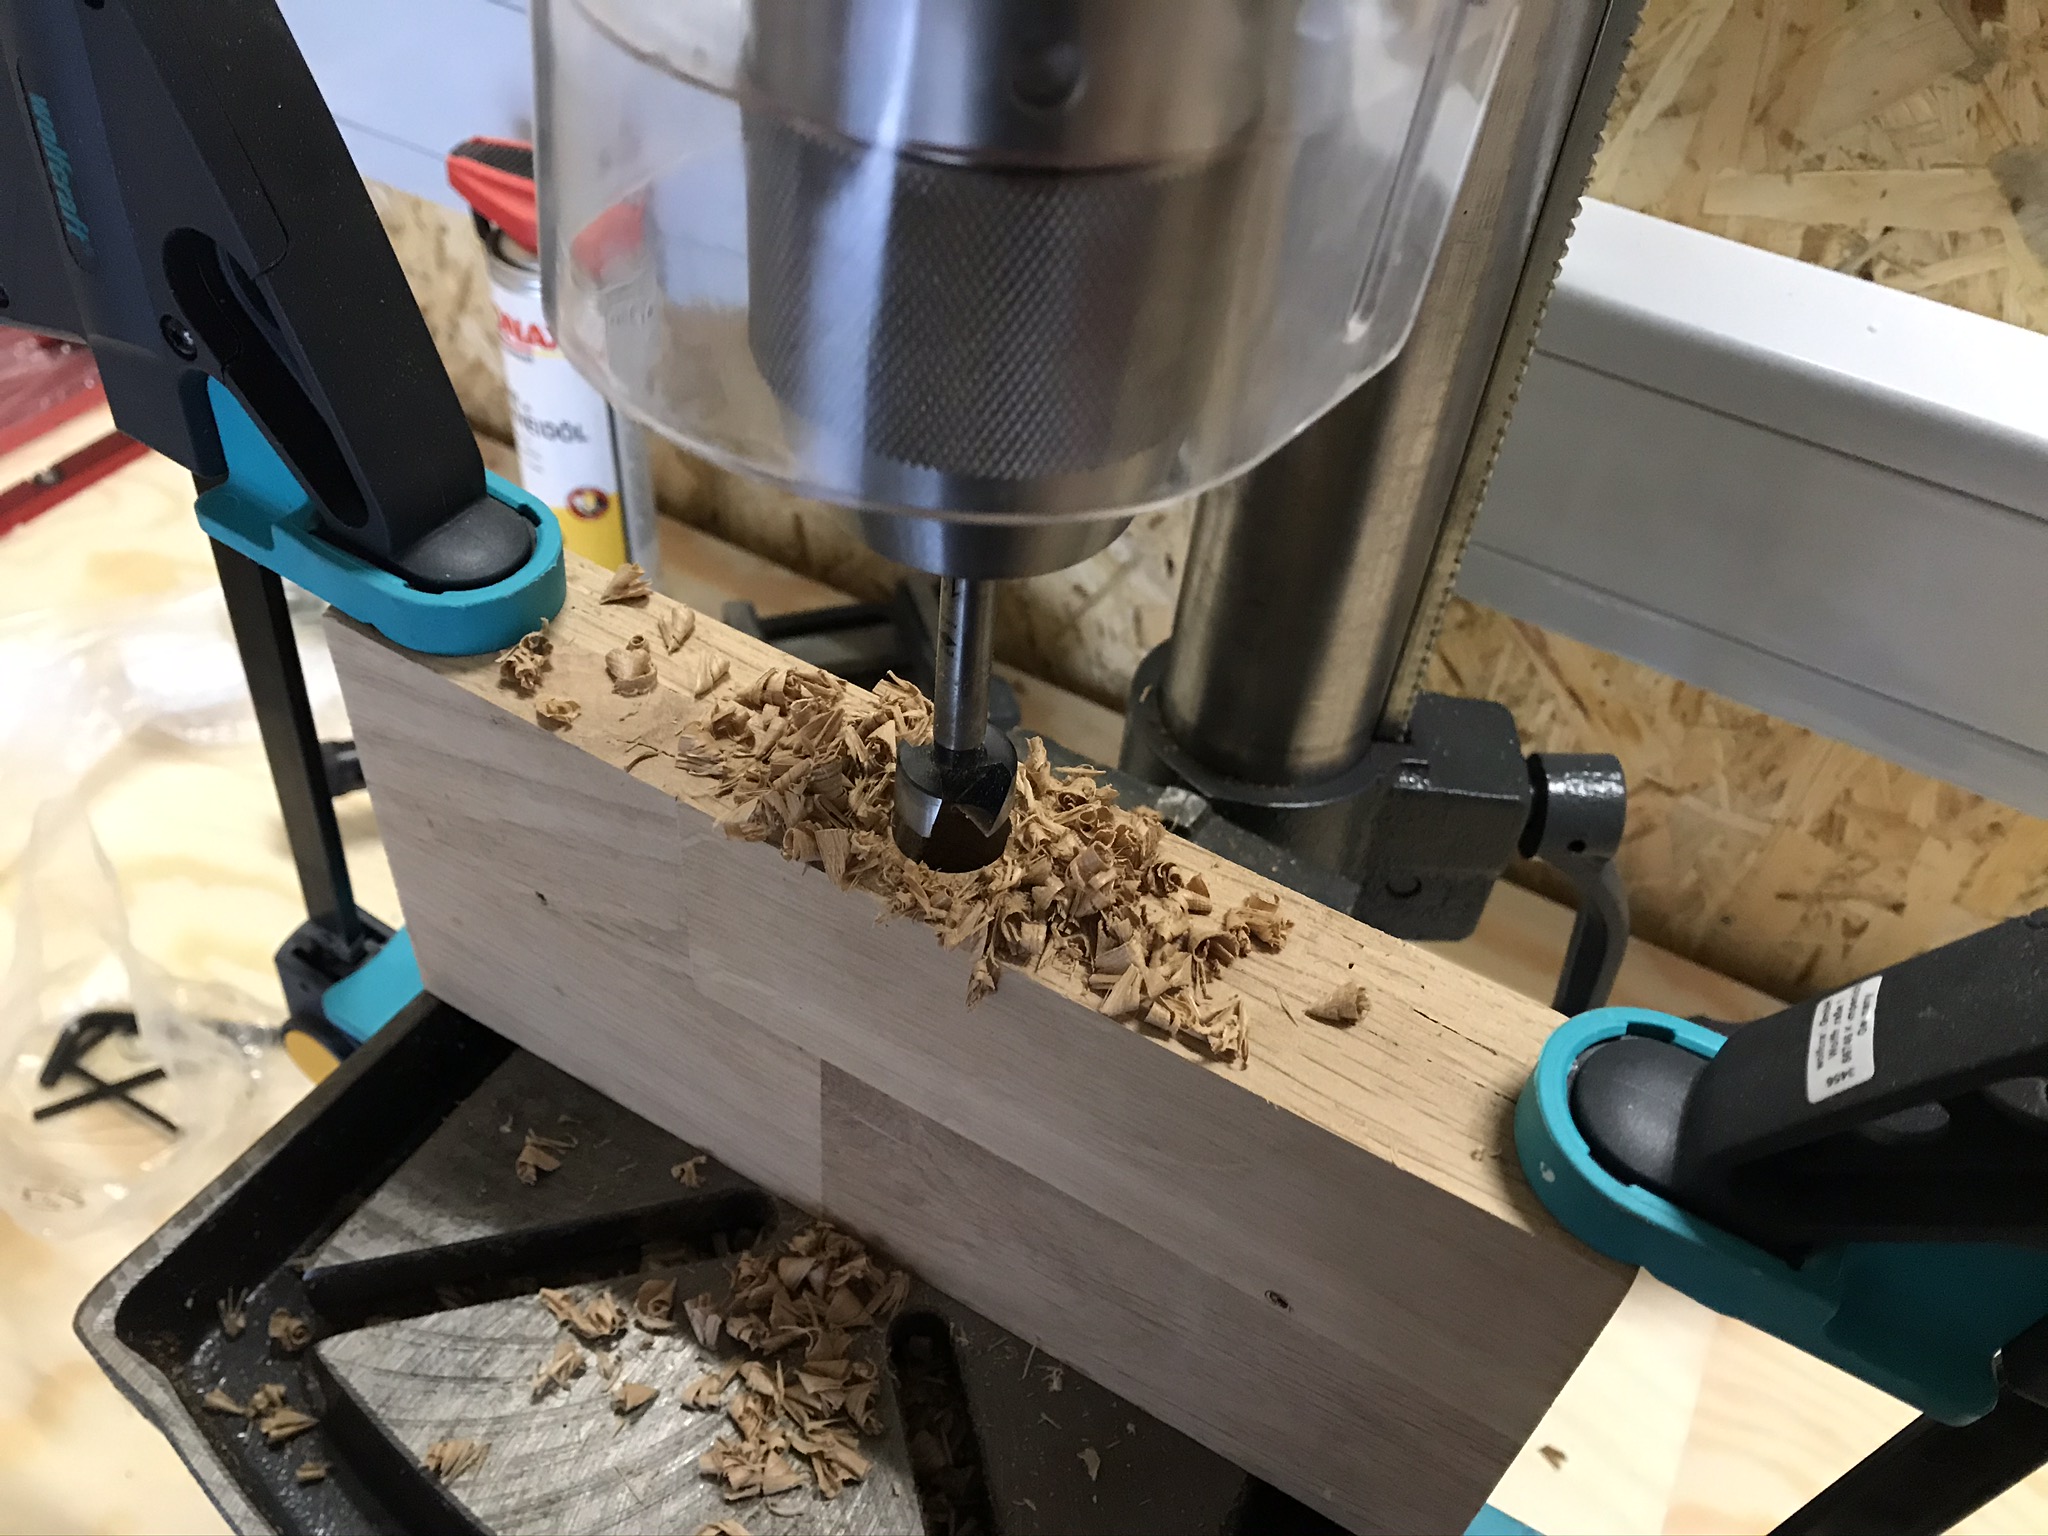
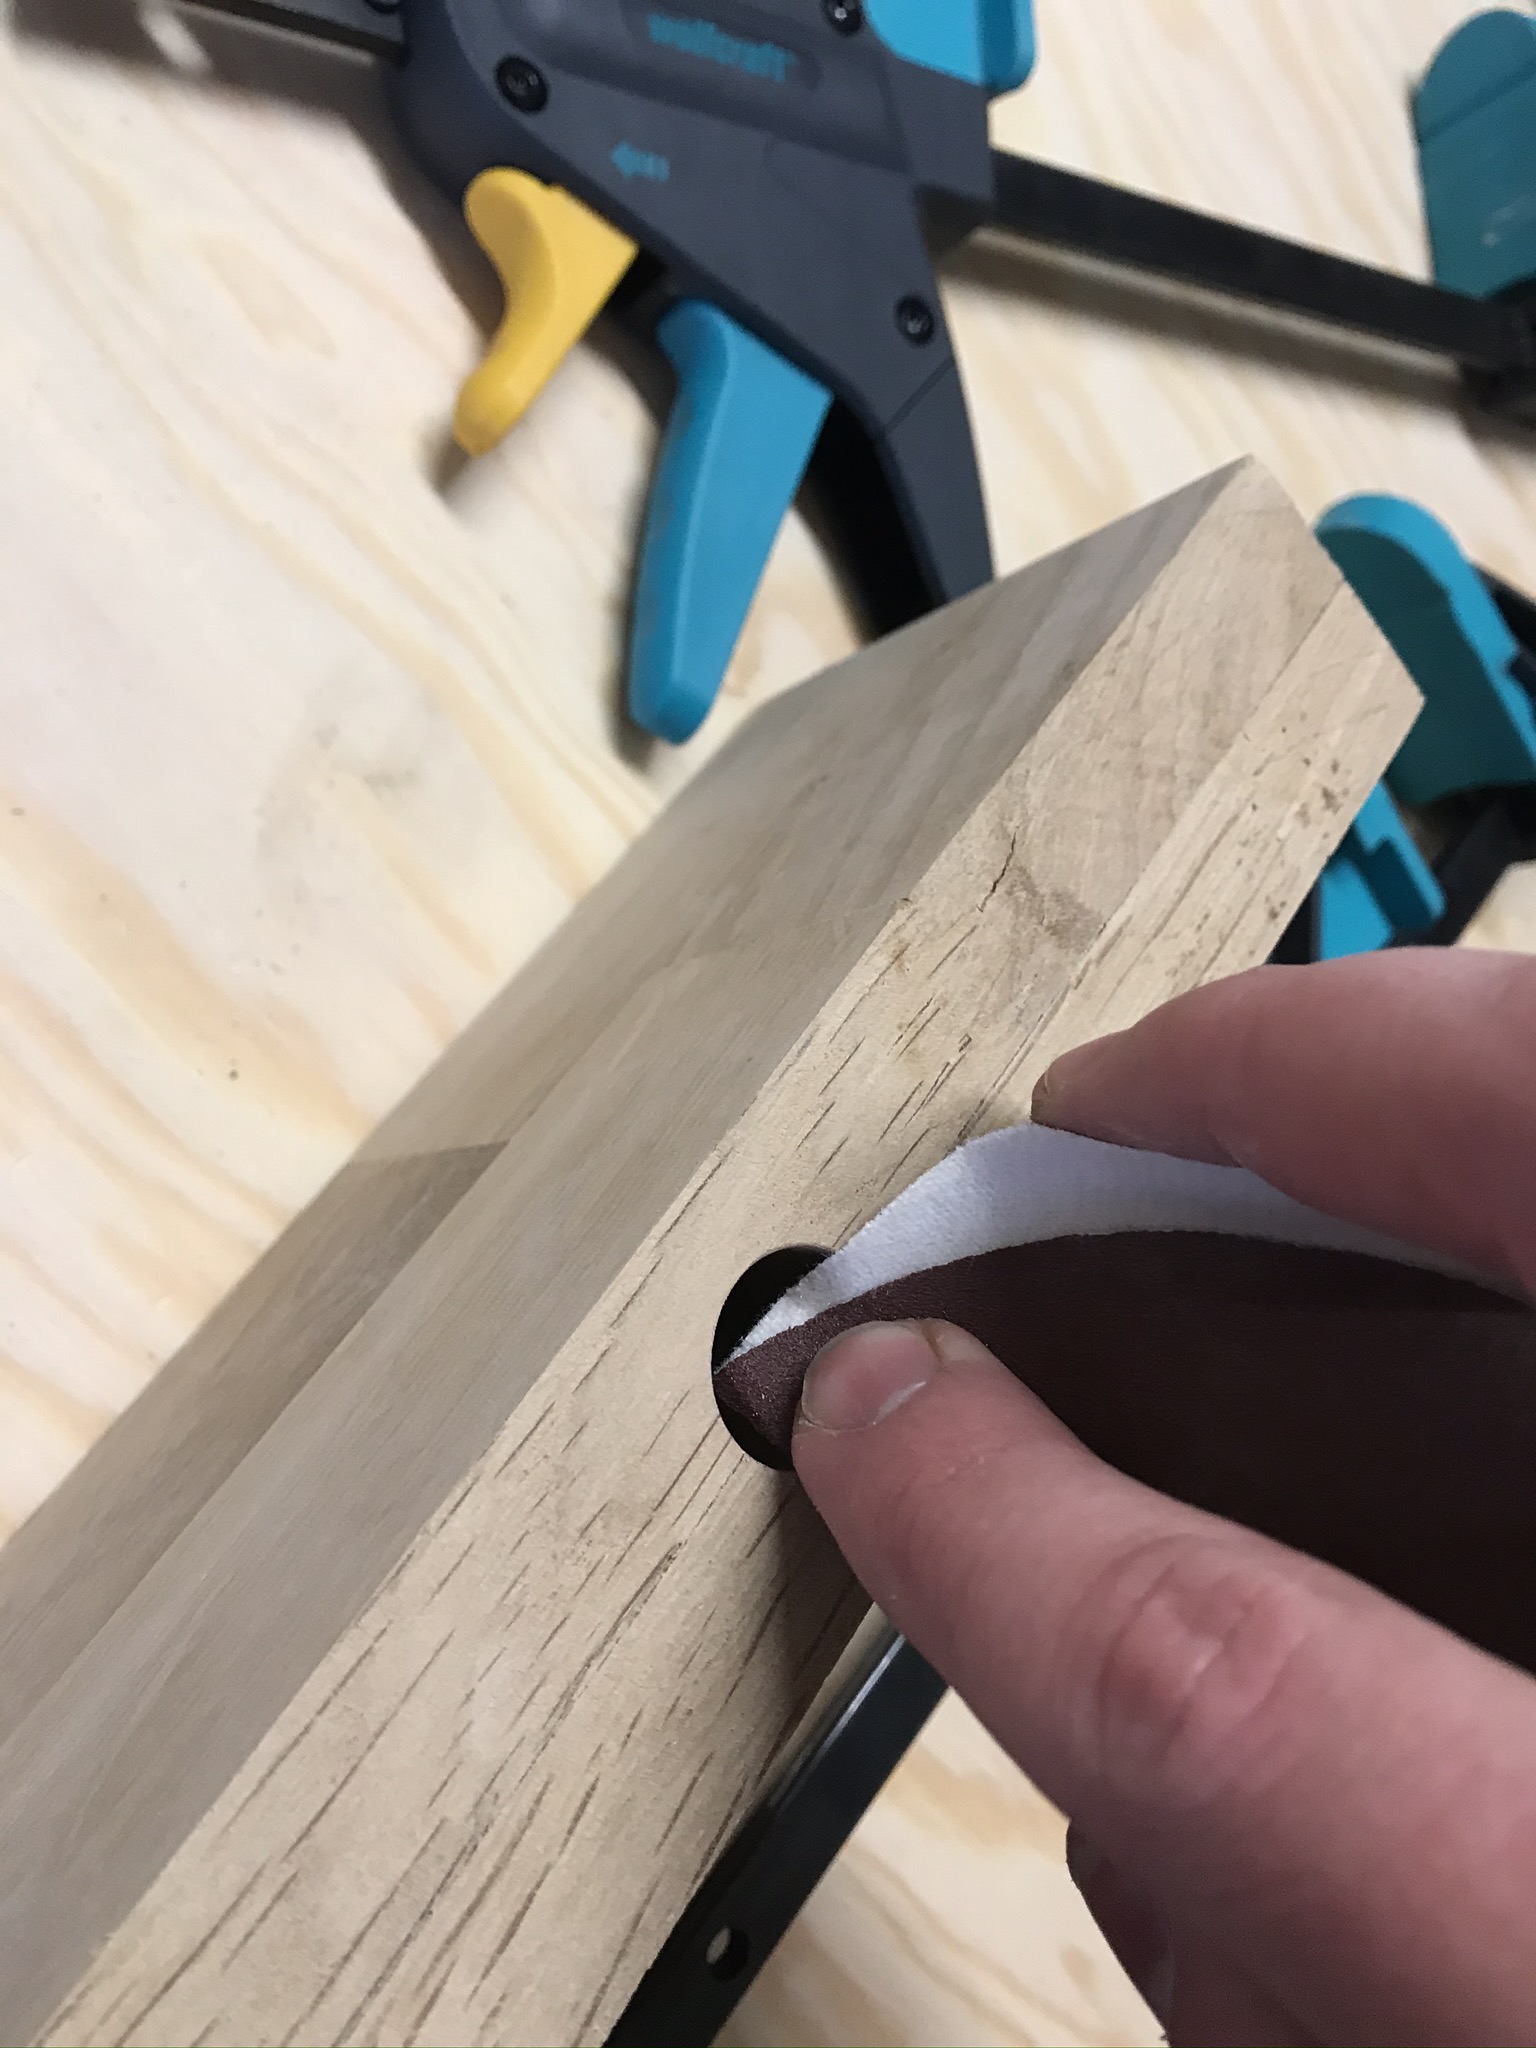
So that accessories can be used to match the existing 19mm hole pattern of the workbench, I made a mark in the centre and drilled a vertical 19mm hole. Ideally, you use the 19 mm Forstner bit* in a bench or floor drill. But if necessary, you can also do it by hand. I lightly sanded the edge of the drill hole so that nothing would tear out later.
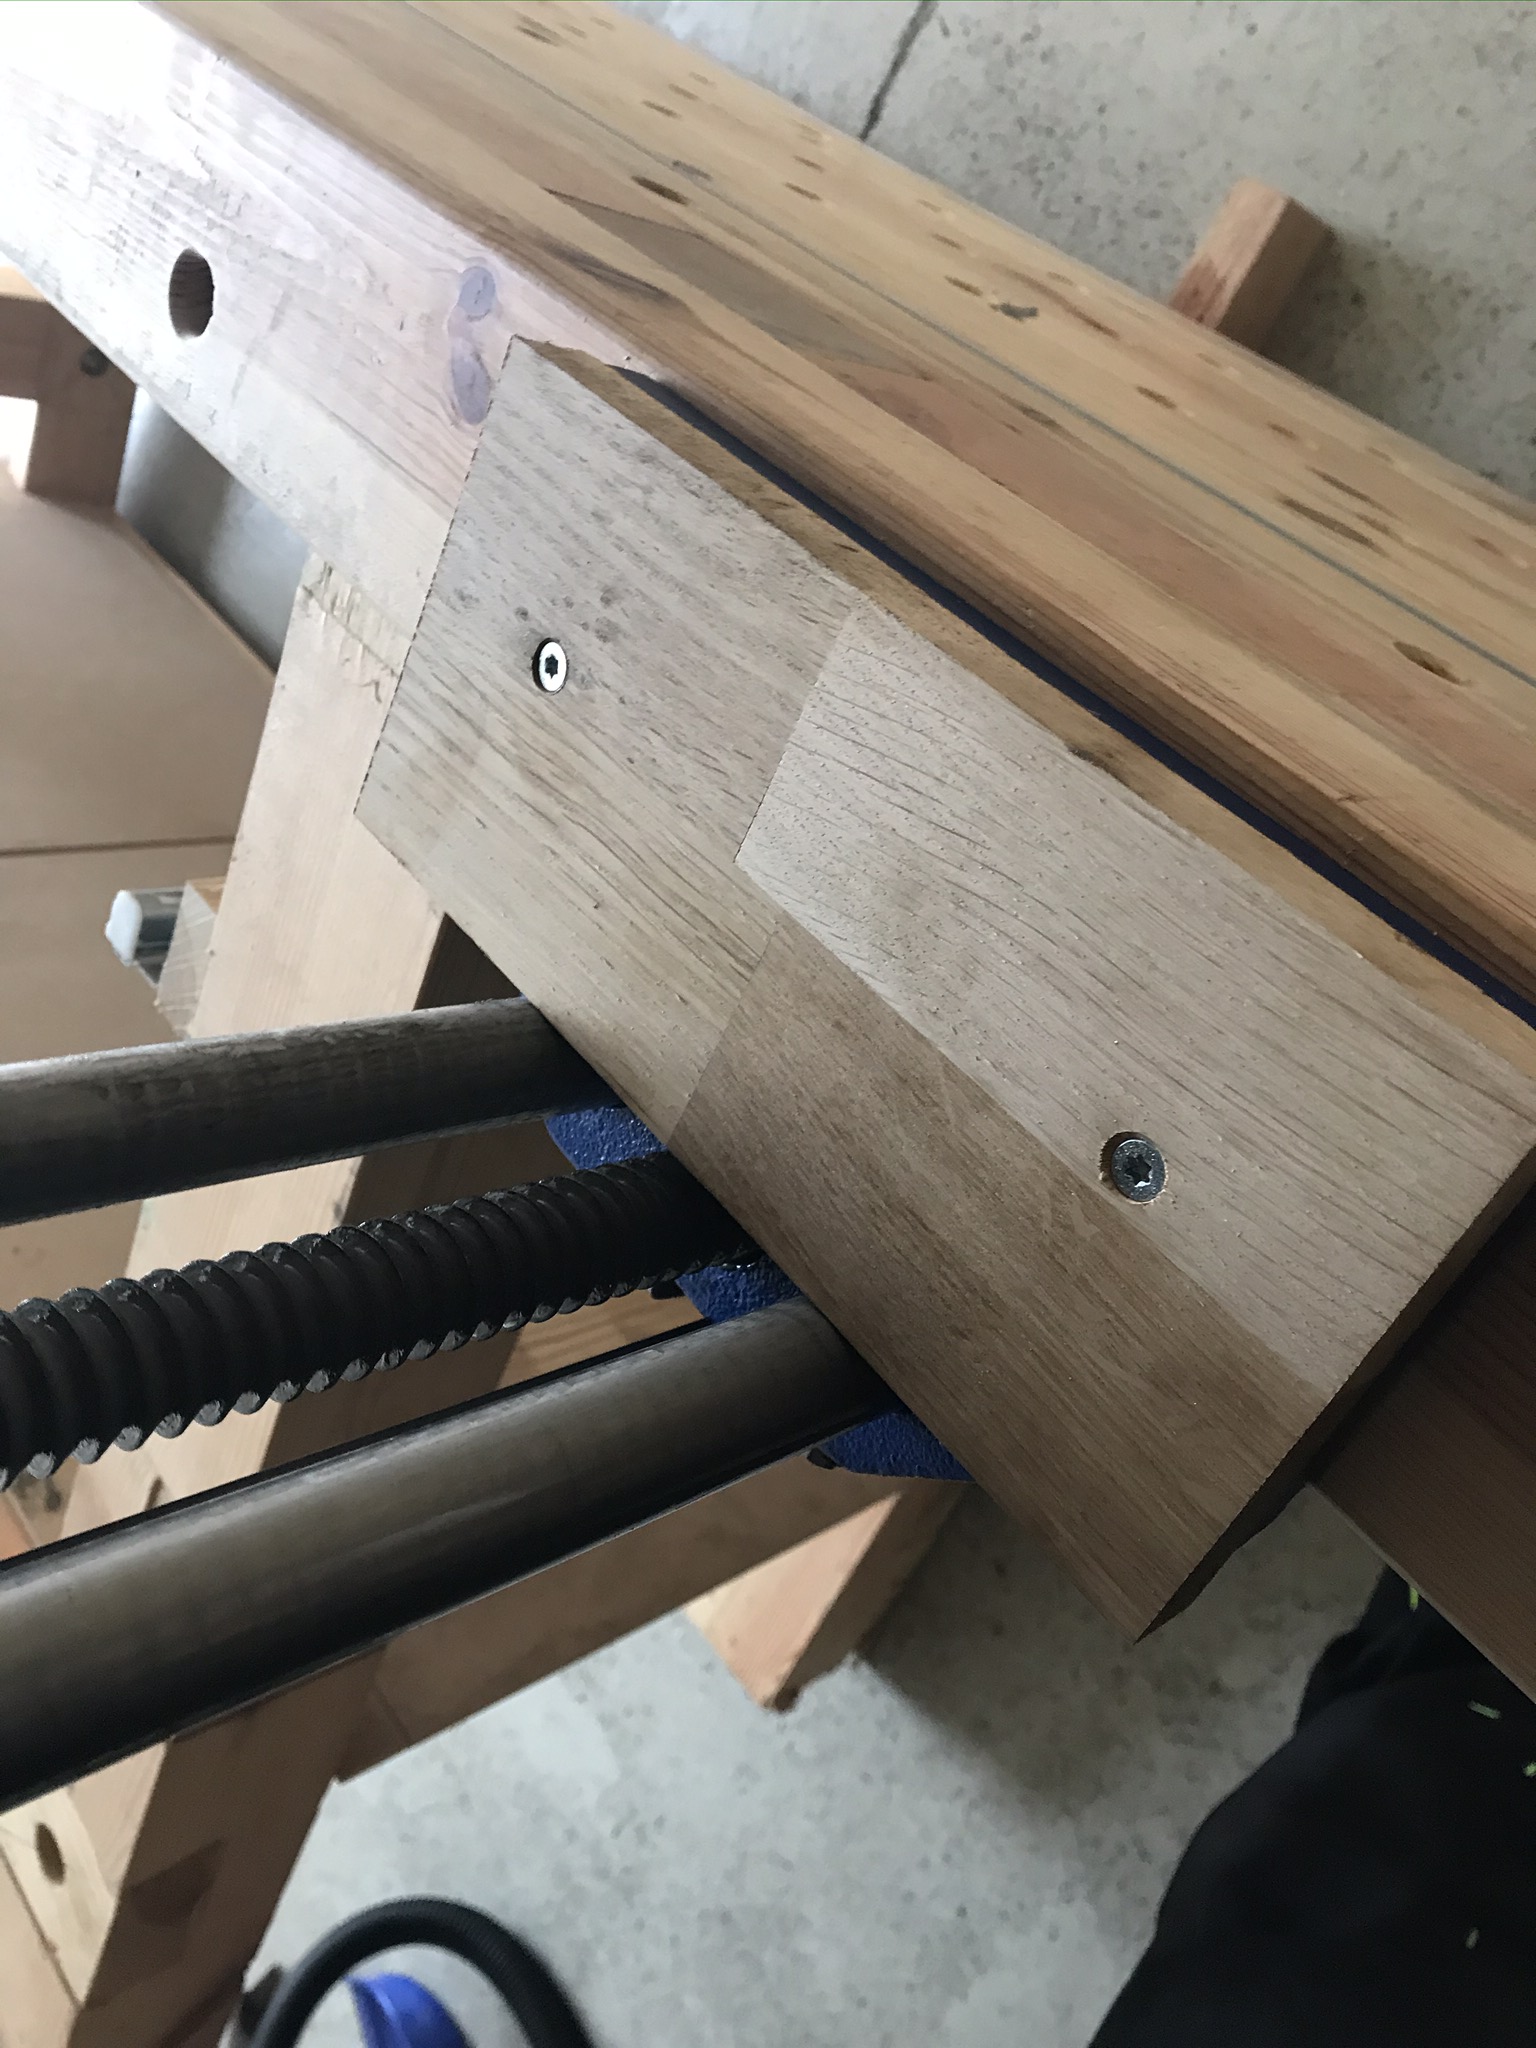
Finally, clamp the finished clamping jaw into the front clamp and screw it in place using the two frontal holes. Pre-drill briefly with a 3mm wood drill bit* and then fix it with 3.5x30mm wood screws* and matching 5.3x20mm washers*.
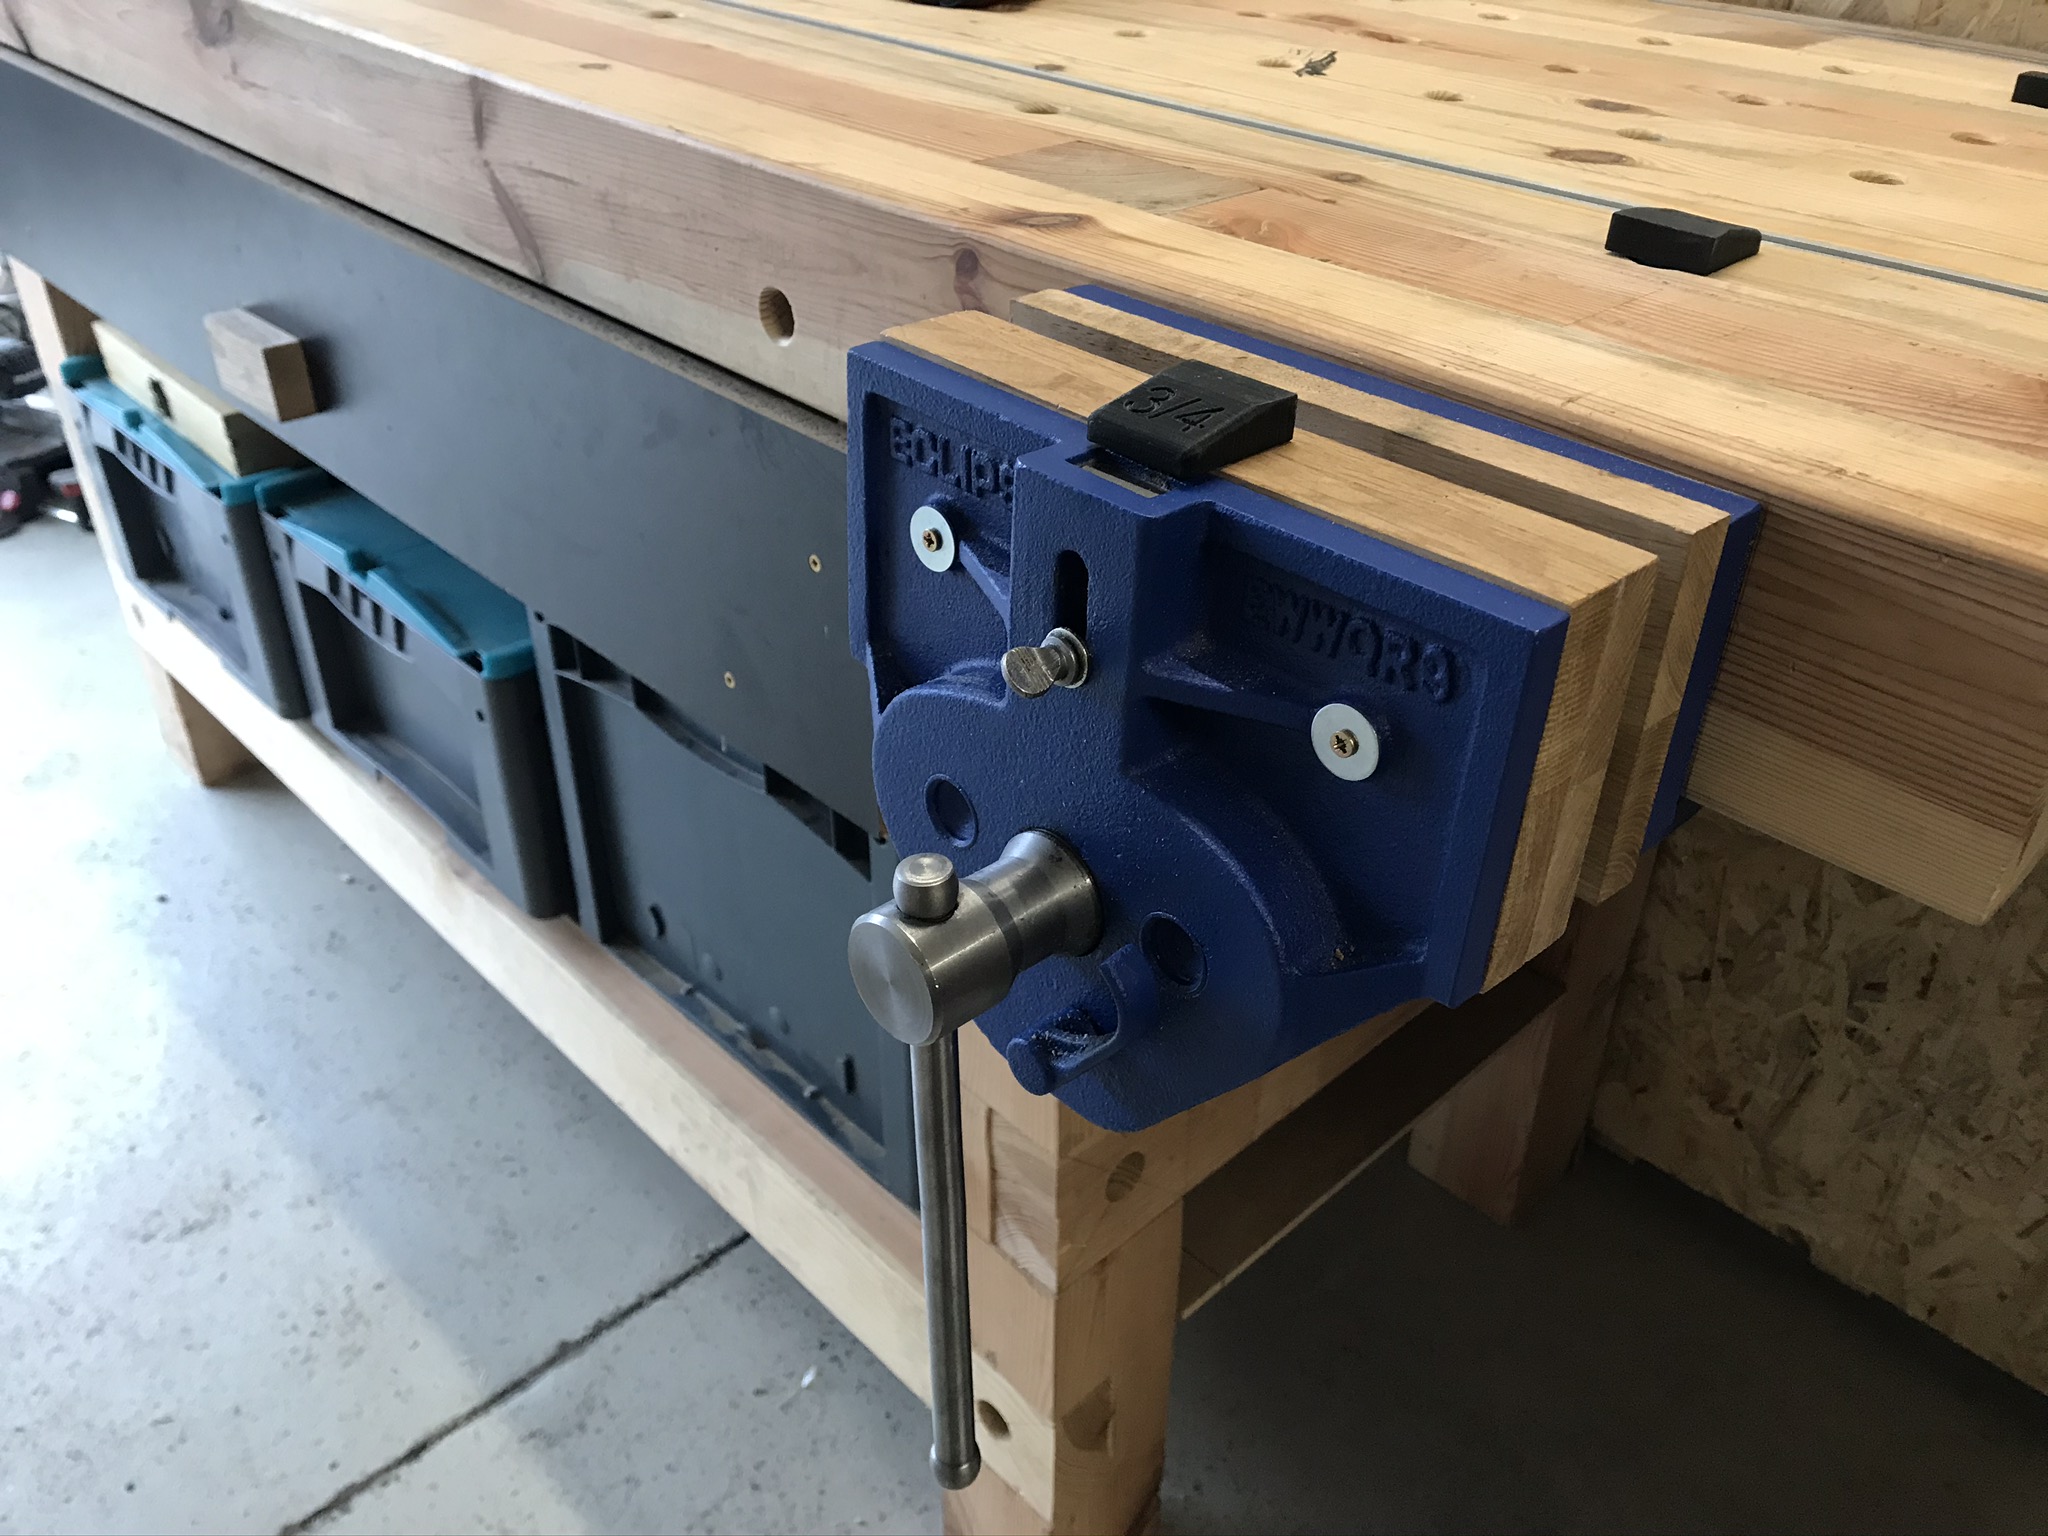
Woodworking Vise installation – the result!
And the workbench vice can already be used on the Timbertime workbench. I think the result is something to be proud of. Moreover, the front vice is relatively inexpensive and yet of high quality, sturdy and heavy – just as it should be!